I love creating free content full of tips for my readers, you. I don't accept paid sponsorships, my opinion is my own, but if you find my recommendations helpful and you end up buying something you like through one of my links, I could earn a commission at no extra cost to you. Learn more
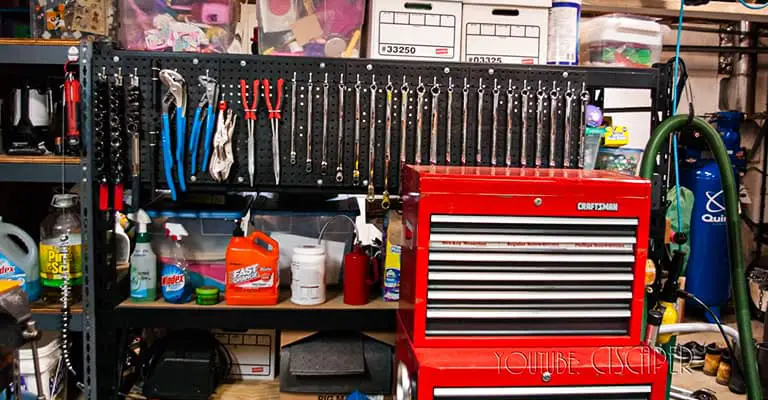
Using up the vertical space on the wall of a room solves the storage problem to a great extent. Not only that, but it also looks great too. These are the key benefits of having a pegboard and hanging stuff on it. Pegboards are generally seen in garages, workstations, or near workbenches. You can find some boards made for other non-technical purposes too.
Installing a pegboard (like these top choices) is one of those beginner-level tasks that you can accomplish by following any good quality guide online. And that is exactly what we are offering today alongside some great trips and tricks. This comprehensive guide has got all the tips and tricks you will ever need.
Also read – How to find the best pegboard.
In this post we'll cover:
Precaution
Although this is not a very hard or complex task, you should take all the protective measurements before working. There are cutting and drilling involved. We recommend getting an expert to help you with the job if this is your first time.The Tips for Hanging Pegboard– Easing Your Effort
People tend to make some common mistakes when it comes to installing pegboards. We’ve researched and surveyed these mistakes and prepared the list of tips and tricks below. Following these tricks will give you an edge over other installers and you can do it much easily and swiftly.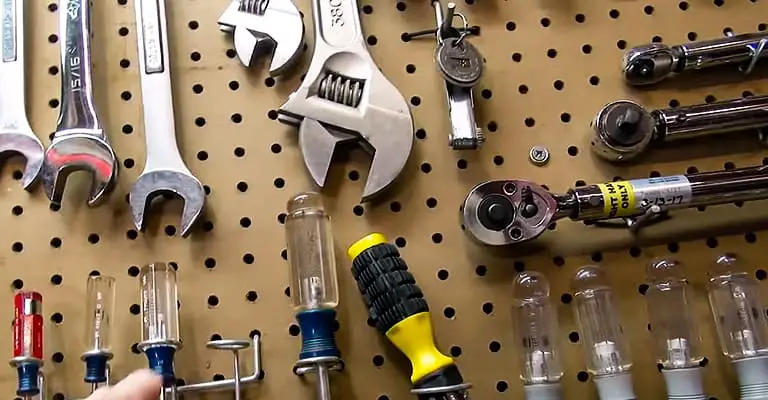
1. Location & Measurements
Often, this is a section that people neglect or give less thought to, and then they suffer the consequences of doing so. The pegboard is a fairly large structure and installing it includes a significant amount of woodwork and screwing up. Not giving enough thought to it or not making a plan is a bad idea. Use a pencil or a marker and a measuring tape to measure and mark the location for your installation. Keep in mind that you need to find the studs at the back of your wall where you’ll screw the wooden furring strips. Try to draw a rough frame of the structure that you want to set up using the furring strips.2. Use Stud Finders
Studs are generally placed 16inches apart. You can start at one corner and keep on measuring and guess the placement of the studs. Or, you can be smart enough to apply our trick and purchase a Stud Finder from the market. These will give you the exact location of your studs.3. Drill the Wooden Furring Beforehand
Many people complain that their 1×1 or 1×2 wood furring has cracked while installing the pegboard. That’s because they didn’t drill holes into the wooden furring earlier. Before you screw the furring into the stud, make holes. Don’t try to screw through it while fixing it with the stud.4. The Right Amount of Furring
You need an adequate amount of wooden furring strips to support the weight of the pegboard. However, you should not put in extra strips randomly just because you have so. Adding extra strips will decrease the number of pegs you can use from your pegboard. Use one strip at each end horizontally. Then for every stud in between the pegboard, use one furring strip. For example, if you have a 4x4ft board, then two horizontal strips on the top and bottom, and 2 additional strips horizontally between them maintaining equal distance.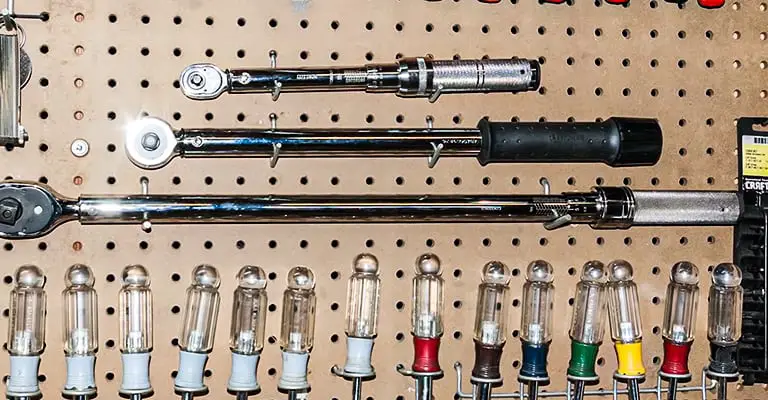
5. Getting the Correct Sized Pegboard
If you have a certain custom size for your pegboard, you probably have to cut it according to your desired size after you have purchased something larger than your required size. Cutting these boards is tricky and prone to breaking if not done properly. So, make sure that you get it cut in your desired size from the shop. They should have all the necessary equipment and professionals for doing it. Most retailers will do it for free. But if you had to pay something extra, it shouldn’t be some sort of deal-breaker.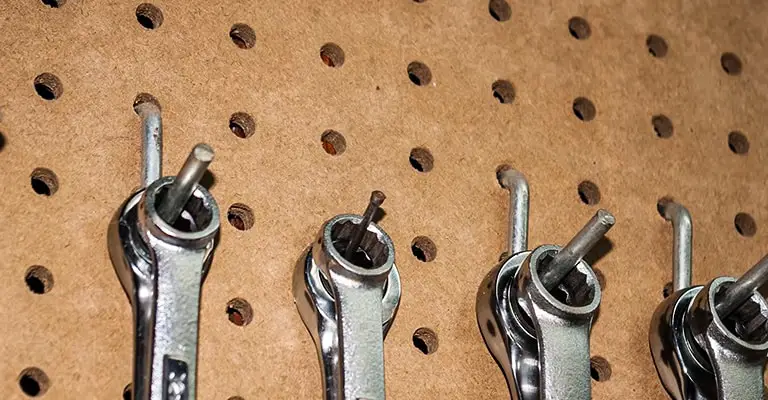
6. Support the Pegboards while Installing
Use a wooden furring strip or something like that and lean it towards the pegboard while its foot is placed firmly on the ground. This will help you greatly to screw the pegboard. Otherwise, the pegboard will tend to fall off now and then. Once you have one or two screws in, you can remove the support.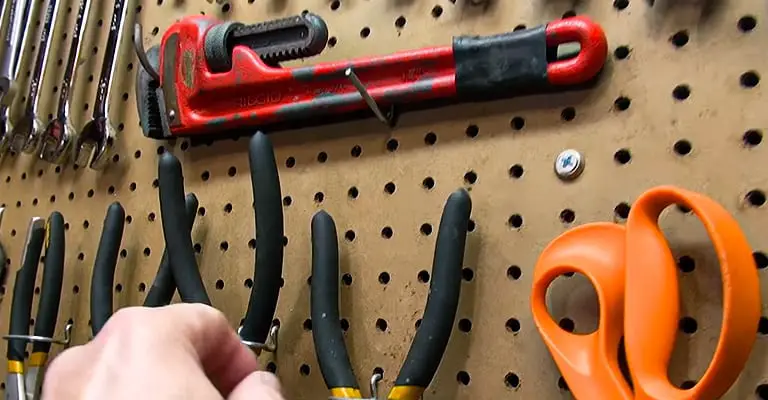
7. Use Washers
Screw washers are excellent for dispersing the force throughout a larger area. Without them, the pegboard won’t be able to take in much weight. Most pegboards come with washer screw pairs so you don’t have to buy them from anywhere else. But if your pegboards don’t have those, make sure you get it beforehand.8. Start Screwing from the Top
If you screw your pegboard at the bottom and then remove the foot support, there are slight chances of the board tipping over you from the top. To stay on the safe side, we recommend starting your screwing process from the top, then the middle, and finally at the bottom.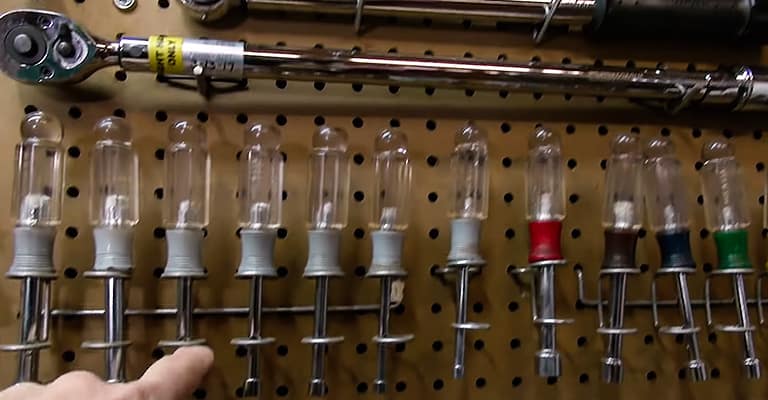
9. Bonus Tip: Use a Drill Machine
You may have your fancy screwdrivers or hammers but using a drill machine would make all the difference in the world in this case. You will save so much time and the whole process would be much easier.Conclusion
All the steps are very basic and yet, somehow, they escape the eyes of many people. The key to succeeding at the job is our tips and tricks, followed by your confidence. Confidence from your end is also a vital requirement. We are confident that there’s no more secrets or hidden tips and tricks left to discover for installing a pegboard. You will be able to do it smoothly now. But just like the saying “you can never be too careful”, make sure you know what you’re doing and you are not at risk.I'm Joost Nusselder, the founder of Tools Doctor, content marketer, and dad. I love trying out new equipment, and together with my team I've been creating in-depth blog articles since 2016 to help loyal readers with tools & crafting tips.
