A circular saw is one of the most useful tools for a woodworker and one of the essentials of a workshop. Any professional craftsman or DIYer will know exactly what I mean. At least as long as the circular saw is functional.
But what happens when they are not? Rather than throwing away, you can repurpose them. Let’s explore some things to do with old circular saw blades.
Granted that the whole circular saw can break and render useless, but I will not focus on the tool as a whole. 
That is the topic of another discussion. In this article, I will share some simple yet fun ideas that you can do easily and in no time, but the outcome will be something that will make people go “wow!”.
In this post we'll cover:
Things To Do With Old Circular Saw Blades | The Ideas
For some of the projects, we will be needing some other tools. But all the tools pretty basic are typically found in a regular workshop. Bear in mind that the projects will take some time to finish, so prepare accordingly.
But then again, all the projects that you did with this very same blade also took time to finish. That is the fun part to me. With that out of the way, here are the ideas-
1. Make A Kitchen Knife
It is a fairly common idea and also pretty simple to do. This way, the blade will continue its job, ‘cutting’, even after it was released from service.
Designing
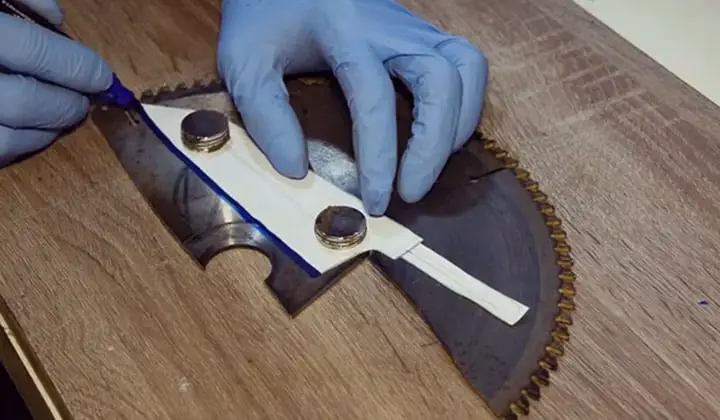
For this, take the old blade and take some measurements of its dimensions and usable parts. In case it is broken or has some heavy rusts, you better leave that part. Now take a piece of paper and get to designing the shape of a knife that uses the maximum available area and still fits within the measurements that you got from the blade.
Cutting The Blade
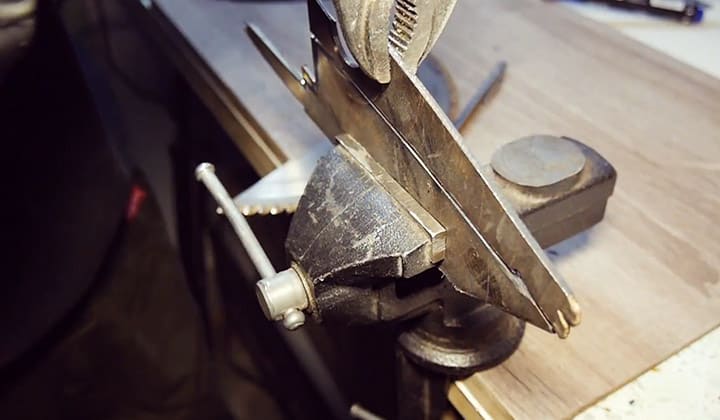
Now, take the design and stick it with the blade with some temporary glue. Then take an abrasive blade on a circular saw to cut a rough shape of the design out from the circular saw blade. Wait; what? Yeah, you heard, right. Cutting a circular saw blade with a circular saw. So what? With the design cut, your circular saw blade has reborn as a knife blade.
Now take the rough-cut piece and smoothen out the edges, as well as make the detailed final cut with a file or a grinder.
Finishing
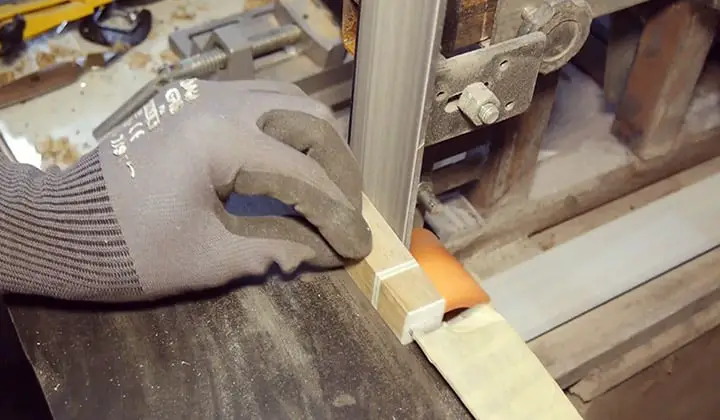
Take two pieces of wood with a depth of about ¼ inches for the handle. Place the knife blade on them and trace the outline of the handle part from the blade on both of the pieces of wood.
Cut the pieces of wood with a scroll saw following the marking. Place them around the handle bit of the blade and drill three holes at convenient spots for screwing. The holes should pierce through both of the wood pieces and the steel blade.
Before fixing them in place, Sand the whole steel blade and get rid of any rust or dust and make it shiny. Then use the grinder again for sharpening the front edge.
Apply a layer of protecting coating like Ferric chloride or any other commercial rust-proof solution. Then put the handle pieces and the blade together and lock them in place with glue and screws. Your kitchen knife is ready.
2. Make A Clock
Turning a circular saw blade into a clock is probably the simplest, cheapest, and fastest idea, which is also one of the coolest. It requires minimal work, time, and energy. To convert the blade into a clock-
Prepare The Blade
If you left your blade hung on the wall, or behind the scrap pile, or underneath the table for a while unused, it is very much like that it has accumulated some rust by now. It probably has hundreds of scratches as battle scars. All in all, it is not in pristine condition anymore.
While the rusty and scarred sides can be quite nice and artistic for the clock face if it has some sort of a rhythm to it, but it is not likely the case in most situations. So, Sand or grind the sides as necessary to un-rustify the rusts and un-scratchify the scratches and bring back the shine.
Mark The Hour Dials
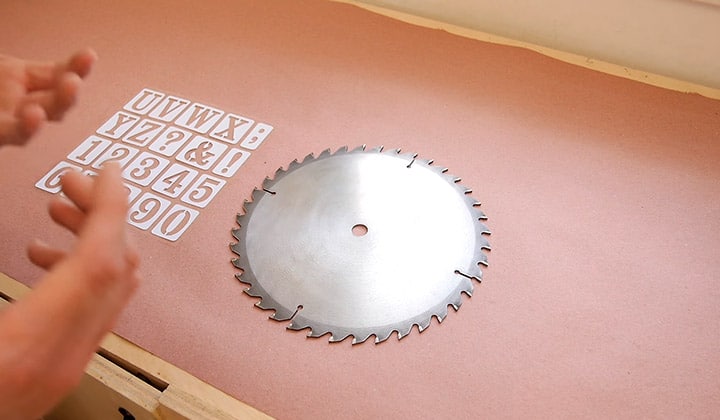
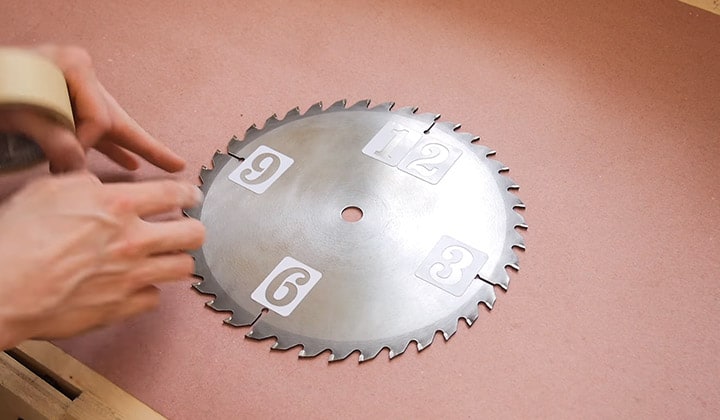
With the blade restored, for the most part, you need to mark the hour dial on it. Use a pencil to mark a 30-degree angle on a piece of paper and cut it along the edges. This will give you a 30-degree cone. Use it as a reference on the blade and mark 12 spots equal distances apart from each other and from the center.
Or instead, you can go nuts with the 12 markings. As long as they are 30-degree apart, the clock will be functional and readable. You can make the spots eye-catching by either coloring the hour dial, or using a drill and scroll saw to curve it out, or to add stickers. Either way, after applying a layer of anti-rust coating, the blade is ready.
Finishing
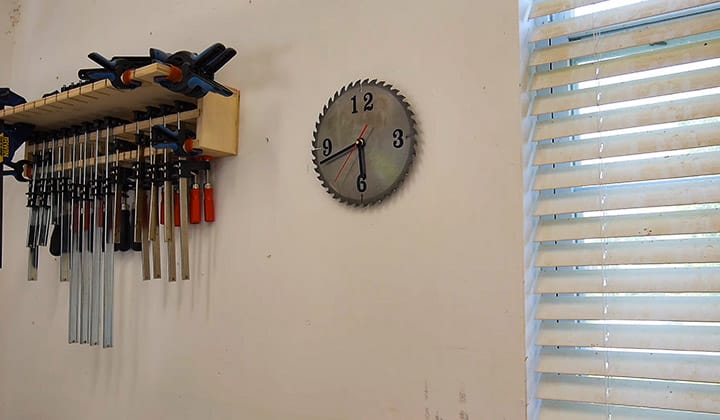
You can buy a clock mechanism or the heart of the clock from a local shop. They are very cheap and quite common. Also, buy a couple of clock arms while you are at it.
Or you can make them at home as well. Anyway, place the clock box behind the saw blade, or rather the now clock blade, fix it with glue, place the clock arms, and the clock is ready and functional. Oh! Remember to adjust the time before you hang it.
3. Make A Painting
Another simple idea will be to make a painting out of it. The shape of the blade should be good enough to accommodate a decent painting. If you have the talent, then you will be golden. Simply restore the shiny look of the blade as mentioned in the clock section, and get to work, or rather, paint.
Or if you are more like me and do not have a talent for it, you can always ask a friend. Or you can gift a few of these to them and tell them what they are for. I’m pretty sure if they like to paint, they will love these.
4. Make an Ulu
If you are thinking either one of you or me is stupid, then that makes the two of us. I also thought my friend was stupid when he told me to make an “Ulu” out of the rusty old saw blade.
I was like, “What?” but after a little googling, I understood what an ulu is. And after making myself one, I was like, “Ah! That’s pretty. It’s like my girlfriend, cute but dangerous.”.
An ulu is like a little knife. The blade is smaller than the size of your palm and round-shaped instead of your usual straight-ish ones. The tool is pretty compact and unexpectedly useful in situations. It is like a pocket-knife, but don’t put one in a pocket, please.
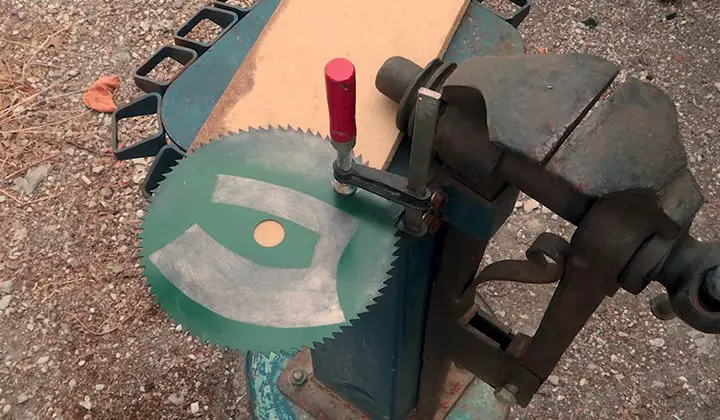
To make an ulu, you will need to restore the blade and cut it in shape in the same process that you did when making the kitchen blade. Then prepare the handle, glue the blade in, add a couple of screws and you got yourself an ulu.
To Sum Up
Replacing the old circular saw blade with a new one give a new look to the saw and turning the old blade into a new product enhances your creativity. Whether you chose to make a knife, or a clock, or a painting, or an ulu out of your rusty old circular saw blade, you used the thing for something productive. If you do not have the time and patience to do either of these, you can always sell the thing. It is solid steel, after all, and should still yield a few bucks.
But where is the fun in it? To me, DIYing is all about the fun in it. Restoring and reusing an otherwise-dead item is the fun part, and I always enjoy that. I hope you will put your old blades in at least one of the above uses and make something out of it.
I'm Joost Nusselder, the founder of Tools Doctor, content marketer, and dad. I love trying out new equipment, and together with my team I've been creating in-depth blog articles since 2016 to help loyal readers with tools & crafting tips.
