I love creating free content full of tips for my readers, you. I don't accept paid sponsorships, my opinion is my own, but if you find my recommendations helpful and you end up buying something you like through one of my links, I could earn a commission at no extra cost to you. Learn more
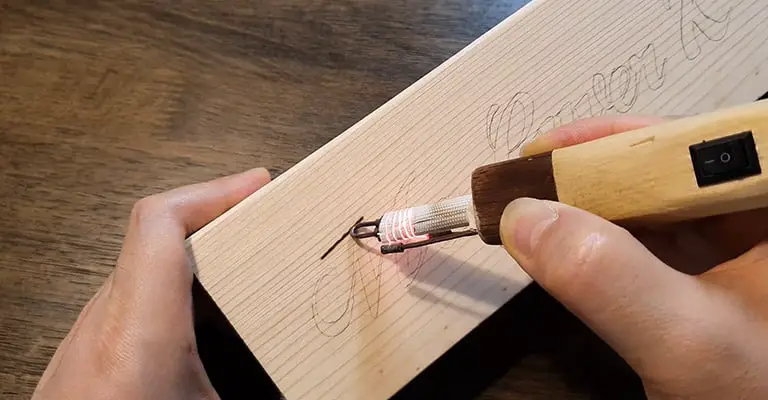
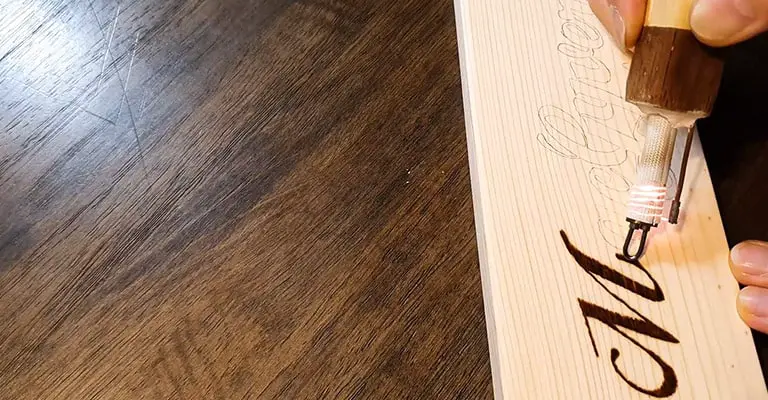
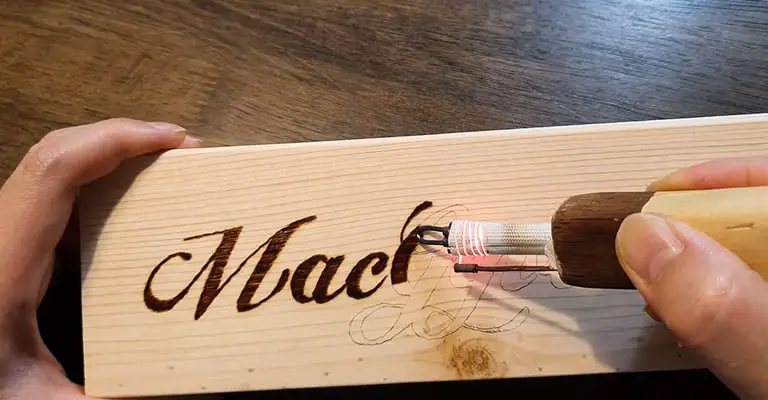
What we’re going to do is technically pyrography. You might have seen machined pyrography on folk guitars and kitchenwares. But doing some calligraphy with soldering iron for some DIY decoration does indeed look cool. It’s become a trend these days.

In this post we'll cover:
How Soldering Iron Works?
You may wonder why I’ve started narrating the working procedure of a soldering iron. But I think it’s better to break down things from the very basics. To deeply understand the use of soldering iron, at first, a brief explanation about this tool is required. A soldering iron is an obvious tool for a guy working with electronics, either in a DIY project or a professional. But what is soldering? Simply put, it’s a process to adhere to a joint. To fill up this joint, some sort of filler element or solder is used. Solder is a metal with a lower melting point. Melting! Yeah, melting requires heat (a lot of heat to be honest). That’s where soldering iron comes into action. A typical soldering iron consists of a heat-generating mechanism and a heat-conducting body with proper insulation in the handle. If we left behind the gas-fired soldering irons for simplicity, we have only an option remaining- the electrically powered soldering irons. When electricity is passed through a resistive element, heat is generated. That heat is passed on to the metal surface and, eventually, the solder is melted. Sometimes, the heat can hit a solid 1,000 degrees Fahrenheit. There’s some control mechanism which helps to pass an intended amount of heat by following a computational process.
How Will it Work in the Woods?
So, you know the working pattern of soldering iron in metal. But what’s on the wood, whats about a wood burner vs soldering iron? They have completely different surfaces than metal and have less conductivity. It means less heat is allowed to pass through the surface. You don’t want to melt down the wood by using a soldering iron (and that’s not possible also!) that’s where there’s a scope of using the soldering iron. You can notice a burnt finish on the wooden surface instead of a complete burn. That’s why soldering iron can become a great helping hand in pyrography.
Optimum Settings
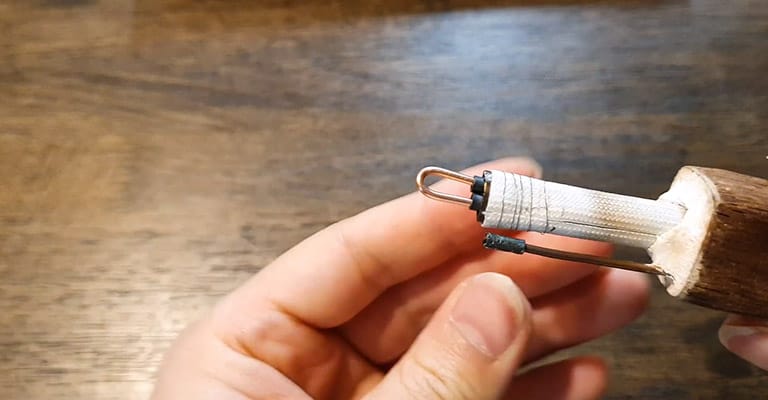
As you’ve already learned that wooden surface and heat are not bosom friends. That’s why you need more heat to attack the wood. More heat ultimately results in better burn marks on the wooden panel. That’s how you get more contrast. Soldering iron with temperature control has gained much popularity recently. More specifically, soldering stations are thriving in the market. Besides, a hot knife is visibly going ahead. But the theory is simple here. Finer burns require finer tips. If you have a higher-end soldering iron, it’s more likely you have up to ten tips in the set. Don’t forget to change the tips according to your need. As you require more heat, you have to wait for a long time for the tip to be heated up. Roughly speaking, it’ll take about a minute to be properly heated.
Any Precaution for Safety?
There’s hardly any DIYer who has used a soldering iron and not tasted a burn on his skin. And in this case, you are generating more heat than usual. That’s why it requires some safety features. The same applies if you’re dealing with a wooden puzzle cube.
- Always put the soldering iron at upwards direction while not in use. Better use a soldering station.
- Do turn off the switch if you’re not using it for over 30 seconds.
- If you’re doing an intensive burning, wear gloves for safety.
Bottom Line
Crafting a masterpiece is a huge puzzle with lots of tiny pieces. Properly using a soldering iron is one of them. Carving wood has always been exhilarating but running into a burn is a norm. Follow those safety precautions throughout the journey for safety. Don’t let the creative joy ride encounter a frightful accident.I'm Joost Nusselder, the founder of Tools Doctor, content marketer, and dad. I love trying out new equipment, and together with my team I've been creating in-depth blog articles since 2016 to help loyal readers with tools & crafting tips.
