Painting wooden ceiling seams
Also read this basic article about painting the ceiling
PAINTING CEILING SUPPLIES
All-purpose cleaner, bucket and cloth, foil, household ladder
Sandpaper 120 EN 220, squeegee and brush
Paint tray, paint roller and synthetic patent brush no.8
Caulking gun and non crack kit
Acrylic primer and acrylic lacquer
ROADMAP
Free up space and put foil on the floor or old rugs
Mix water with all-purpose cleaner
Put the squeegee cloth in the mixture and rub it out and go clean the ceiling
Attach sandpaper to the squeegee and start sanding and dust-free
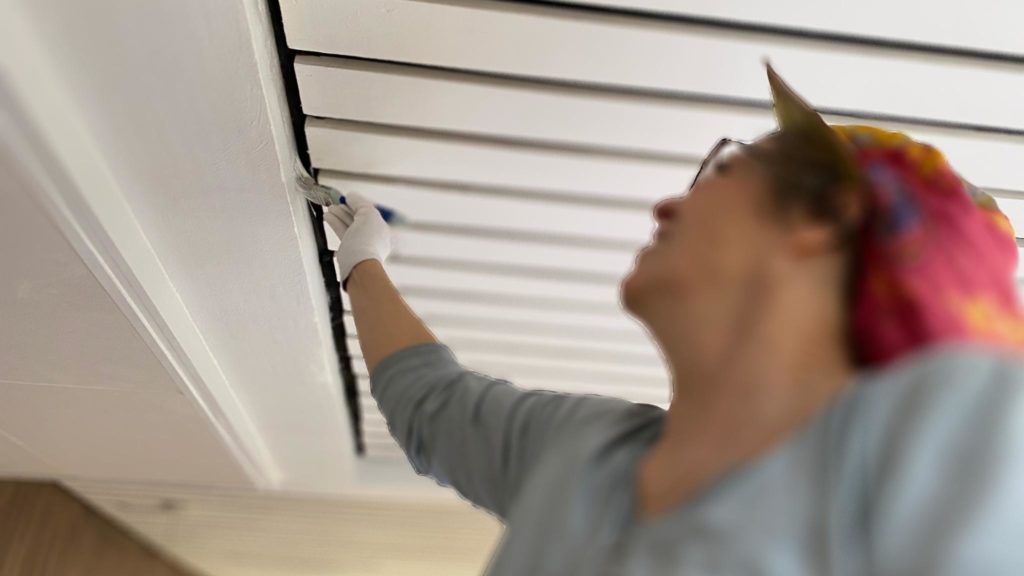
Apply primer; grooves with brush, rest with roller
lightly sand with a floor wiper and make it dust-free
Seams kitten
Apply two coats of paint: grooves with brush, rest with roller (sand p220 between coats and remove dust)
remove the foil
PAINTING SCRAP CEILING
The ceilings are usually lacquered and the grain of the scraps are visible because a colorless stain has been used.
If you have a high ceiling, I’d leave it as is and just paint another coat of colorless stain on top.
If you have a low ceiling I would paint it.
INCREASING YOUR SPACE
Especially if you have a dark ceiling and you want to paint it in a light color, you physically increase the space.
It is also refreshing.
You should bear in mind if you are going to paint a ceiling that you will see seams everywhere, which is not noticeable with a stained ceiling.
METHOD
The first thing to do is to clean or degrease the ceiling.
To make it easier for you, grab a squeegee with an extendable handle and get started.
In this case it is best to use B-clean as a degreaser, because then you do not have to rinse.
When this has dried use the same squeegee as the sanding board.
To do this, use P120 for sanding and attach it to the squeegee by means of clamps or pegs. Then remove the dust and you can start applying the first layer.
ACRYLIC PRIMER
You paint the scrap seams with a brush and the intermediate surfaces you use a roller of 10 centimeters.
When this primer has dried, sand it lightly and make it dust-free.
After this you will seal all seams with a non-crack acrylic sealant.
A non-crack means that this kit does not shrink.
When the sealant has cured, paint the next layer.
Use a satin gloss acrylic lacquer that covers well.
If you are lucky this is enough.
If spots still shine through, you will have to apply a third layer, do not forget to sand lightly between the layers with a P220.
I hope you have enough information to paint a scrap ceiling, if you want more information about this, please leave a comment.
BVD.
Piet de Vries

I'm Joost Nusselder, the founder of Tools Doctor, content marketer, and dad. I love trying out new equipment, and together with my team I've been creating in-depth blog articles since 2016 to help loyal readers with tools & crafting tips.