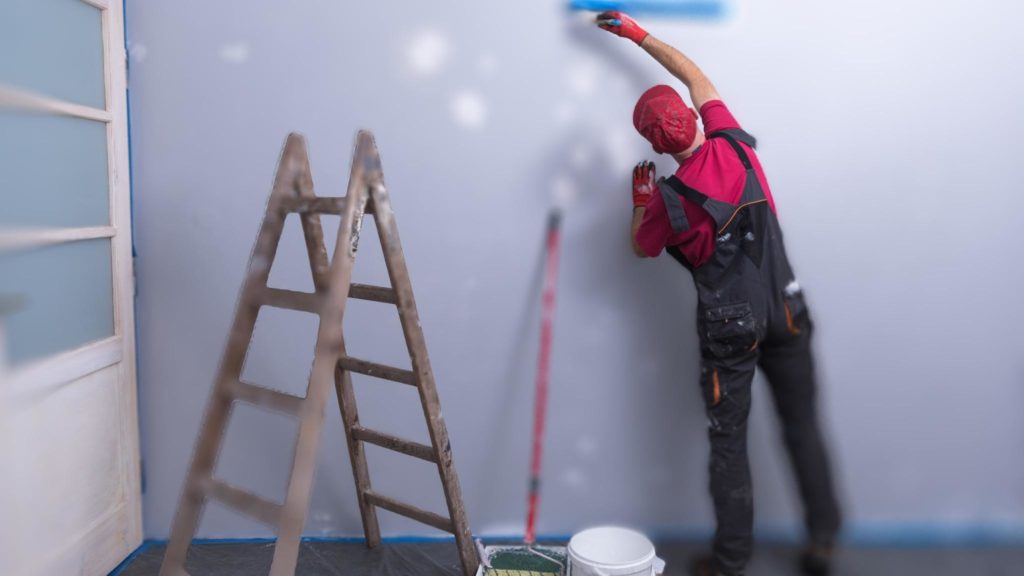
When you get started with the walls in your home, you may need to prime them first. This is especially important on an untreated surface, because it ensures that the paint adheres evenly and prevents streaking.

What do you need?
You do not need many materials for applying the primer, in addition, everything is available at the hardware store or online so that you are ready in one go.
Primer
All-purpose cleaner or degreaser (these here work really well)
Bucket with water
Sponge
painter’s tape
masking tape
Stucloper
cover foil
paint rollers
paint tray
household stairs
snap-off blade
Step-by-step plan for priming the wall
First, make sure you are wearing long-sleeved clothing, gloves, safety glasses, and work boots. If something unexpected happens, you are in any case well protected.
Remove everything that is against the wall and cover it if necessary.
Turn off the power and check for voltage drop with a voltage tester. Then you can remove the sockets from the wall.
Lay the stucco runner on the floor. You can cut these to size with the snap-off knife. All furniture is then covered with a protective film.
Don’t forget to tape all frames, skirting boards and the edge of the ceiling. Do you have cables nearby? Then tape it off so that no primer can get on it.
Then you will degrease the wall. You do this by filling a bucket with lukewarm water and adding a little degreaser. Then go over the entire wall with a wet sponge.
When the wall is completely dry, it is time to start priming. To do this, stir the primer well for three minutes with a stirring stick. Then take a paint tray and fill it halfway with primer.
Start with a small hairy roller and run it along the ceiling, baseboards and floor.
Carefully roll the roller from the grid into the primer, but be careful, do this only backwards and not back.
Work from top to bottom and no wider than one meter at a time. It is best to iron with light pressure and in a smooth motion.
Additional tips
After you’ve done the edges with a small roller, you can get started with a large roller. If you prefer this, you can use a rolling pin for this. Make sure that you don’t press too hard, and that you let the roller do the work.
Do you have to stop, for example because you have to go to the toilet? Never do this in the middle of a wall, because that will cause unevenness. You will then continue to see this, even when you paint wall paint over it.
You may also be interested in reading:
Storing Paint Brushes
painting stairs
painting bathroom
Paint sockets
I'm Joost Nusselder, the founder of Tools Doctor, content marketer, and dad. I love trying out new equipment, and together with my team I've been creating in-depth blog articles since 2016 to help loyal readers with tools & crafting tips.

