Soldering aluminum can be tricky if you haven’t done it before. The aluminum oxide will make most of your attempts go in vain. But, once you have a clear idea of the process, it becomes really simple. That’s where I come in. But before we get into that, let’s go through some basics. 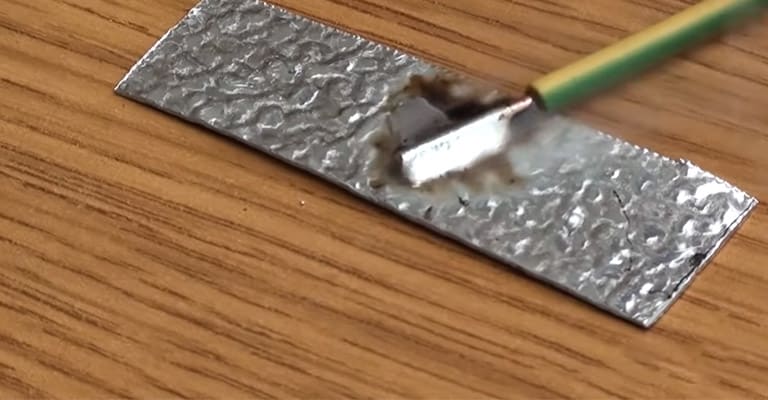
What Is Soldering?
Soldering is a method of joining two pieces of metal together. A soldering iron melts a metal that glues two metallic workpieces or certain marked regions. Solder, the joining molten metal, cools very quickly after removing the heat source and solidifies to keep the metal pieces in place. Pretty much a robust glue for metal.
Relatively softer metals are soldered to hold them together. Harder metals are usually welded. You can make your own soldering iron just for your specific tasks too. 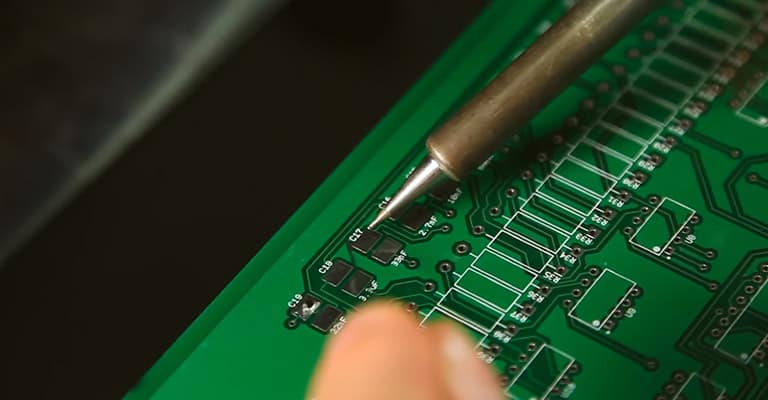
Solder
It is a blend of various metal elements and is used for soldering. In the early days, solder was made with tin and lead. Nowadays, options without lead are used more commonly. Soldering wires usually contain tin, copper, silver, bismuth, zinc, and silicon.
Solder has a low melting point and solidifies quickly. One of the key requirements for solder is the ability to conduct electricity as soldering is vastly used in creating circuits.
Flux
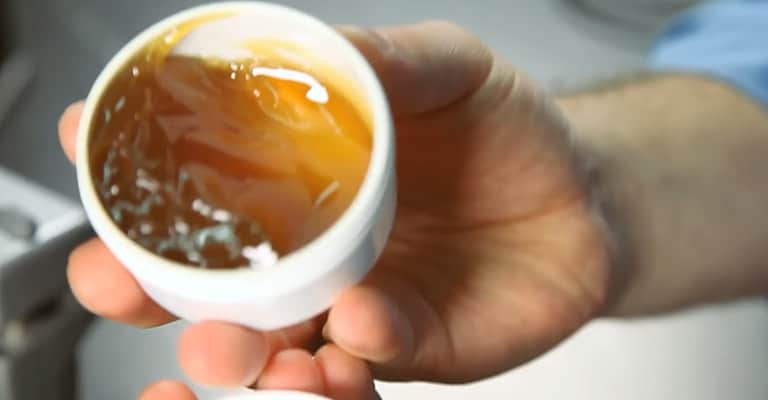
Flux is critical for creating quality solder joints. Solder won’t wet a joint properly if there’s a metal oxide coating. The importance of flux is due to its ability to prevent metallic oxides from forming. The types of fluxes used in electronic solders that are commonly used are usually made of rosin. You can obtain crude rosin from pine trees.
Soldering Aluminum
It’s never the same orthodox soldering. Being the 2nd most malleable metal in the globe and having a great deal of thermal conductivity, Aluminum workpieces are often quite thinner. So, though they come with good ductility, overheating would still snap and/or deform it.
Proper Tools
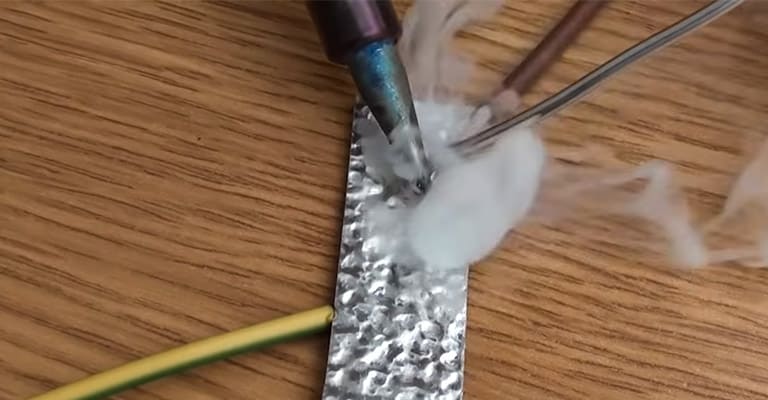
Before starting, it’s very important to ensure that you have the tools necessary to solder aluminum. As aluminum has a relatively low melting point of around 660°C, you’ll need a solder that has a lower melting point as well. Make sure your soldering iron is specifically meant for joining aluminum.
Another important thing you must have is a flux that is meant for soldering aluminum. Rosin fluxes just won’t work on it. The melting point of the flux should also be the same as the soldering iron.
Type of Aluminum
Pure aluminum can be soldered but as it is a hard metal, it is not easy to work with. Most aluminum products you find are aluminum alloys. Most of them can be soldered in the same method. However, there are a few which will require professional help.
In case the aluminum product you have is marked with a letter or number, you should look into the specifications and adhere to it. Aluminum alloys containing 1 percent magnesium or 5 percent silicon are relatively easier to solder.
Alloys which have more amounts of these will have poor flux wetting characteristics. If the alloy has a high percentage of copper and zinc in it, it will have poor soldering characteristics as a result of rapid solder penetration and loss of properties of the base metal.
Dealing with Aluminum Oxide
Soldering aluminum can be difficult compared to other metals. That’s why you’re here after all. In the case of aluminum alloys, they’re coated in a layer of aluminum oxide as a result of coming in contact with the atmosphere.
Aluminum oxide can’t be soldered, so you’ll have to scrape it off before doing so. Also, keep in mind that these metal oxide will reform quite quickly once it comes into contact with air, so soldering should be done as soon as possible.
How to Solder Aluminum with Soldering Iron| Steps
Now that you’re caught up on the basics, you should be ready to get on to soldering. Follow these steps carefully to make sure you’re doing it properly.
Step-1: Heating Your Iron and Safety Measures
It will take a short while to get your soldering iron to the ideal temperature. I would suggest you keep a damp cloth or sponge by to clean the iron off any excess solder. Wear a safety mask, goggles, and gloves while you’re at it.
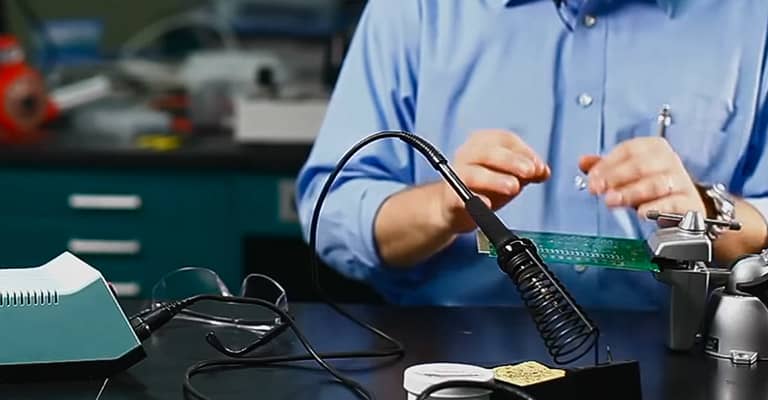
Step-2: Removing the Aluminum Oxide Layer
Use a steel brush to remove the layer of aluminum oxide from the aluminum. If you’re using an old aluminum with heavy oxidization, you should sand or wipe using acetone and isopropyl alcohol.
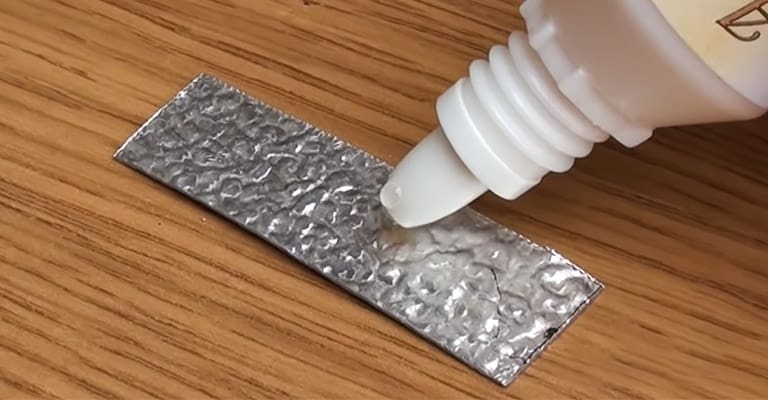
Step-3: Applying Flux
After cleaning up the pieces, apply the flux along with the places you want to join. You can use a metal tool or just the rod of the solder for application. This will stop aluminum oxide for forming as well as draw the iron solder along the long side of the join.
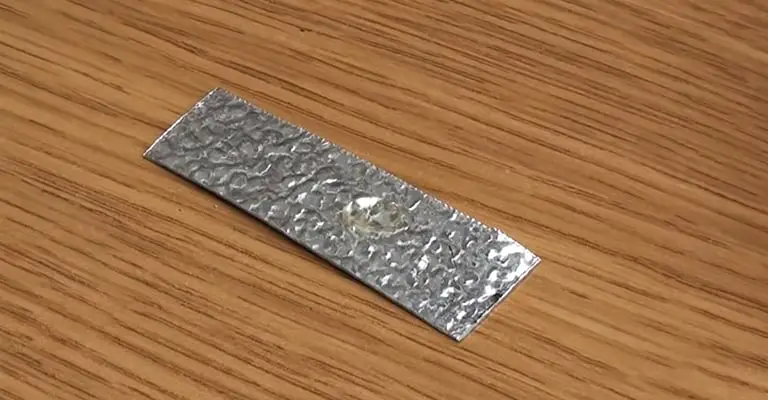
Step-4: Clamping/Positioning
This is necessary if you’re joining two pieces of aluminum together. Clamp them in the position you want to join them. Make sure the pieces of aluminum have a slight gap between them when clamping for the iron solder to flow.
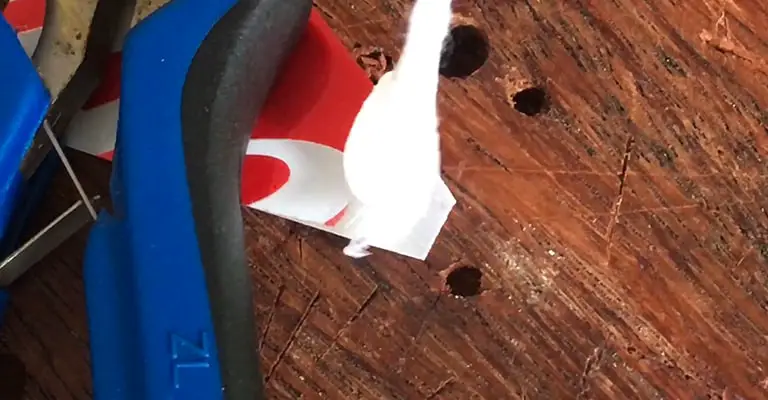
Step-5: Applying Heat to the Work Piece
Heating the metal will prevent an easily cracked “Cold join’. Heat the parts of the pieces adjacent to the joint with your soldering iron. Applying heat to one area may cause the flux and solder to overheat, so, make sure to keep moving your heat source slowly. That way the area can be heated evenly.
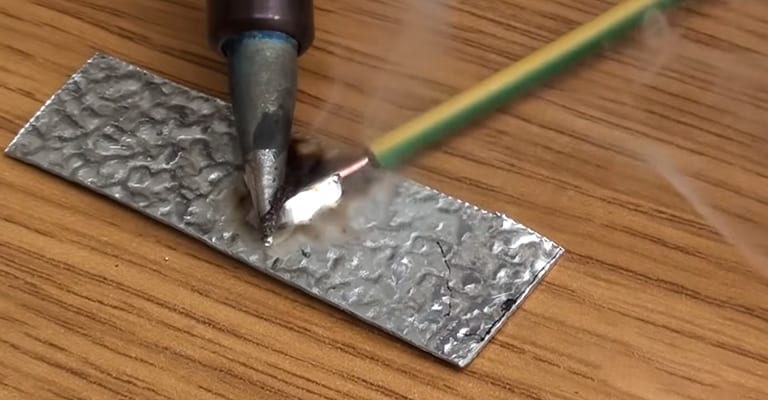
Step-6: Putting Solder in the Joint and Finishing
Heat your solder until it’s soft. Then apply it to the joint. If it doesn’t stick with the aluminum, the oxide layer has likely reformed. You’ll need to brush and clean the pieces once again I’m afraid. It will take only a few seconds for the solder to dry. After drying, remove the remaining flux with acetone.
Conclusion
It’s all about understanding the process when it comes to soldering aluminum. Eliminate the aluminum oxide layer on top with a steel brush or by sanding. Use the proper soldering iron, solder, and flux. Also, use a damp cloth to remove extra solder for a good finish. Oh, and always use safety precautions.
Well, there you have it. I hope now you got a grasp on how to solder aluminum. Now into the workshop, we go.
I'm Joost Nusselder, the founder of Tools Doctor, content marketer, and dad. I love trying out new equipment, and together with my team I've been creating in-depth blog articles since 2016 to help loyal readers with tools & crafting tips.
