Filling in thin layers and which putty knives do you need for filling.
Filling is not the same as filling large holes. Puttying is done with wall putty and you apply it in small layers. The reason for this is that putty shrinks and tears when applying thick layers. If there are large holes or cracks, you will first fill them with a 2-component filler. This filler consists of 2 parts: a mixture of filler and a hardener. When you mix these together, it becomes hard over time. It depends on which one you use. You have to wait at least 4 hours for dryflex, for example, before you can sand and putty it. While another 2-component putty only takes 20 minutes to cure. It also depends on how big the gap is to fill. If you have wood rot, it is better to use a wood rot filler. Dryflex is also suitable for this. Read the article about wood rot here. Putty is therefore a final layer that you have to apply in layers. In between you have to sand these layers.
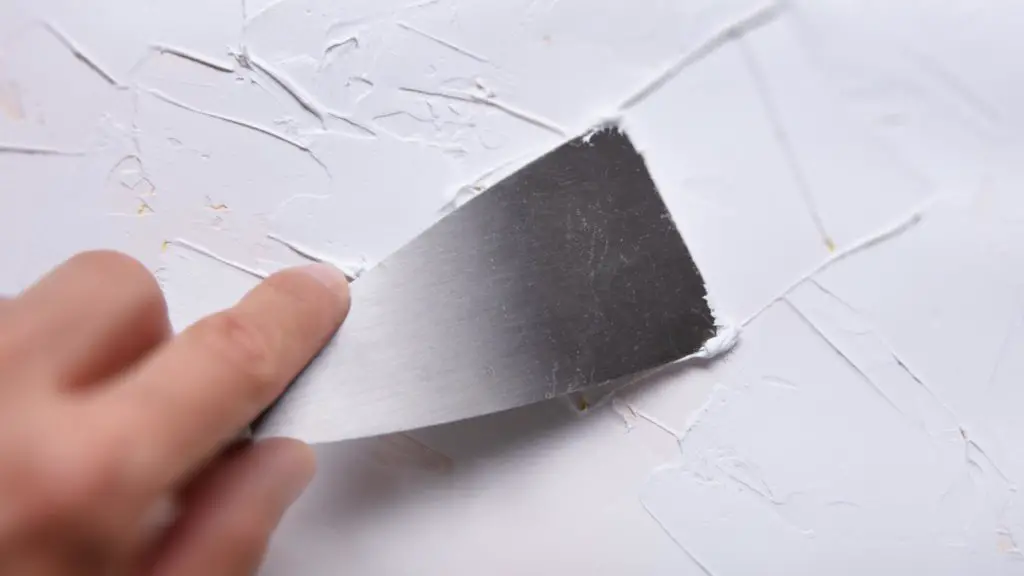
Filling is done with 2 putty knives.
Filling is done with 2 putty knives. These knives vary from 1 centimeter to 15 centimeters. You use one putty knife to put the putty on it and the other putty knife you smooth the surface. Usually you take the large putty knife in your left hand (right hand for the left-handers) and the small putty knife in your right hand. To seal the long cracks, use a putty knife 3 centimeters wide and one five centimeters wide. Apply putty with the wider putty knife and smooth it out with the narrower putty knife. Hold it so that it forms an 80 degree angle with the surface. After you stroke down, reduce the angle to 20 degrees and push the putty knife up to the point where you started the downward movement. The same goes for the horizontal cracks. In this way you remove the excess filler around the holes and cracks. Which one of you has ever putty yourself? What were the results? Let us know by leaving a comment below this article. I would love it!
Need advice? You can also ask me a question, click here.
Thanks in advance.
Piet de Vries

I'm Joost Nusselder, the founder of Tools Doctor, content marketer, and dad. I love trying out new equipment, and together with my team I've been creating in-depth blog articles since 2016 to help loyal readers with tools & crafting tips.