Bathroom silicone sealant for waterproofing a bathroom with the right kit.
There is always a lot of moisture in a bathroom.
And this moisture should not adhere to a sealant.
That is why you have to use the right kit.
With a bathroom sealant you should always use silicone sealant.
This is also known as sanitary kit.
It’s about d
that this kit does not absorb moisture, but repels it.
This silicone sealant cures by absorbing water.
The sealant is therefore mold-resistant and very elastic.
What is a disadvantage is that silicone sealant cannot be painted over.
Before the bathroom sealant, you must first finish all the paintwork.
So first paint the windows and doors, then paint the ceiling and wall.
Only then will you seal a bathroom.
You can then seal all the seams between ceiling and walls, between frame and walls and tiles and walls.
In the next paragraph, I’ll tell you how to make a bathroom sealant possible yourself.
Bathroom sealing according to a procedure.
Filling a bathroom with sealant should always be done according to a procedure.
The first thing to do is to thoroughly clean the seam and the adjacent surface.
This is really a must!
After this, place the cartridge in the sealant syringe and cut the seal of the sealant at an angle.
If you want to seal between tiles and a bath, tape this off beforehand with painter’s tape.
This will give you a nice straight line.
Also make sure you have a cup of lukewarm water and soap and a piece of power tube ready.
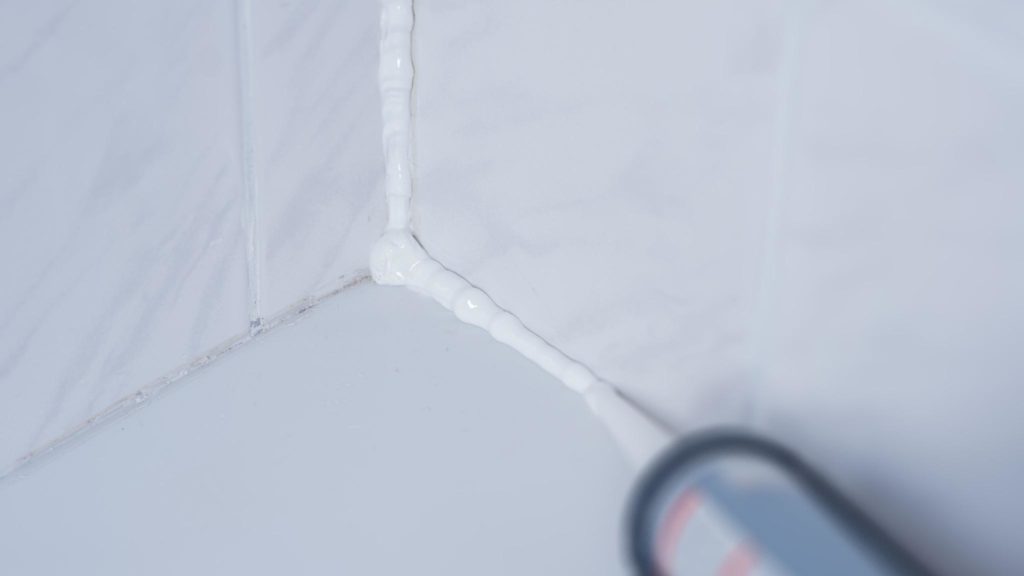
Now it comes down to it.
Now place the caulking syringe upright and gently press the syringe in.
The moment you see that sealant comes out, go in 1 smooth movement from left to right or vice versa.
When you are at the end, let go of the caulk gun, otherwise the caulk will drip when you put the caulk gun in a different place.
As soon as you have putty, take the piece of power tube or PVC tube that has been sawn off at an angle and sanded and immerse it in the soapy water.
Let this slide over the sealant edge so that you get a nice hollow sealant edge.
Go over it in such a way that with the open side of the PVC tube you get the excess sealant into the PVC tube.
Dip the PVC tube with the excess sealant into the soapy water so that the sealant slides out of the tube into the soapy water.
Of course you can also run your wet finger over the sealant, but the result will not be as nice as with a PVC tube.
When you are done with this, remove the painter’s tape.
And so you see that a bathroom sealant is not so difficult anymore and you can do it yourself.
Another advantage is that you save money if you do it yourself.
There are professional kitters who ask a meter price and this is not small!
So try this out for yourself, you will see that this is really not difficult.
Which one of you has kitted a bathroom yourself?
Do you have any questions about this article?
You can comment under this blog or ask Piet directly.
Thank you very much.
Pete deVries.
@Schilderpret-Stadskanaal.

I'm Joost Nusselder, the founder of Tools Doctor, content marketer, and dad. I love trying out new equipment, and together with my team I've been creating in-depth blog articles since 2016 to help loyal readers with tools & crafting tips.