Wet sanding is actually done very little, but it is a great solution!
Wet sanding can greatly reduce the amount of dust that is released and gives a beautifully smooth result. However, it cannot be applied to all surfaces, such as porous (untreated) wood.
In this article I’ll show you how you can wet sand with various handy methods and what you should pay attention to.
In this post we'll cover:
Why would you wet sand?
Before you paint anything, you have to sand it first. Painting without sanding is like walking without shoes, I say.
You can choose between standard dry sanding and wet sanding. Wet sanding is actually done very little, and I find that strange!
Disadvantages of dry sanding
Dry sandpaper or a sander are always used in almost 100% of painting projects.
However, the disadvantage is that a lot of dust is often released, especially with manual sanding, but also with sanding machines.
You know yourself when you sand that you should always wear a mouth cap. You want to protect yourself from the dust that is released when sanding and you breathe it in.
Also, the entire environment is often covered with dust. This is certainly not ideal if you work indoors.
If you work with a sander, you now have great extraction systems, where you can hardly see any dust. Still, a little bit always escapes.
Benefits of wet sanding
I can imagine that people do not want dust in their house and then wet sanding is a godsend.
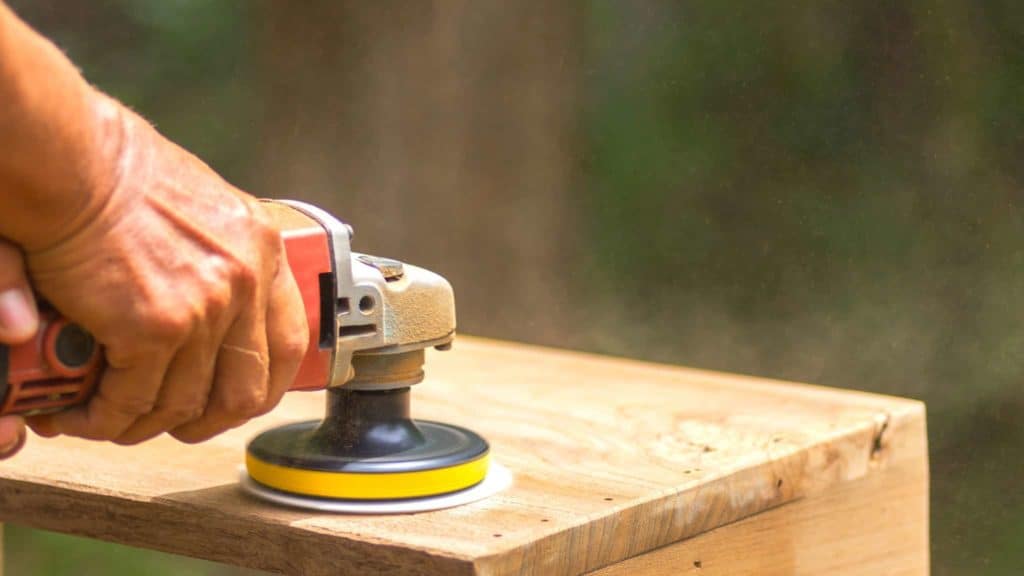
Wet sanding can be done both manually and mechanically and besides generating a lot less dust, you will also achieve a nice finish.
Only with wet sanding can you get a wooden surface really smooth.
Finally, there is another advantage to wet sanding: the treated surface is immediately clean and you get fewer scratches.
It is therefore very suitable for vulnerable objects, such as the paint of your car or your grandmother’s dresser.
When can you not sand wet?
What you should keep in mind is that you cannot wet sand untreated wood, stained wood and other porous surfaces!
Moisture will then penetrate into the wood and this will expand, after which you can no longer treat it. Wet sanding drywall is also not a good idea.
What do you need for manual wet sanding?
- Bucket
- Degreaser: B-Clean all-purpose cleaner or ammonia
- Waterproof sandpaper or a sanding pad such as: Scotch Brite, Wetordry, or scouring pad
- Clean cloth for rinsing
- Clean lint-free cloth for drying
- Abrasive gel (when using a sanding pad)
For best results, use sandpaper with different grit sizes. You then go from coarse to fine for a nice, even finish.
You can also apply this if you are going to sand by machine, wet or dry.
Step-by-step manual wet sanding
This is how you proceed to get a surface nice and smooth:
- Fill a bucket with cold water
- Add the all-purpose cleaner
- Stir the mixture
- Take a sanding pad or sheet of sandpaper and dip in the mixture
- Sand the surface or object
- Rinse the surface or object
- Let it dry
- Start painting
Wet sanding with Wetordry™ Rubber Scraper
Even with wet sanding, the technology does not stand still. There are also many options available here.
I like to work with this 3M Wetordry myself. This is a water-resistant sanding pad that is very flexible and can be compared to a thin sponge.
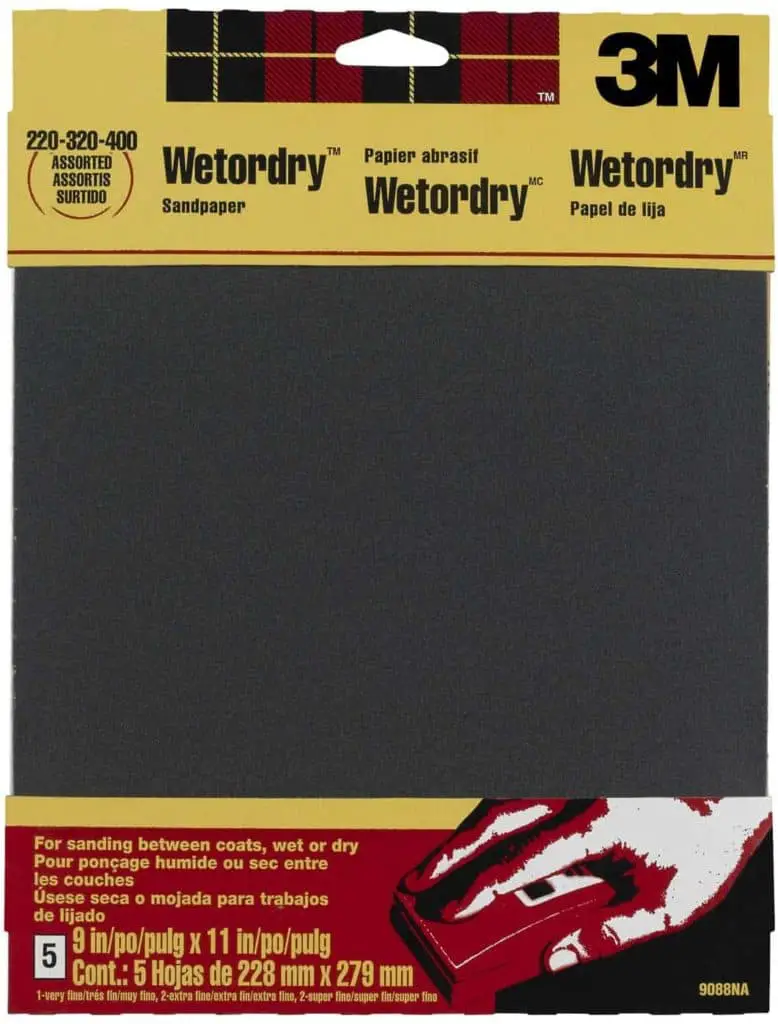
The Wetordry is specially designed for removing slush from wet sanding. Slush is a mixture of granules from the paint layer and water.
It is therefore especially suitable to remove an old layer of paint before applying a new layer.
Also read: How to remove textured paint + video
Wet sanding with waterproof sandpaper
You can also wet sand very well with waterproof Senays sandpaper such as SAM Professional (my recommendation).
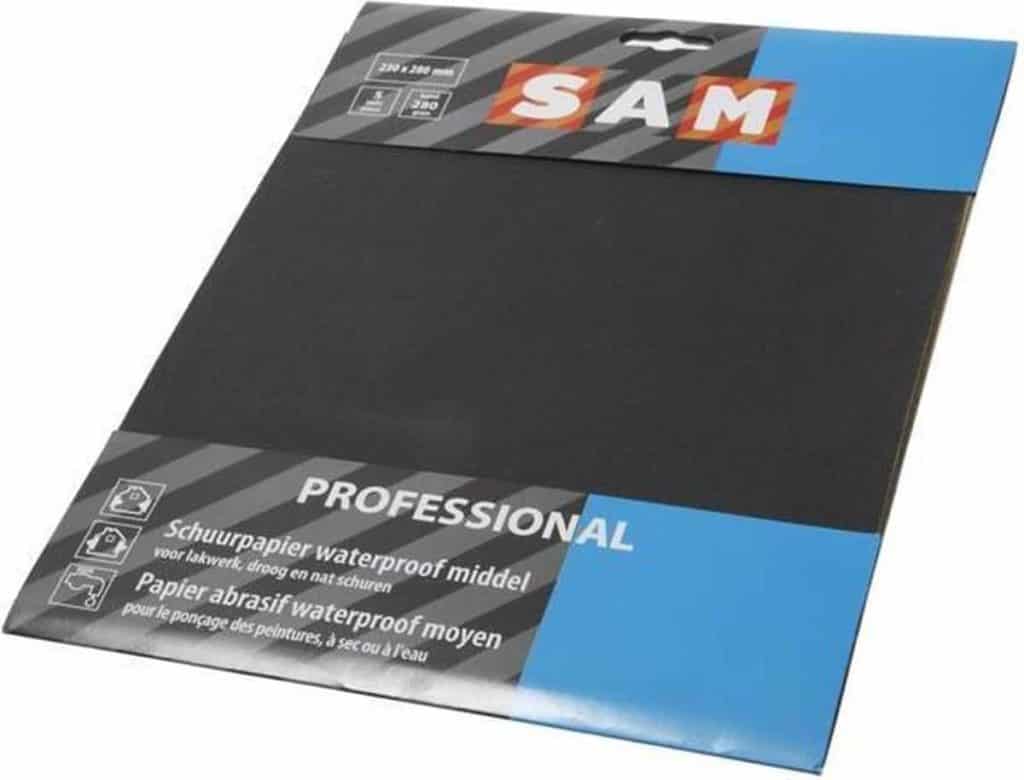
The advantage of this is that you can sand both dry and wet.
You can also buy SAM sandpaper from Praxis and you can use it for wood and metal.
The sandpaper is available in coarse, medium and fine, respectively 180, 280 and 400 (abrasive grain) and 600.
Read more about different types of sandpaper and when to use which type here
Scotch-Brite: a third alternative
A Scotch-Brite is a flat sponge that allows water and slush to pass through. You can only apply it to existing lacquer or paint layers.
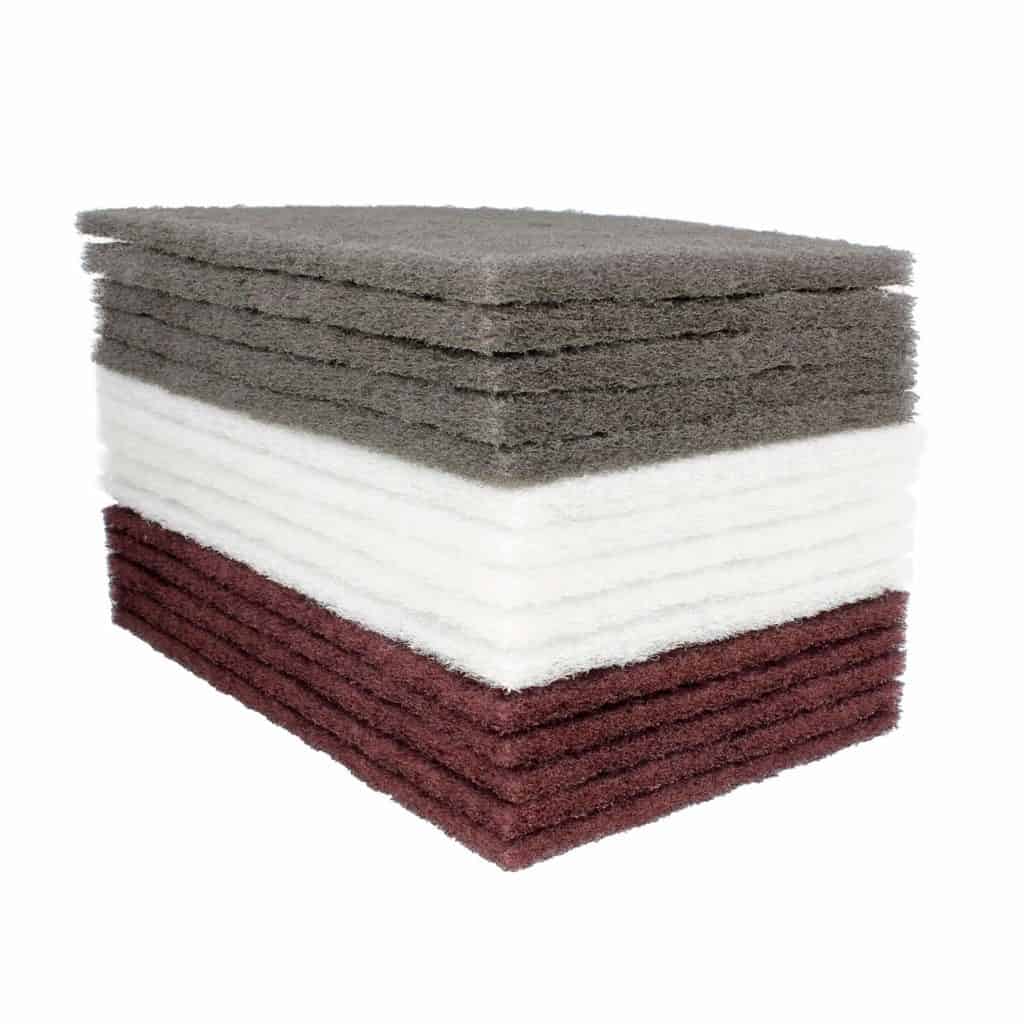
The goal is therefore to improve adhesion. Scotch Brite (also called hand pad/sanding pad) will not scratch or rust the surface.
Wet sanding with a hand pad gives an even finish. Every spot is as matte as the rest of the surface.
When you have finished sanding, you will need to clean the surface before painting. Use a clean lint-free cloth for this.
Use an abrasive gel for wet sanding with an abrasive sponge
An abrasive gel is a liquid of which you can clean and sand at the same time.
You will treat the surface with a scouring sponge. You distribute some sanding gel on the sponge and make circular movements so that you sand and clean the entire surface.
Then clean with a damp cloth. This also applies to already painted objects or surfaces.
This Rupes Coarse abrasive gel is a very good one to use with a sanding pad:

Finally
Now you know why wet sanding is better than dry sanding in most cases. You also know exactly how to approach wet sanding.
So if you are going to paint soon, consider wet sanding.
Is that old cupboard an eyesore? Freshen up with a nice new coat of paint!

I'm Joost Nusselder, the founder of Tools Doctor, content marketer, and dad. I love trying out new equipment, and together with my team I've been creating in-depth blog articles since 2016 to help loyal readers with tools & crafting tips.