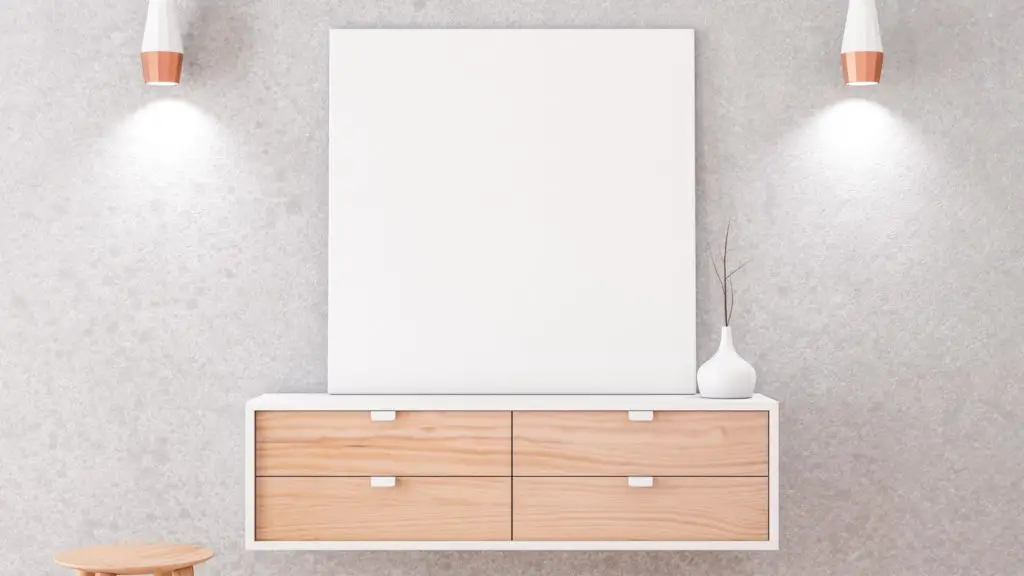
CONCRETE LOOK PAINT IS A TRENDSETTER

SUPPLIES TO PAINT “CONCRETE LOOK”
Stucloper
cover foil
block brush
Cloth
all-purpose cleaner
Bucket
Brush
Fur roller 25 centimeters
Latex
paint tray
flat brush
Sponge
ROADMAP
Make room to get close to the wall
Place a piece runner or cover foil on the floor
Go dust the wall first
Pour a little all-purpose cleaner into a bucket of water
Go over the wall with a cloth that is not too wet
Let the wall dry well
Pour latex into the paint tray
Take a brush and start at the top to approx 1 meter and also the side to 1 approx meter
Continue rolling this with the fur roller and then again with the brush
Paint the wall from top to bottom, left to right.
Apply a second coat approx 1 square meter
Finish with a block brush by making sweeps over it: cloud effect
Second layer again approx 1 m2, block brush again. This way you finish the entire wall.
Concrete look paint is a new trend.
Basically, if you think about it, everything is a cycle.
In the past, houses were built, where the walls simply remained gray.
Nowadays people want to paint a wall again where the gray concrete has to come forward.
Nowadays you have paint for concrete for this: a look of concrete.
The reason for this is that you create an antique and fresh wall, as it were.
Compared to the past, this is of course much cleaner, because you provide your walls with wall paint.
I must confess that it does bring a total change in your home.
Concrete look paint is therefore perfect to complement your interior ideas.
You can easily apply it yourself.
CONCRETE LOOK PAINT YOU CAN EASILY PAINT
You can apply concrete look paint yourself.
Before you start painting a wall, make sure that you have cleared the wall and that the floor is well covered with plaster or plastic film.
What you also need is the following: paint tray, brush, fur roller 10 centimeters, fur roller 30 centimeters, block brush and a cloth.
We assume that you have a white wall and that you want to have a concrete look gray color .
Before you start, you must first make the wall dust-free and, if necessary, degrease it slightly with an all-purpose cleaner.
Do not do this too wet, otherwise it will take too long for the wall to dry again.
USING LATEX PAINT AS A SUBSTRATE
Then you first apply a light gray acrylic-based latex paint.
When you’ve done this and the wall is dry, apply the second coat, which should be darker.
You do this by dabbing in the paint with a cloth and applying it to the wall.
Proceed in such a way that you are making dots on the wall, as it were.
Then take a block brush and smooth it out so that connections are made with the other dots.
You get a kind of cloud effect, as it were.
Imaginarily divide your wall into areas of one square meter and finish the entire wall in this way.
If you have trouble with this, put a light pencil mark on your wall both vertically and horizontally so that you know that it is one square meter.
You can also create another technique on your wall.
And that is dabbing with a sponge on your surface.
You get a completely different effect with this, but the idea is the same.
You can compare concrete-look paint a bit with white wash, but then on the walls.
I would like to know if anyone has performed this painting technique and what their experiences are.
Would you like to tell me?
Do you have any questions about this article?
Or do you have a nice suggestion or experience on this subject?
You can also post a comment.
Then leave a comment below this article.
I would really love this!
We can share this with everyone so that everyone can benefit from it.
That is why I set up Schilderpret!
Share knowledge for free!
Comment here under this blog.
Thank you very much.
AN ATERNATIVE: CHALK PAINT
I am someone who is always going to try things out.
Instead of paint that gives a concrete look, I used chalk paint.
I didn’t notice any difference with the application.
The result is astonishing: a concrete look!
So I did find out that chalk paint is much cheaper!
I’d say give it a try!
Yes, I want to try chalk paint too!
Pete deVries.
I'm Joost Nusselder, the founder of Tools Doctor, content marketer, and dad. I love trying out new equipment, and together with my team I've been creating in-depth blog articles since 2016 to help loyal readers with tools & crafting tips.

