Family gatherings and get-togethers never felt more alive and relaxing especially when it was time for the game of horseshoe.
This classical game is fun, and competitive and it is best enjoyed when played as a friendly match putting the nature of the occasion into consideration.
No matter what the occasion may be, nothing beats the satisfaction you feel when you set up the horseshoe pit yourself, especially as a DIY enthusiast.
Setting up a horseshoe pit could be pretty technical, no need to worry, pay close attention to this article and you’ll be setting up the best horseshoe pit in the neighborhood or possibly the best horseshoe pit in the history of DIY horseshoe pits. Let’s get started!
In this post we'll cover:
How to Build a Horseshoe Pit
Wait a minute! Before we get started, here’s a list of the tools and materials you’ll need:
- 4×4 or 2×6 pressure treated lumber
- Timber screws
- Sand
- Hammer – it could be a framing hammer like one of these
- Landscaping material
- a stake or two
- spray paint
- measuring tape
- shovel
- a saw
Now, we can get started!
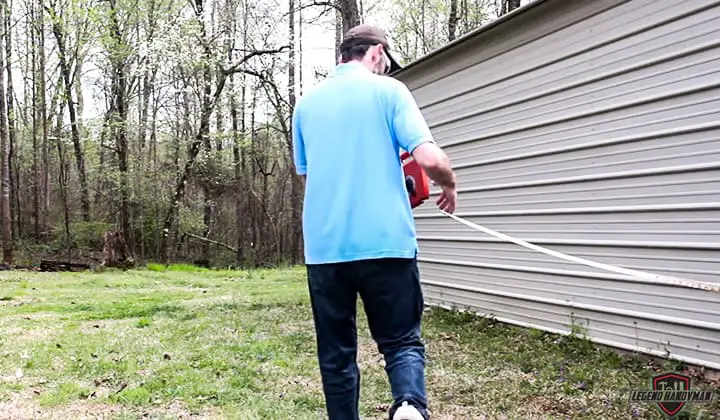
Step 1: Finding the Perfect Spot
Your backyard is one of many spots to build your horseshoe court. You need about a 48-foot-long and a 6foot wide ground space that has a flat surface. Also, make sure it is an open space with a little bit of shade from sunlight, so your horseshoes can fly freely in the air with no obstructions.

Step 2: Getting the Measurements Right
A standard horseshoe pit has two stakes, 40 feet apart from each other carefully driven into the ground in a frame of at least 31×43 inches and at most 36×72 inches depending on the available space; these are the basis for every other measurement.
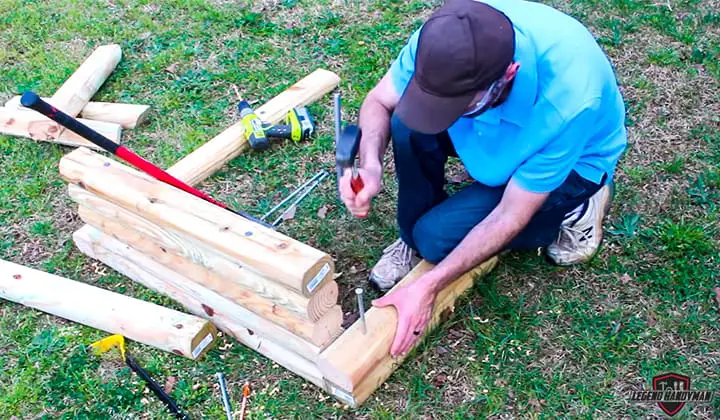
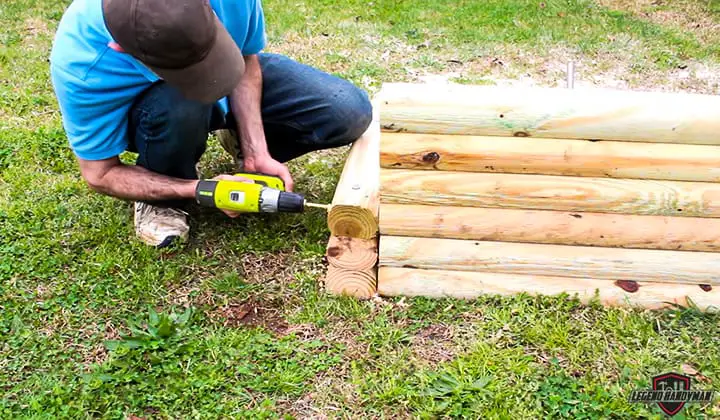
Step 3: Building your horseshoe pit frame
Your horseshoe pit frame should have; a rear extension of 12inches and two pitching platforms that are 18inches wide and with a length of 43inches or 72inches. Get your cutting saw and cut four 36inches pieces of lumber for your rear extension and four 72inches lumber pieces. Use two of each size on each side to form a rectangular box and fasten with timber screws.
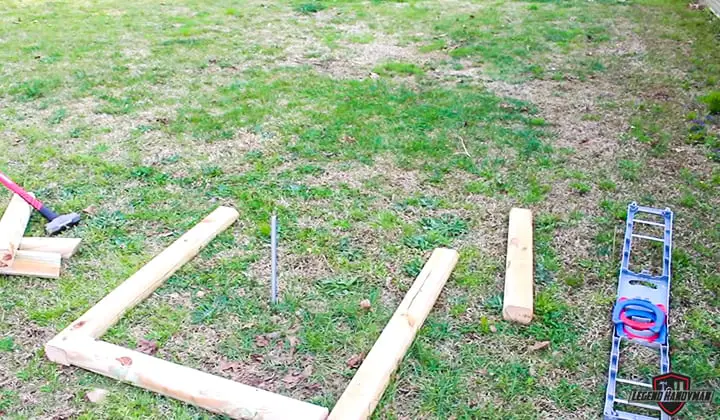
Step 4: Do some digging
If you want a stronger and long-lasting horseshoe pit, mark the ground using a spray paint using the above measurements and do a little bit of excavation to make your horseshoe pit box unshakeable. Dig a trench of about 4inches, make sure some part of your lumber is buried in the ground for a stronger foundation.
Step 5: Placing your frame in the trench
After all the markings and excavating, gently place the horseshoe pit frame in the trench and fill up the extra spaces with the dugout sand.
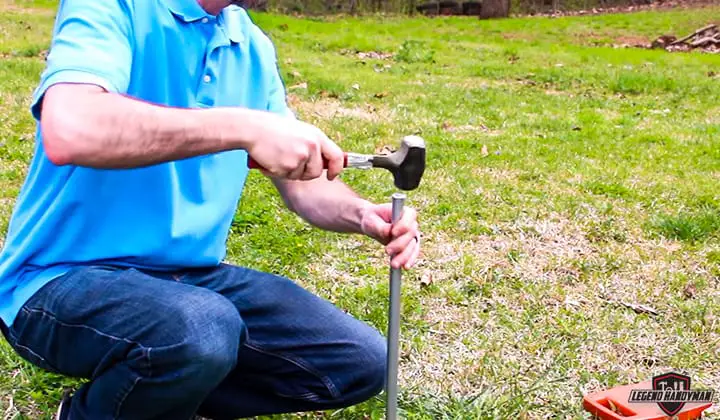
Step 6: Staking it out
Get your stake and hammer it 36inches away from the front of each frame; to make sure the stake is at the center. Keep your stake 14inches above ground level and slightly tilted to the front, you don’t want your horseshoe missing the stake every single time.
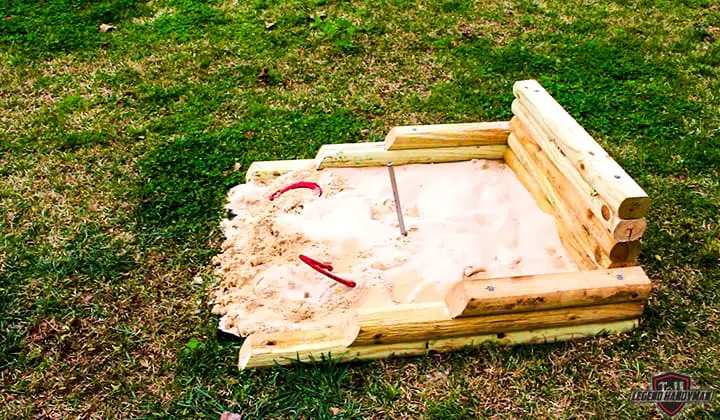
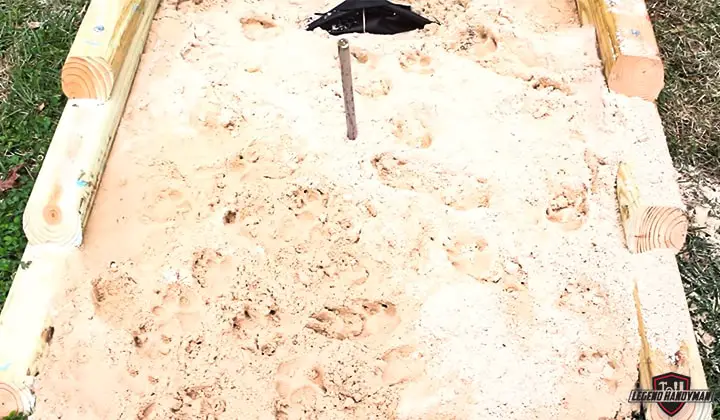
Step 7: Filling your frame up with sand
Pick up your bag of sand and fill your pit up but don’t carried away. Measure the protruding stake at intervals to make sure it is still about 14 inches above the ground and level it. Well, there is a high chance that you might have grasses growing on the pit, so landscaping is recommended, though not totally necessary.
Step 8: Adding a Backboard
To make your court more standard add a backboard to prevent horseshoes from straying too far away. Carefully erect your backboard at 12inches beyond the pit and with a height of about 16inches, a backboard is not necessary for backyard horseshoe pits unless you have special reasons like preventing damages.
Step 9: Do it again
For your second horseshoe pit where the throwing takes place, do steps 1 through 7 again.
Step 10: Have FUN!
Here’s the best part of it all. Gather your friends, families or co-workers together and play! Score as many points as you like and be the King of Horseshoe.
Conclusion
Go down memory lane with this amazing classical game that takes your regular boring backyard to an Olympic stadium kind of fun. For the DIYers, this is a great job to add to your portfolio and scrap out of your bucket list.
Remember, you don’t have to build a standard horseshoe pit in your backyard if you don’t have enough space for it, all you need is to build just one horseshoe pit with a stake and have fun.
Call for a get-together, a birthday party or even a date at your backyard because you have the best horseshoe pit in the neighborhood, no need to thank me.

I'm Joost Nusselder, the founder of Tools Doctor, content marketer, and dad. I love trying out new equipment, and together with my team I've been creating in-depth blog articles since 2016 to help loyal readers with tools & crafting tips.