I love creating free content full of tips for my readers, you. I don't accept paid sponsorships, my opinion is my own, but if you find my recommendations helpful and you end up buying something you like through one of my links, I could earn a commission at no extra cost to you. Learn more
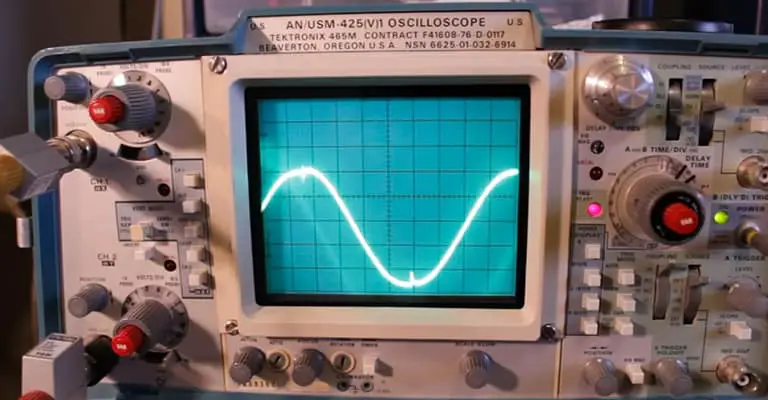
Oscilloscopes can measure and display the instantaneous voltage graphically but keep in mind that an oscilloscope and a graphic multimeter is not the same thing. It consists of a screen that has a graph shaped vertical and horizontal lines. An oscilloscope measures the voltage and plots it as a voltage vs. time graph on the screen.
It usually doesn’t show the frequency directly but we can get a closely related parameter from the graph. From there we can calculate the frequency. Some of the latest oscilloscopes these days can automatically calculate the frequency but here we are going to focus on how to calculate it ourselves.
In this post we'll cover:
Controls and Switches on the Oscilloscope
To calculate the frequency, we need to connect it to a wire with a probe. After connecting, it will show a sine wave that can be adjusted with the controls and switches on the oscilloscope. So it is crucial to know about these control switches.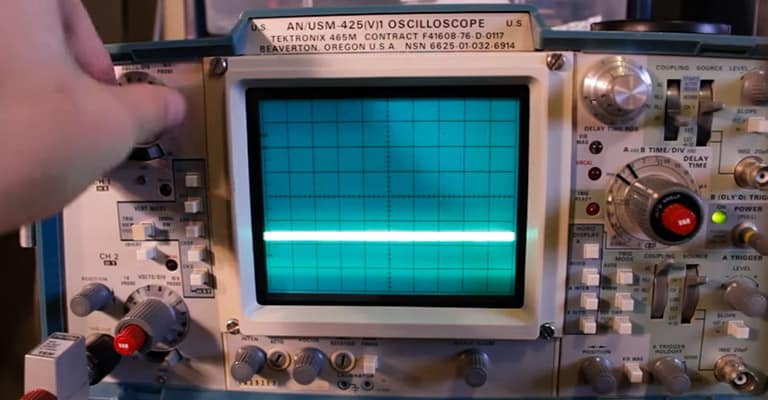
Adjusting Oscillosocpe Graph and Calculating Frequency
Frequency is the number that indicates how many times a wave completes its cycle in every second. In an oscilloscope, you can’t measure the frequency. But you can measure the period. The period is a time it takes to form a full-wave cycle. This can be used to measure frequency. Here’s how you’ll do it.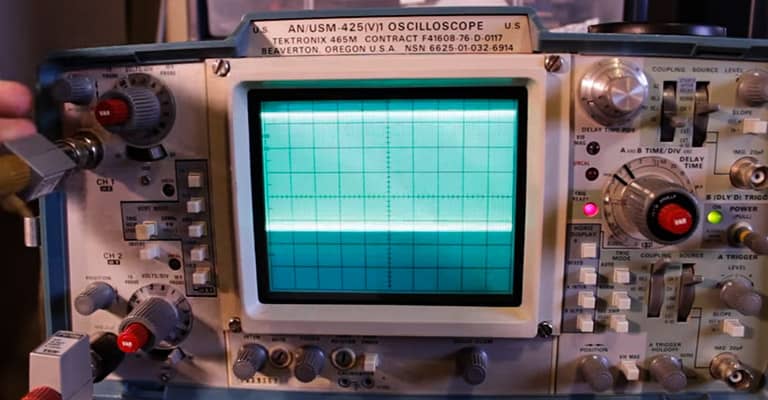
Connecting the Probe
First, connect one side of the probe to the oscilloscope probe channel and the other side to the wire you want to measure. Make sure your wire is not earthed or else it will cause a short circuit that can be dangerous.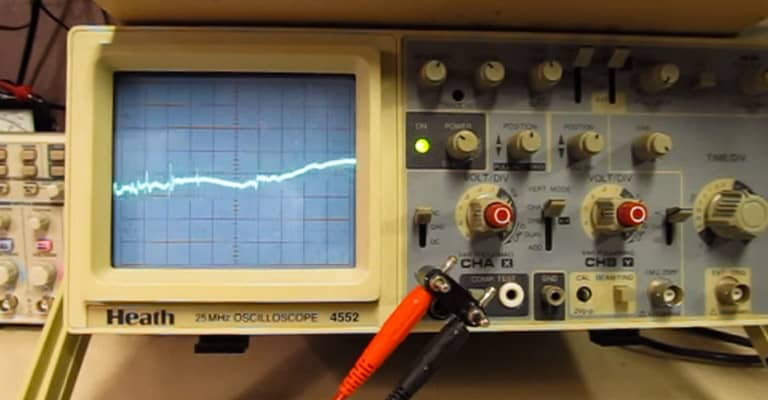
Using the Position Knobs
Positioning matters a lot as far as frequency is concerned. Recognizing the terminations of a wave cycle the key here.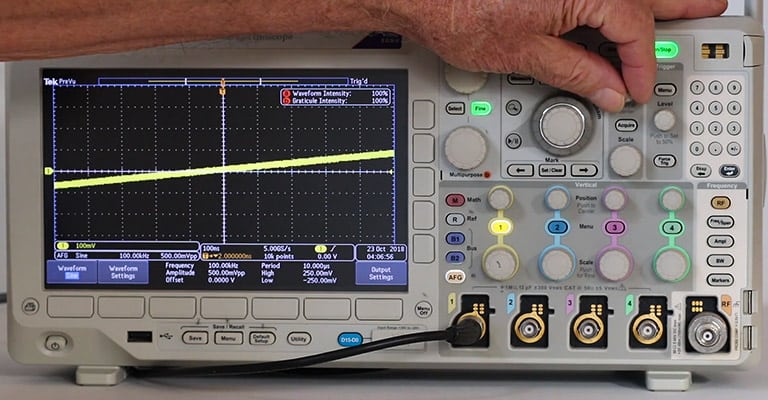
Using Trigger
Trigger switch can be a knob or a switch. You will see a small yellow triangle on the right side of your screen. That is the trigger level. Adjust this trigger level if your shown wave has static in it or it is not clear.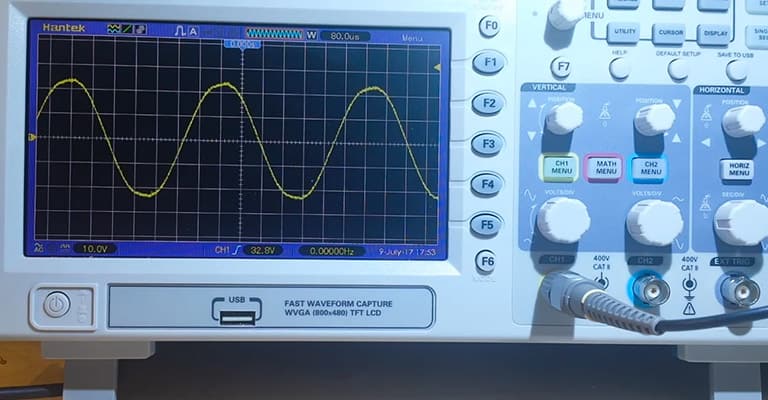
Using Voltage/div and Time/div
Rotating these two knobs will result in changes in your calculation. No matter what settings these two knobs are, the result will be the same. Only the calculation is going to differ. Rotating Voltage/div knobs will make your graph vertically tall or short and rotating the Time/div knob will make your graph horizontally long or short. For convenience use 1 volt/div and 1 time/div as long as you can see a full wave cycle. If you can’t see a full wave cycle on these settings then you can change it according to your need and use those settings in your calculation.
Measuring Period and Calculating Frequency
Let’s say I used 0.5 volts on volt/div which means each division represents .5 voltages. Again 2ms on time/div which means each square is 2 milliseconds. Now if I want to calculate the period then I have to check how many divisions or squares it takes horizontally for a full wave cycle to form.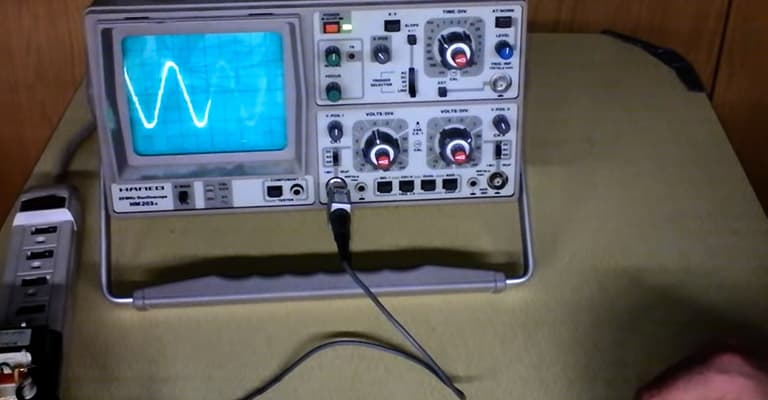
Calculating Period
Say I found it takes 9 divisions to form a full cycle. Then the period is the multiplication of the time/div settings and the number of divisions. So in this case 2ms*9= 0.0018 seconds.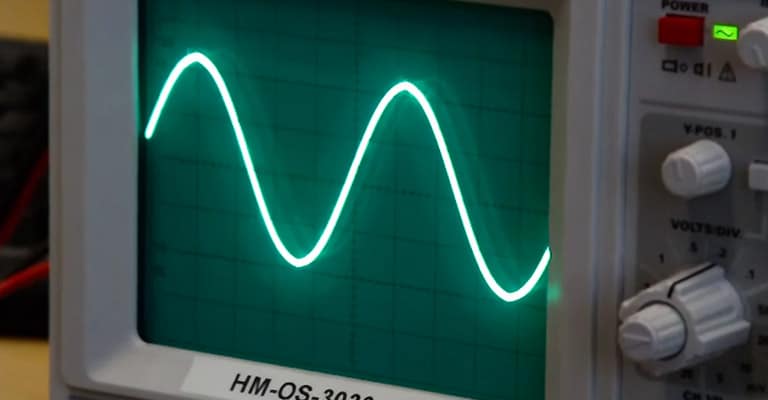
Calculating Frequency
Now, according to the formula, F= 1/T. Here F is frequency and T is period. So the frequency, in this case, will be F=1/.0018= 555 Hz.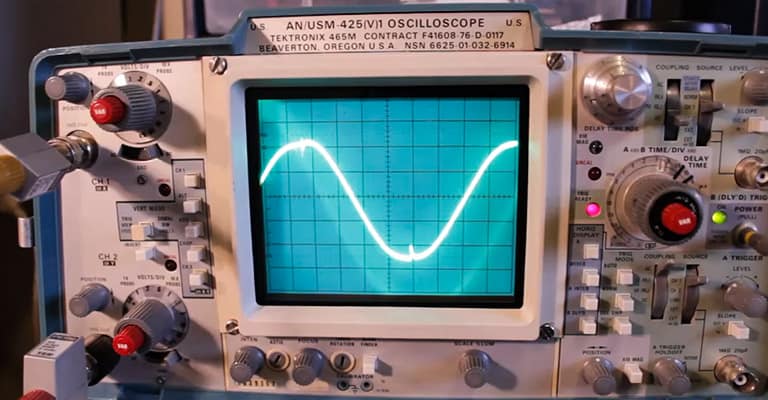
Conclusion
An oscilloscope is a very essential tool in the electrical field. An oscilloscope is used for looking at very fast changes in voltage over time. It is something multimeter can’t do. Where multimeter only shows you the voltage, an oscilloscope can be used to make it a graph. From the graph, you can measure more than voltage, such as period, frequency, and wavelength. So it is essential to learn about the functions of an oscilloscope.
I'm Joost Nusselder, the founder of Tools Doctor, content marketer, and dad. I love trying out new equipment, and together with my team I've been creating in-depth blog articles since 2016 to help loyal readers with tools & crafting tips.