A circular saw is one of the most crucial tools in almost any workstation or garage. That’s because it is such a useful and versatile tool it is. But over time, the blade gets dull or needs to be replaced with a different one for a different task.
Either way, changing the blade is necessary. But how do you change a circular saw blade properly? A circular saw is quite a safe device to use. However, It is a damn fast-spinning tool with razor-sharp teeth.
It won’t be very pleasant if somehow the blade gets free or breaks mid-operation. Thus, maintaining the tool properly and carefully is important. And since changing the blade is a relatively frequent task, knowing to do it properly is important. 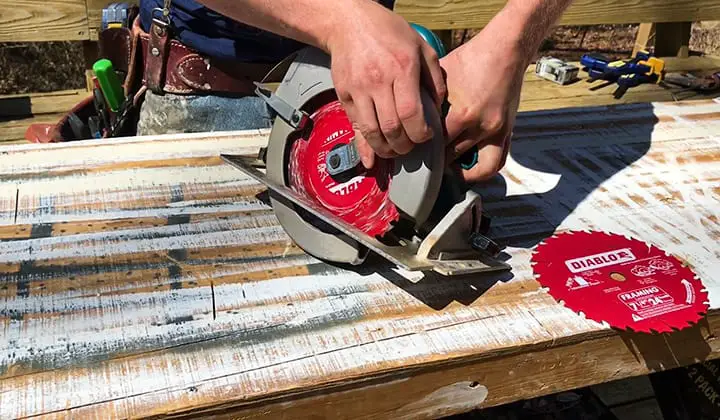
So, how do you properly change a circular saw blade?
In this post we'll cover:
Steps To Changing A Circular Saw Blade
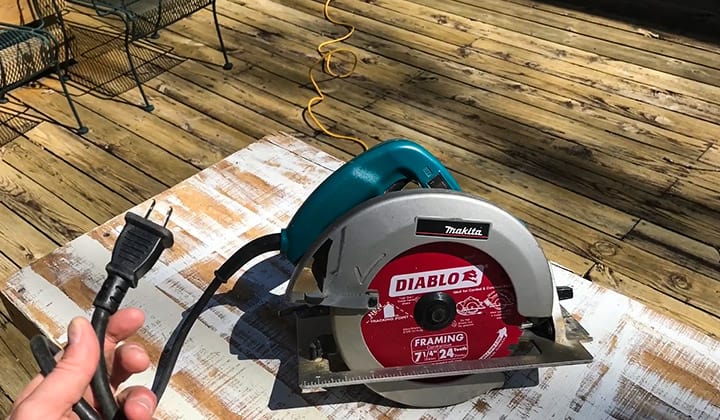
1. Unplugging The Device
Unplugging the device is the fast and foremost step in the process. Or if it is battery-powered, like – the Makita SH02R1 12V Max CXT Lithium-Ion Cordless Circular Saw, remove the battery. This may sound silly, but it is by far the most common mistake, especially when one needs different blades for a project.
2. Lock The Arbor
Most circular saw, if not all, has an arbor-locking button. Pressing the button will lock the arbor more or less in place, preventing the shaft and the blade from rotating. Do not try to hold the blade steady by yourself.
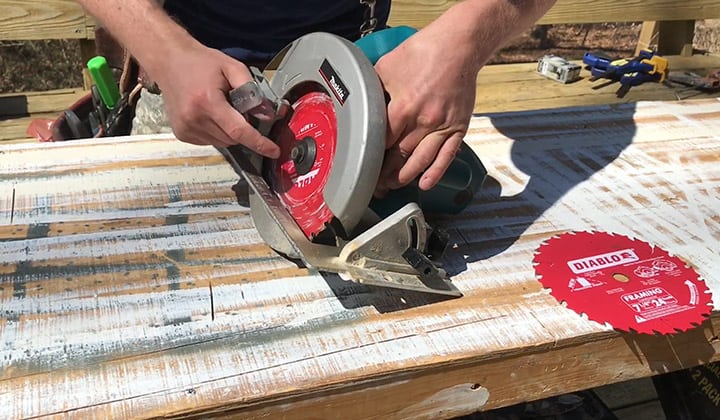
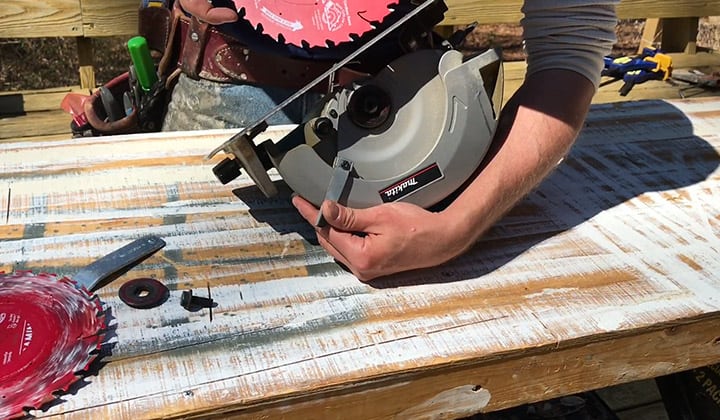
3. Remove The Arbor Nut
With the power unplugged and the arbor locked, you can proceed to unscrew the arbor nut. Depending on your product model, A wrench may or may not be provided. If you get one provided with your saw, use that one.
Otherwise, be sure to use a wrench of proper nut size to prevent slipping and wearing the nut. Usually, turning the nut toward the rotation of the blade loosens it.
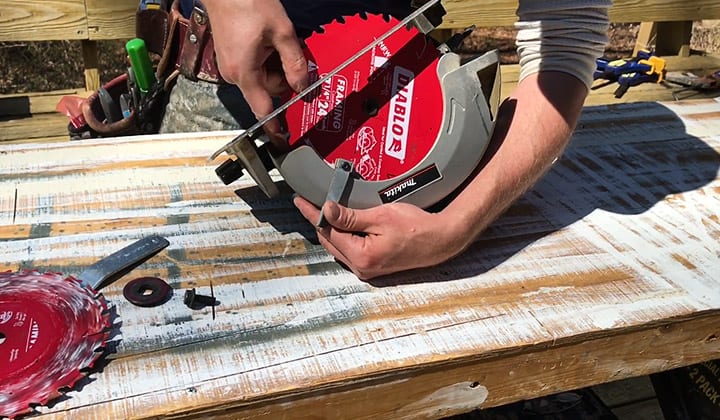
4. Replace The Blade
Remove the blade guard and carefully remove the blade. It is good practice to wear gloves in order to prevent accidents. Proceed with care, while handling the blades especially. Insert the new blade in place and tighten the arbor nut.
Keep in mind; some saw models have a diamond-shaped notch on the arbor shaft. If your tool has it, You should punch out the middle part of the blade as well.
Most of the blades have a removable part at the center. Now, it’ll work just fine without doing so, but it helps tremendously to prevent the blade from slipping while operating.
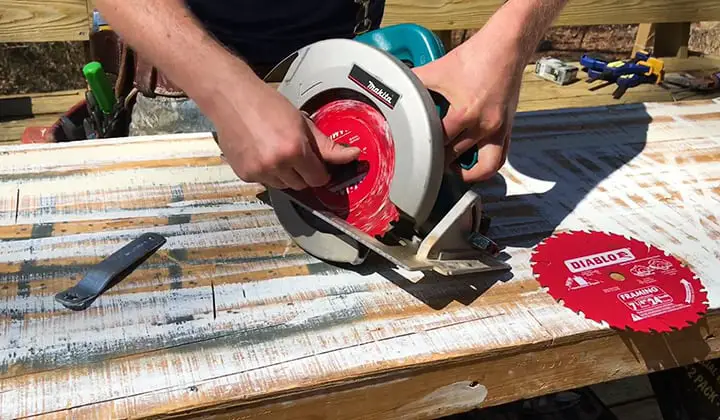
5. Rotation Of The Blade
Make sure to insert the new blade at the right rotation as the previous one. The blades only work when inserted in the right way. If you flip the blade and put it the other way around, that may potentially harm the workpiece, or the machine, or even you.
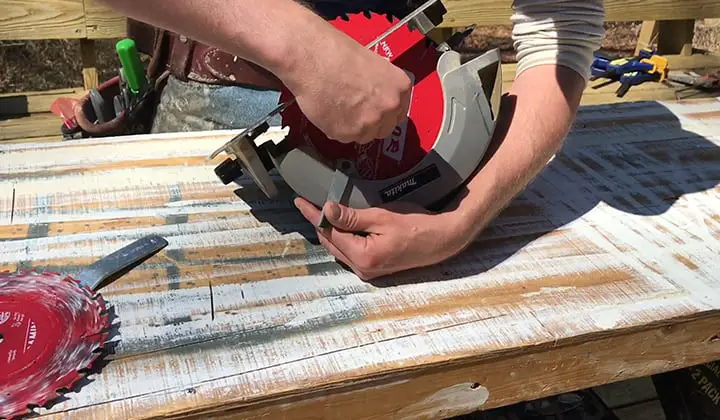
6. Place The Arbor Nut Back
With the new blade in place, put the nut back in place and tighten with the same wrench. Be sure not to over-tighten, though. It is a common mistake to go all out on the tightening.
Doing so will not make your tool more secure. What it will end up doing is make the unscrewing hella difficult. The reason is the way the arbor nuts are set up.
They are set in a way so that the nut doesn’t get loose on its own; instead they get even tighter. So, if you start from a very tightly screwed arbor nut, it is only natural that you’ll need an even stronger arm to unscrew.
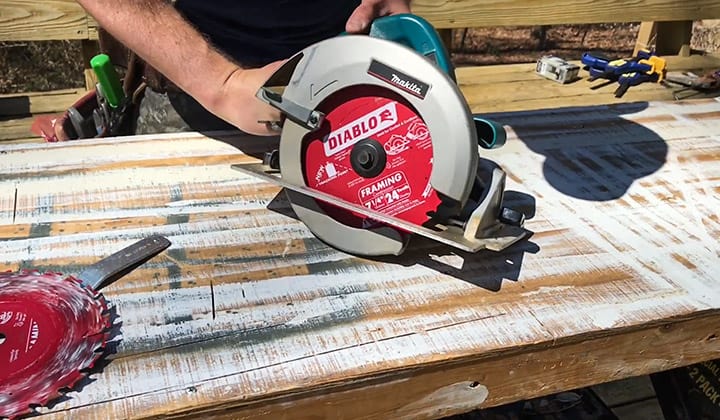
7. Recheck And Test
Once the new blade is installed, put the blade guard in place and check the rotation of the blade manually. If everything feels good, plug the machine in and try the new blade. And that is all there is in changing the blade of a circular saw.
When do you Change The Blade on a Circular Saw?
As I mentioned above, over time, the blade becomes dull and worn out. It will still work, just not as efficiently or effectively as it used to. It will take longer to cut, and you will feel more resistance from the saw. This is an indicator that it is time to get a new blade.

However, it is not the main reason why changing will be necessary. A circular saw is a very versatile tool. It can perform a heap of tasks. But that demands a heap of blade variety as well. It is easy to understand that a wood-cutting blade does not need as smooth of a finish as a ceramic-cutting blade.
Besides, there are blades for fast chopping, smooth finishing, metal-cutting blade, abrasive blades, dadoing blades, and a whole lot more. And often time, one project will require two or three different blades. That is mainly where you will need to change the blade.
Never, I mean never try to mix-match and use a blade for something where it was not intended. You may get by using the same blade on two very similar materials, like hardwood and softwood. But the same blade will never yield the same result when working on ceramic or plastic.
Summary
DIY lover or a professional woodworker, everyone feels the necessity of having a high-quality circular saw in the workshop. You may have a compact circular saw or a big circular saw you cannot avoid the necessity of changing the blade of it.
The process of changing a circular saw blade is not tedious. It just needs proper care and caution. Since the tool itself works with super high spins and sharp objects. If mistakes happen, it is very easy to cause an accident. However, it will get easier after doing it a few times.

I'm Joost Nusselder, the founder of Tools Doctor, content marketer, and dad. I love trying out new equipment, and together with my team I've been creating in-depth blog articles since 2016 to help loyal readers with tools & crafting tips.