The miter saw is one of the most popular tools for woodworking, if not the most popular one. That’s because the tool is simply very versatile and capable of performing a range of tasks.
But for that, you will need to cycle through a range of blades as well. With that said, how do you change the blade of a miter saw properly and safely?
In terms of why you’d need to switch the blades, well, the obvious and inescapable reason is wearing. You have to install a new blade once the old one is, you know, old. Another big reason is to make more out of your miter saw. 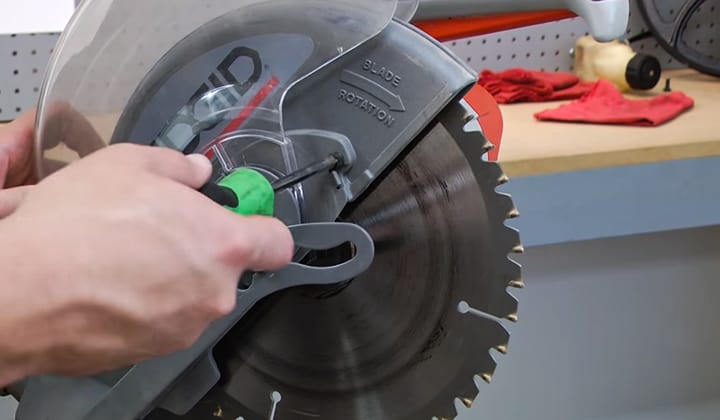
The more variety of blades you have in your arsenal, the more useful your miter saw will be. Changing the blade of a miter saw is pretty generic. The process does not change between models much. However, you may need to tweak a thing or two here and there. So, Here’s how to-
Steps Of Changing The Blade Of A Miter Saw
Before diving into the details, I want to mention a few things first. First, and the most common ones are the stationary ones, which are usually set up on a table, and there are the handheld portable ones.
Furthermore, the handheld version comes in either left-handed or right-handed models. Even though some minor details may change between models, the gist of it is the same. Here’s how it is done –
Unplug The Tool
This is the obvious thing and not properly a part of the process of changing the blade, but you’d be surprised how easily people ignore this. Hear me out here. If you handle the device carefully, it will be all fine. I know that you probably think that way.
But what if you make a mistake, that leads to an accident? So, never forget to unplug when you are changing the blade of a power tool – no matter whether you are changing the blade of a circular saw or a miter saw or any other saw. Safety should always be the main concern.
Lock The Blade
The next thing to do is to lock the blade in place, preventing it from spinning so that you can actually remove the screw. On the majority of the saws, there is a button right behind the blade. It is called the “arbor lock.”
And all it does is lock the arbor or the shaft, which spins the blade. After pressing the arbor lock button, manually rotate the blade in one direction until the blade locks in place and stops moving.
If your tool does not have the arbor lock button, you can still achieve the goal by resting the blade on a piece of scrap wood. Just rest the blade on it and put some pressure. That should hold the blade in place steadily.
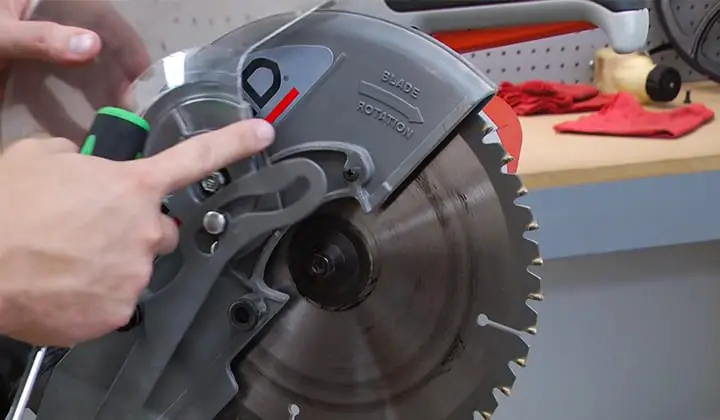
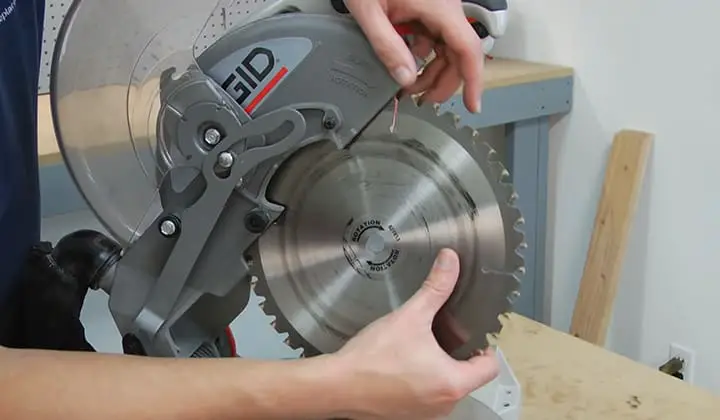
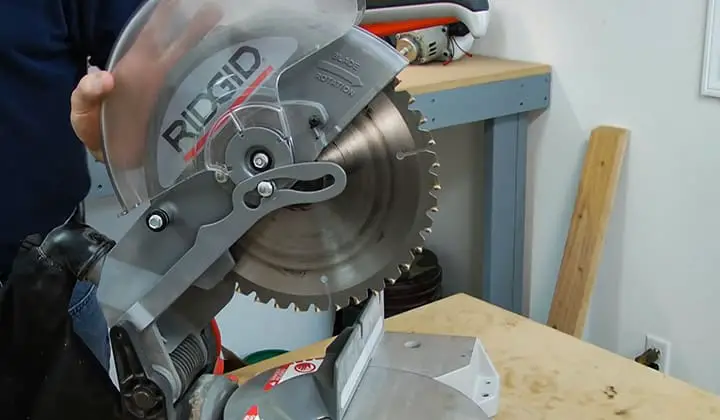
Remove The Blade Guard
With the blade locked in place, it is safe to remove the blade guard. This is one of the steps that will change slightly between models. However, you should be able to locate a small screw somewhere on the blade guard.
You can take some assistance from the user manual that came with the tool. Unscrew the thing, and you are golden.
Moving the blade guard out of the way should be easy. You may need to go through a couple of screws, but once done, this will make the arbor bolt accessible from the outside.
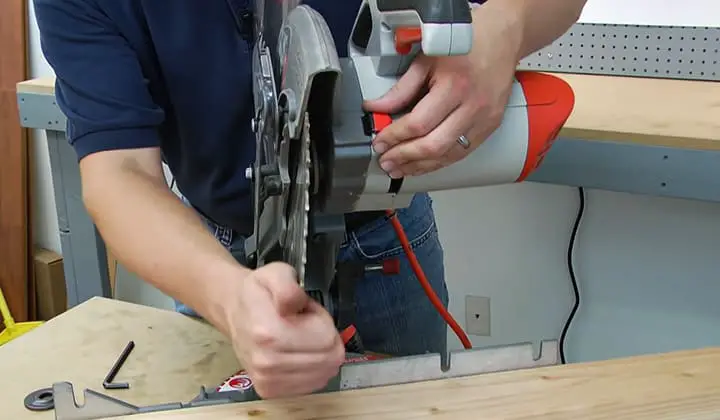
Unscrew The Arbor Bolt
The arbor bolt can use one of several types of bolts, namely the hex bolts, the socket head bolts, or something else. Your saw should come with a wrench. If not, it should be easy to get a proper wrench with the proper size.
Whichever the type, the bolts are almost always reverse-threaded. This is because the saw spin clockwise, and if the bolt were also normal, whenever you run the saw, there would be a big chance for the bolt to come out on its own.
To remove a reverse-threaded bolt, you need to turn the bolt clockwise instead of counterclockwise like you usually do. While unscrewing the blade locking screw, hold the arbor locking pin.
Once the bolt is removed, you should be able to remove the blade flange easily. A point to note is that on the handheld left-handed miter saw; the rotation may look or even feel reversed; as long as you are turning it counterclockwise, you are good to go.
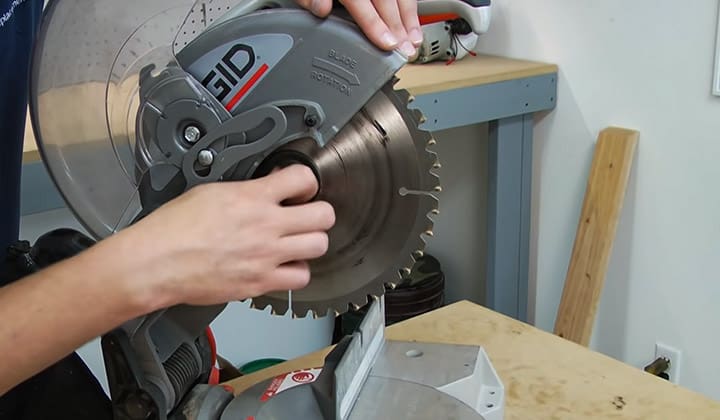
Replace The Blade With The New One
With the arbor bolt and the blade flange out of the way, you can safely grab and remove the blade out of the saw. Store the blade safely and get the new one. All that is left to do is to insert the new blade in place and set the blade flange and the arbor bolt in place.
Undo All The Unscrewing
It is pretty straightforward from here. Tighten the arbor screw and put the blade guard in place. Lock the guard as it was, and give it a couple of rotations manually before plugging it in. Just for the safety measure, you know. If everything seems fine, plug it in, and try it on a scrap wood for testing.
One important thing to keep in mind is that you should not over tighten the arbor bolt. You do not need to leave it pretty loose or tighten it very hard. Remember, I said the bolts are reverse threaded so that the bolt does not come out on its own while operating? That has another effect here.
Since the bolts are reverse-threaded, when the saw is operational, it actually tightens the bolt on its own. So, if you start with a pretty dang tight bolt, you are going to have a much harder time when unscrewing it the next time.
Final Words
If you followed the steps properly, you should end up with a miter saw that is as functional as it was before changing the blade, but with a new blade instead. I want to mention safety one more time.
The reason being, it is quite dangerous to work with a live power tool, especially a tool like a miter saw. One small mistake can easily cause you great pain, if not a great loss.
Overall, the process is not very hard, and it will be nothing, but easier the more you do it. As I mentioned before, some small details may differ between devices, but the overall process should be relatable. And in case you cannot relate, you can always go back to the trusty manual.

I'm Joost Nusselder, the founder of Tools Doctor, content marketer, and dad. I love trying out new equipment, and together with my team I've been creating in-depth blog articles since 2016 to help loyal readers with tools & crafting tips.