I love creating free content full of tips for my readers, you. I don't accept paid sponsorships, my opinion is my own, but if you find my recommendations helpful and you end up buying something you like through one of my links, I could earn a commission at no extra cost to you. Learn more
Decorating house expresses your own significance and also makes the living place look worthy. A floor lamp can be a helping hand in this purpose to make it look more fascinating.
Skills needed to make a floor lamp are not that much. All you need to know about drilling, cutting, and painting.
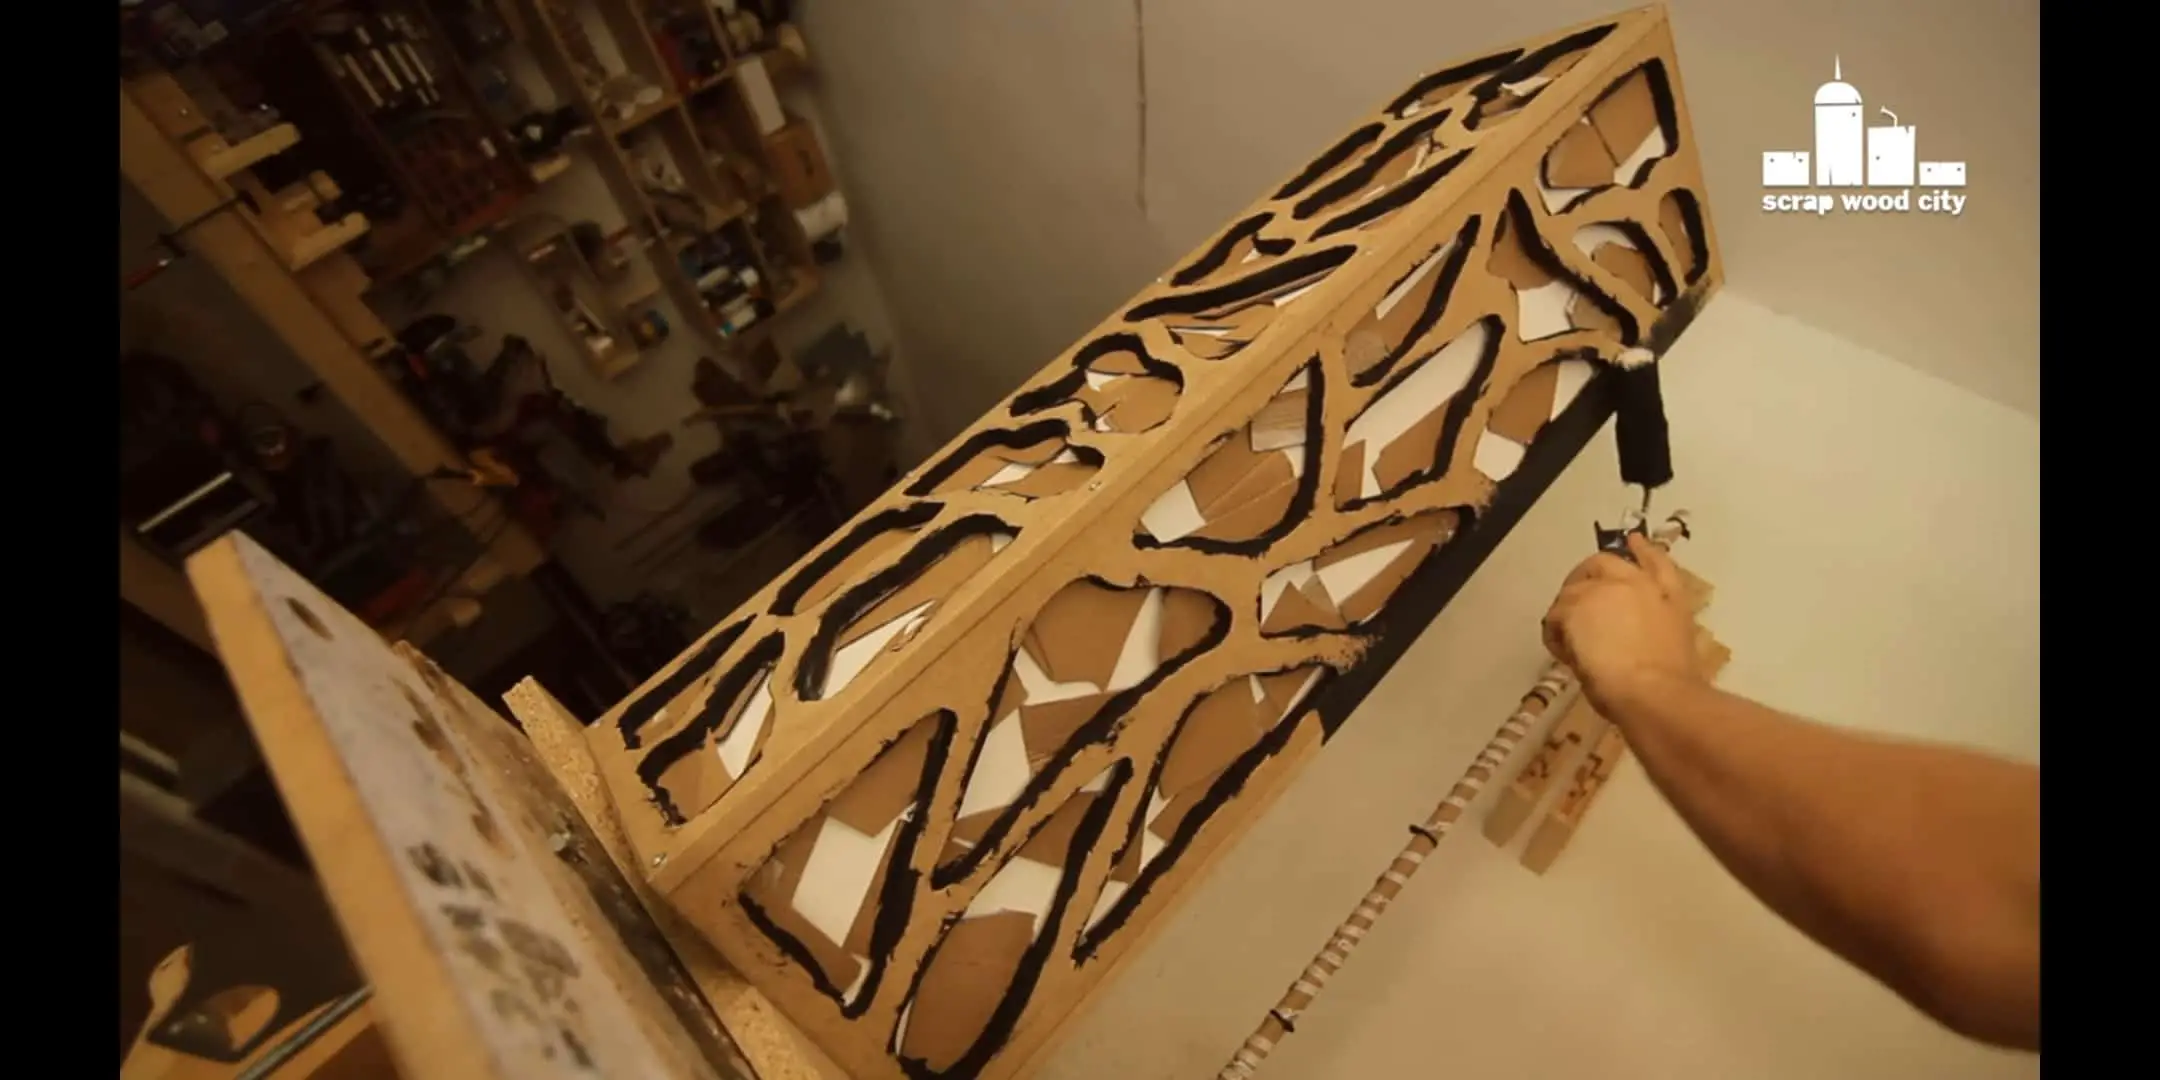 A floor lamp is nice to see and easy to make. You can make an organic design floor lamp easily at home with few accessories like MDF, plywood and led stripe, a cordless driver and a jigsaw.
Only using these tools you can easily make one.
In this post we'll cover:
Making Process
DIY Floor Lamp is easy to make. All you need to follow the steps stated below. Try one at home following these steps. Hope the outcome will satisfy you.Step 01: Making Frame
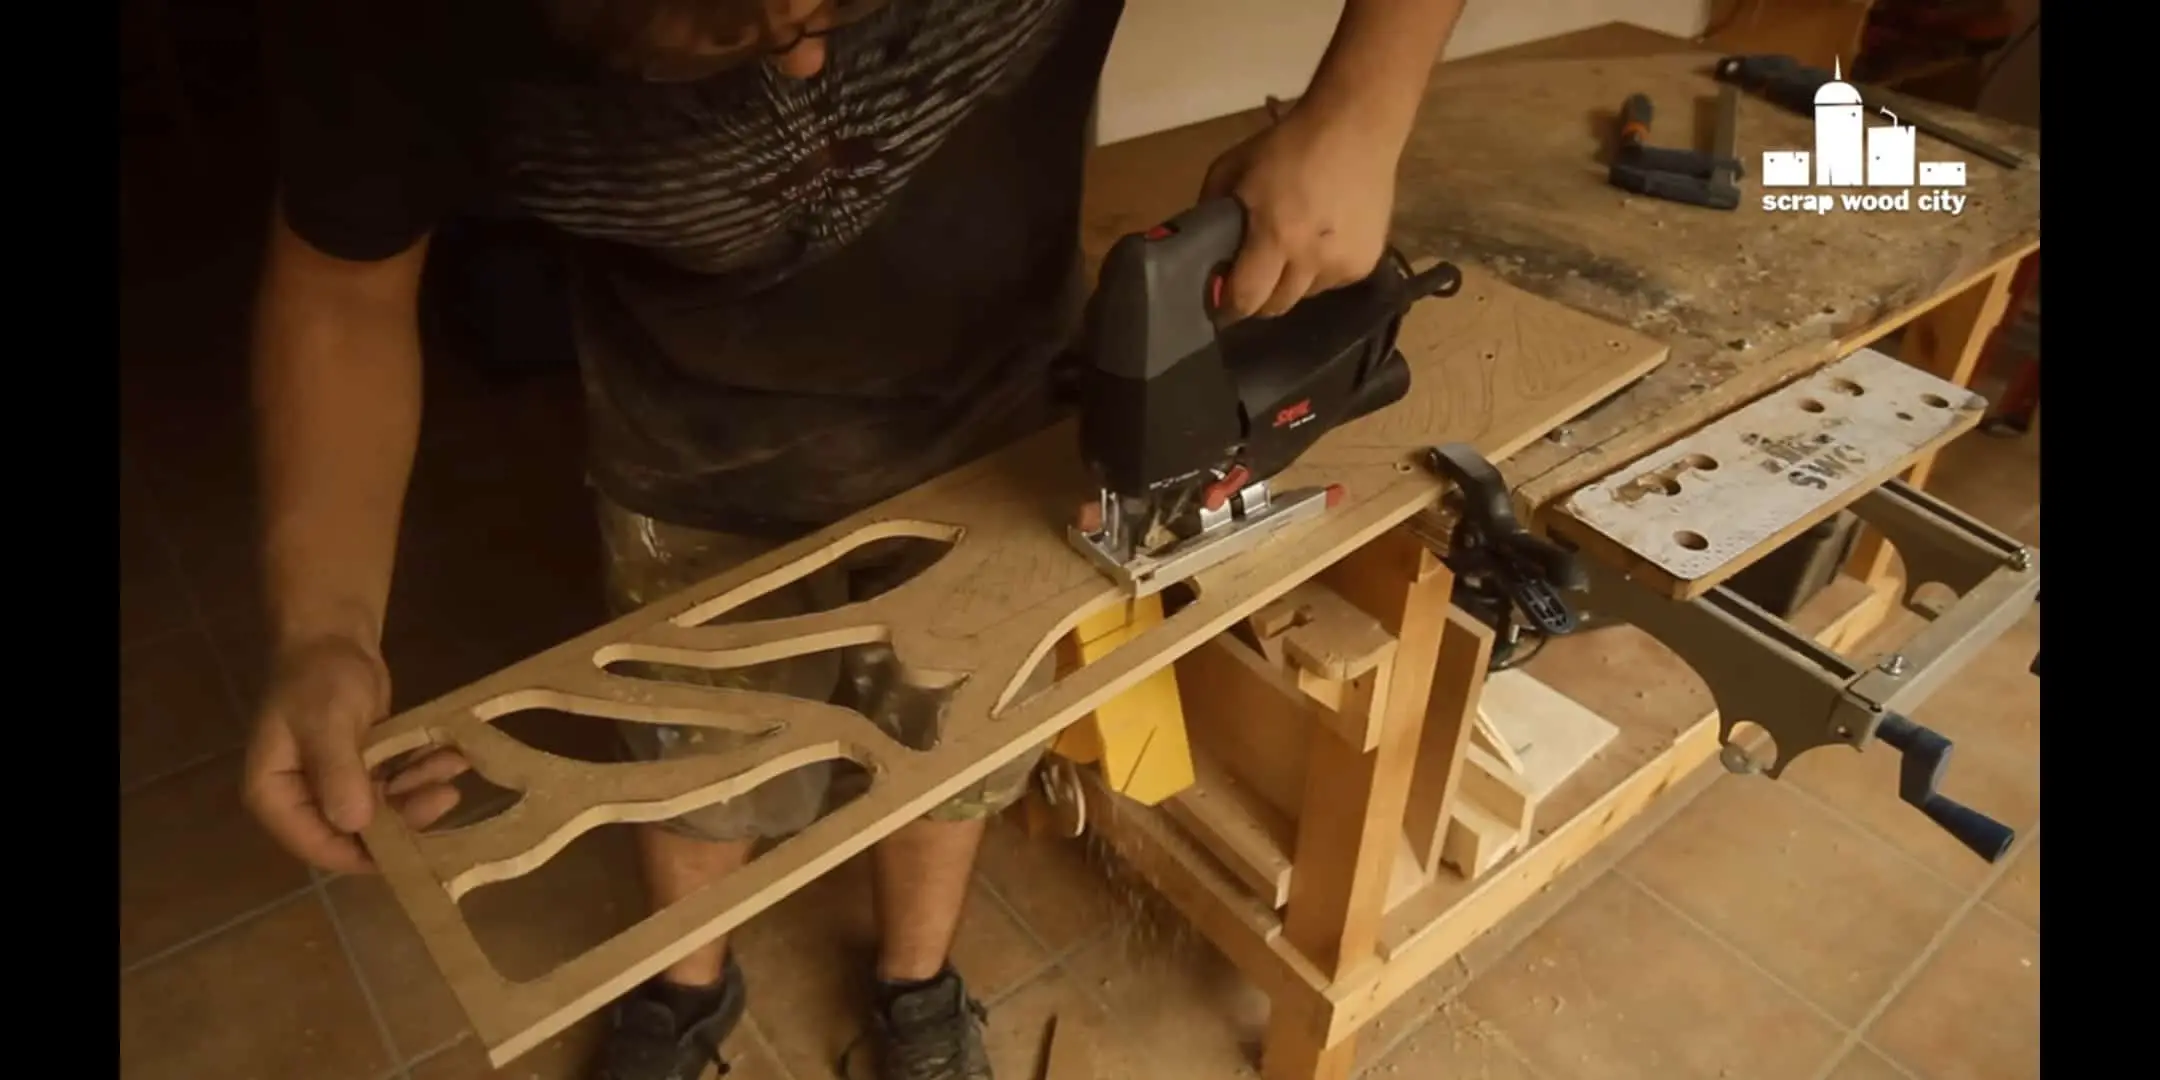
First, make a perfect frame for the lamp. Plywood can be used for this purpose. Cut four piece rectangular shaped plywood board. The size can vary for the lamp. the height may differ from 2’ to 4’ and the width from 1’ to 2’. This is a perfect shape. Measure the length and width using a measuring tape and cut them using a jigsaw. Be careful while cutting so that the wood doesn’t strip out. Then make some designs on the board to give it a nice outlook. You can do it freehand drawing. Use a charcoal pencil to draw the organic shapes to the sides of the lamp.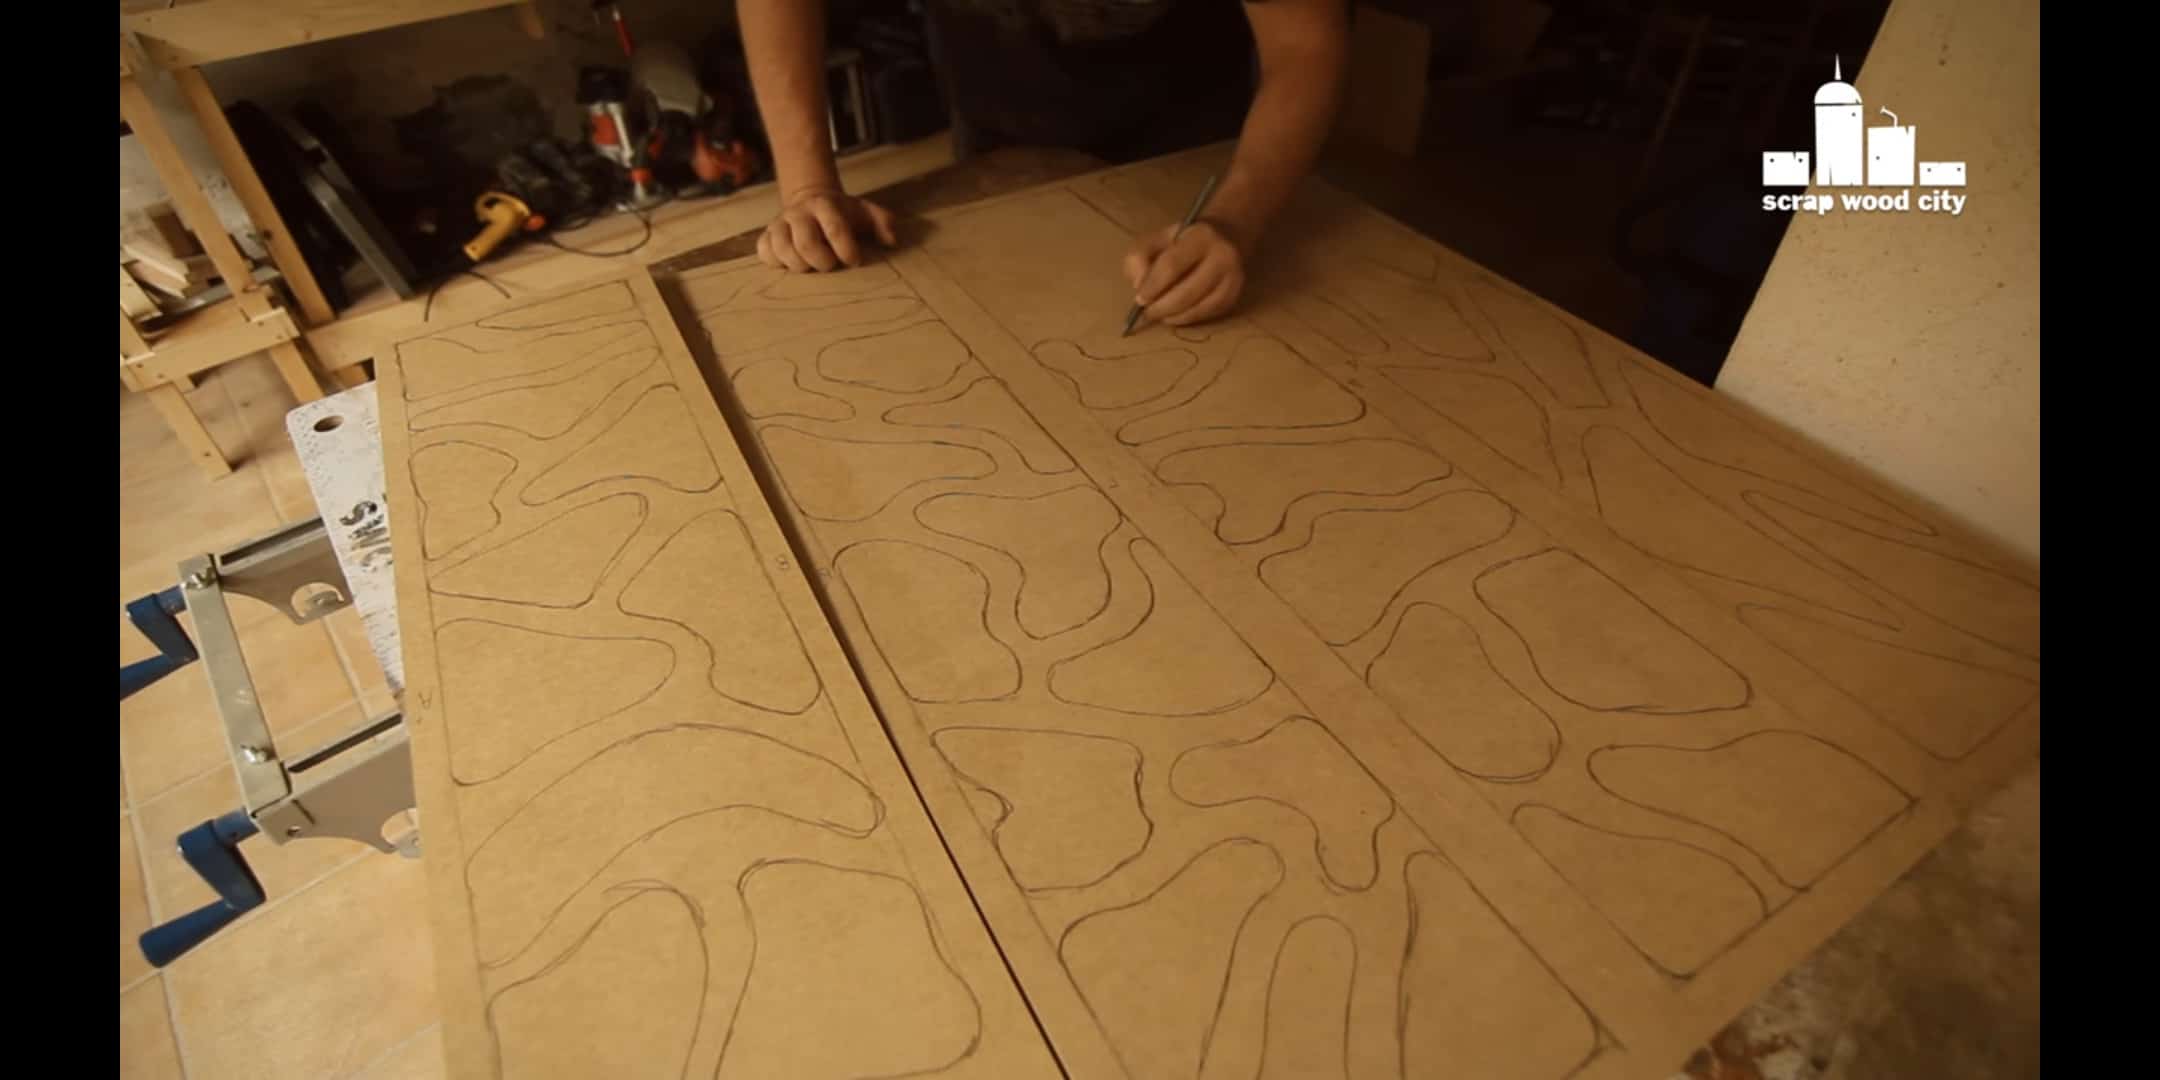
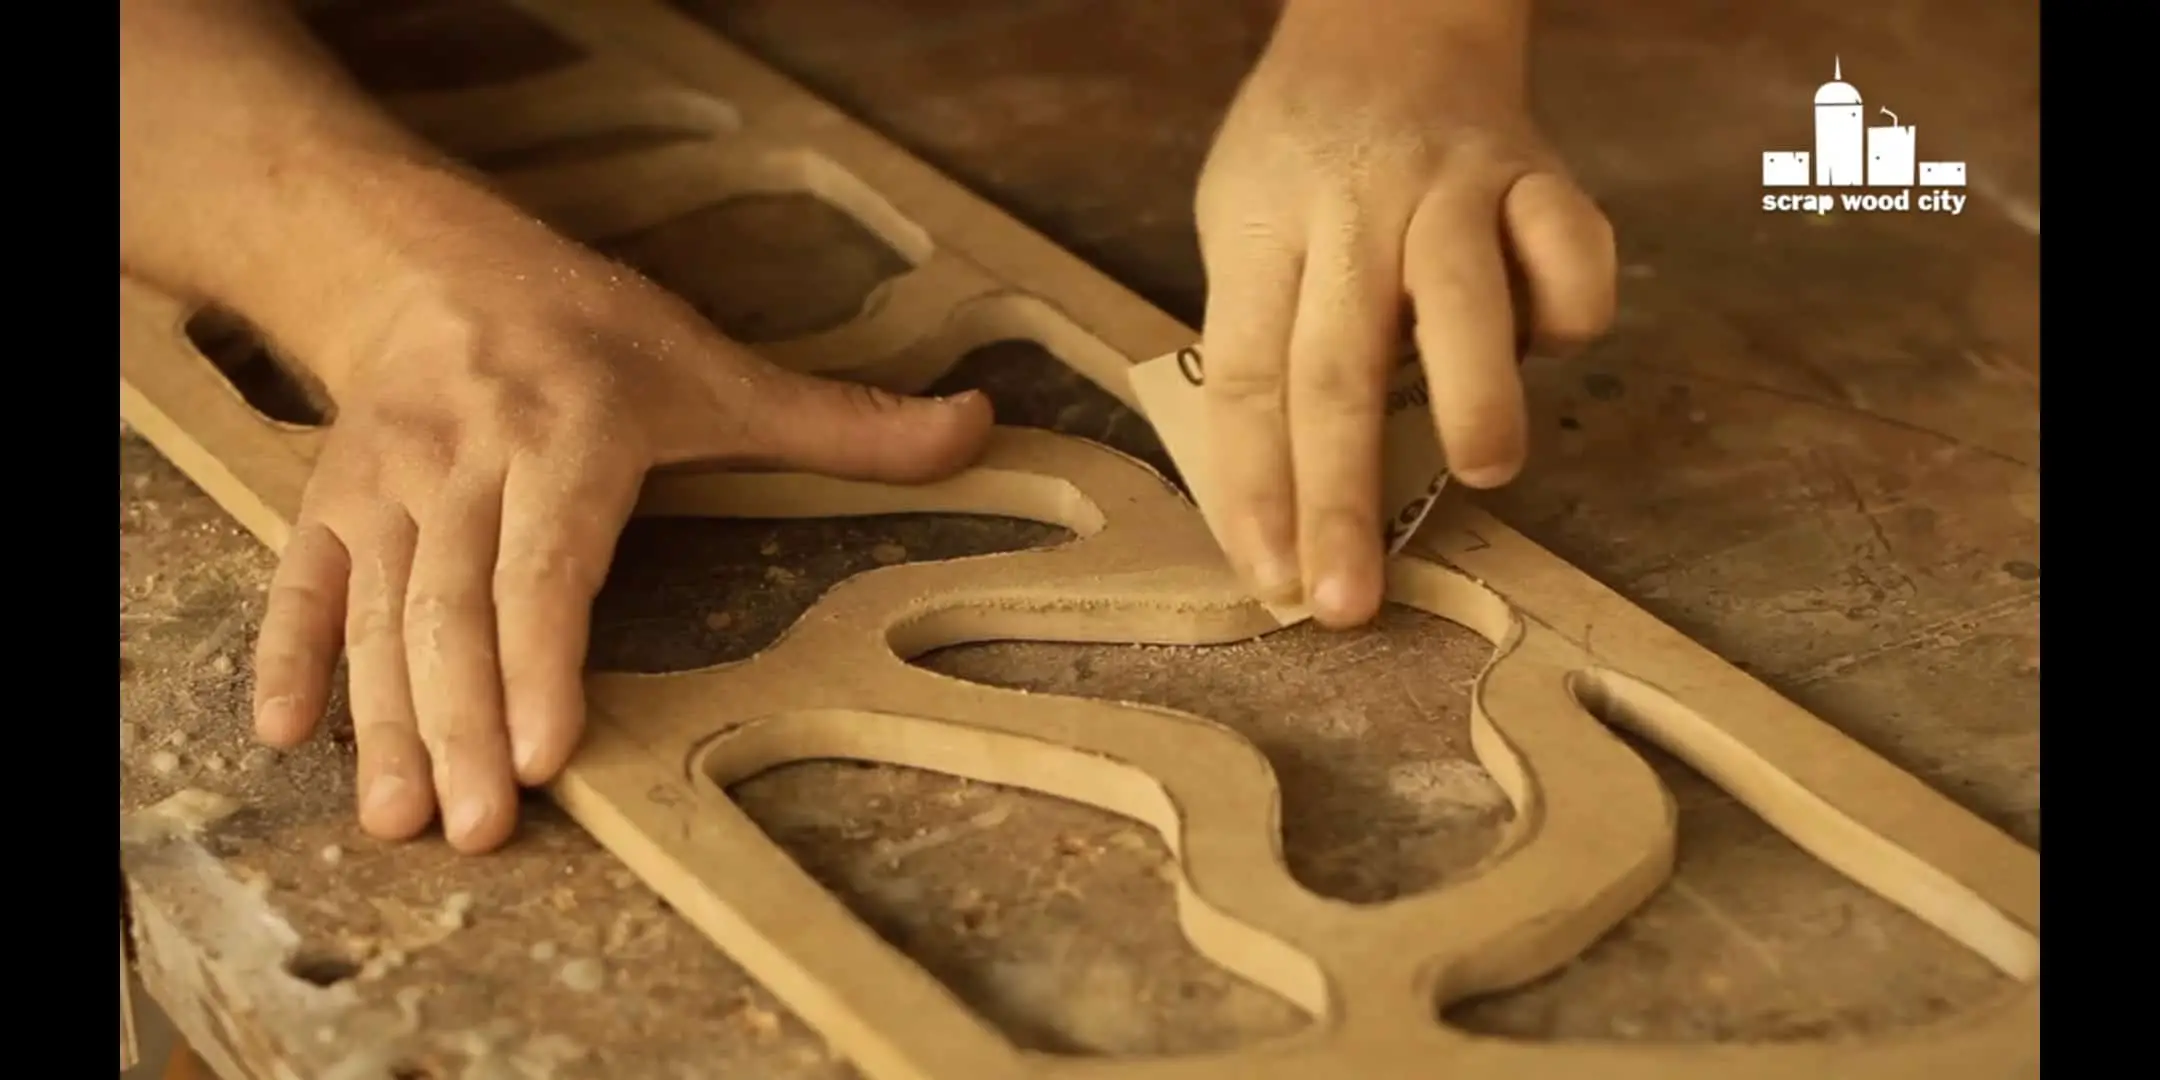
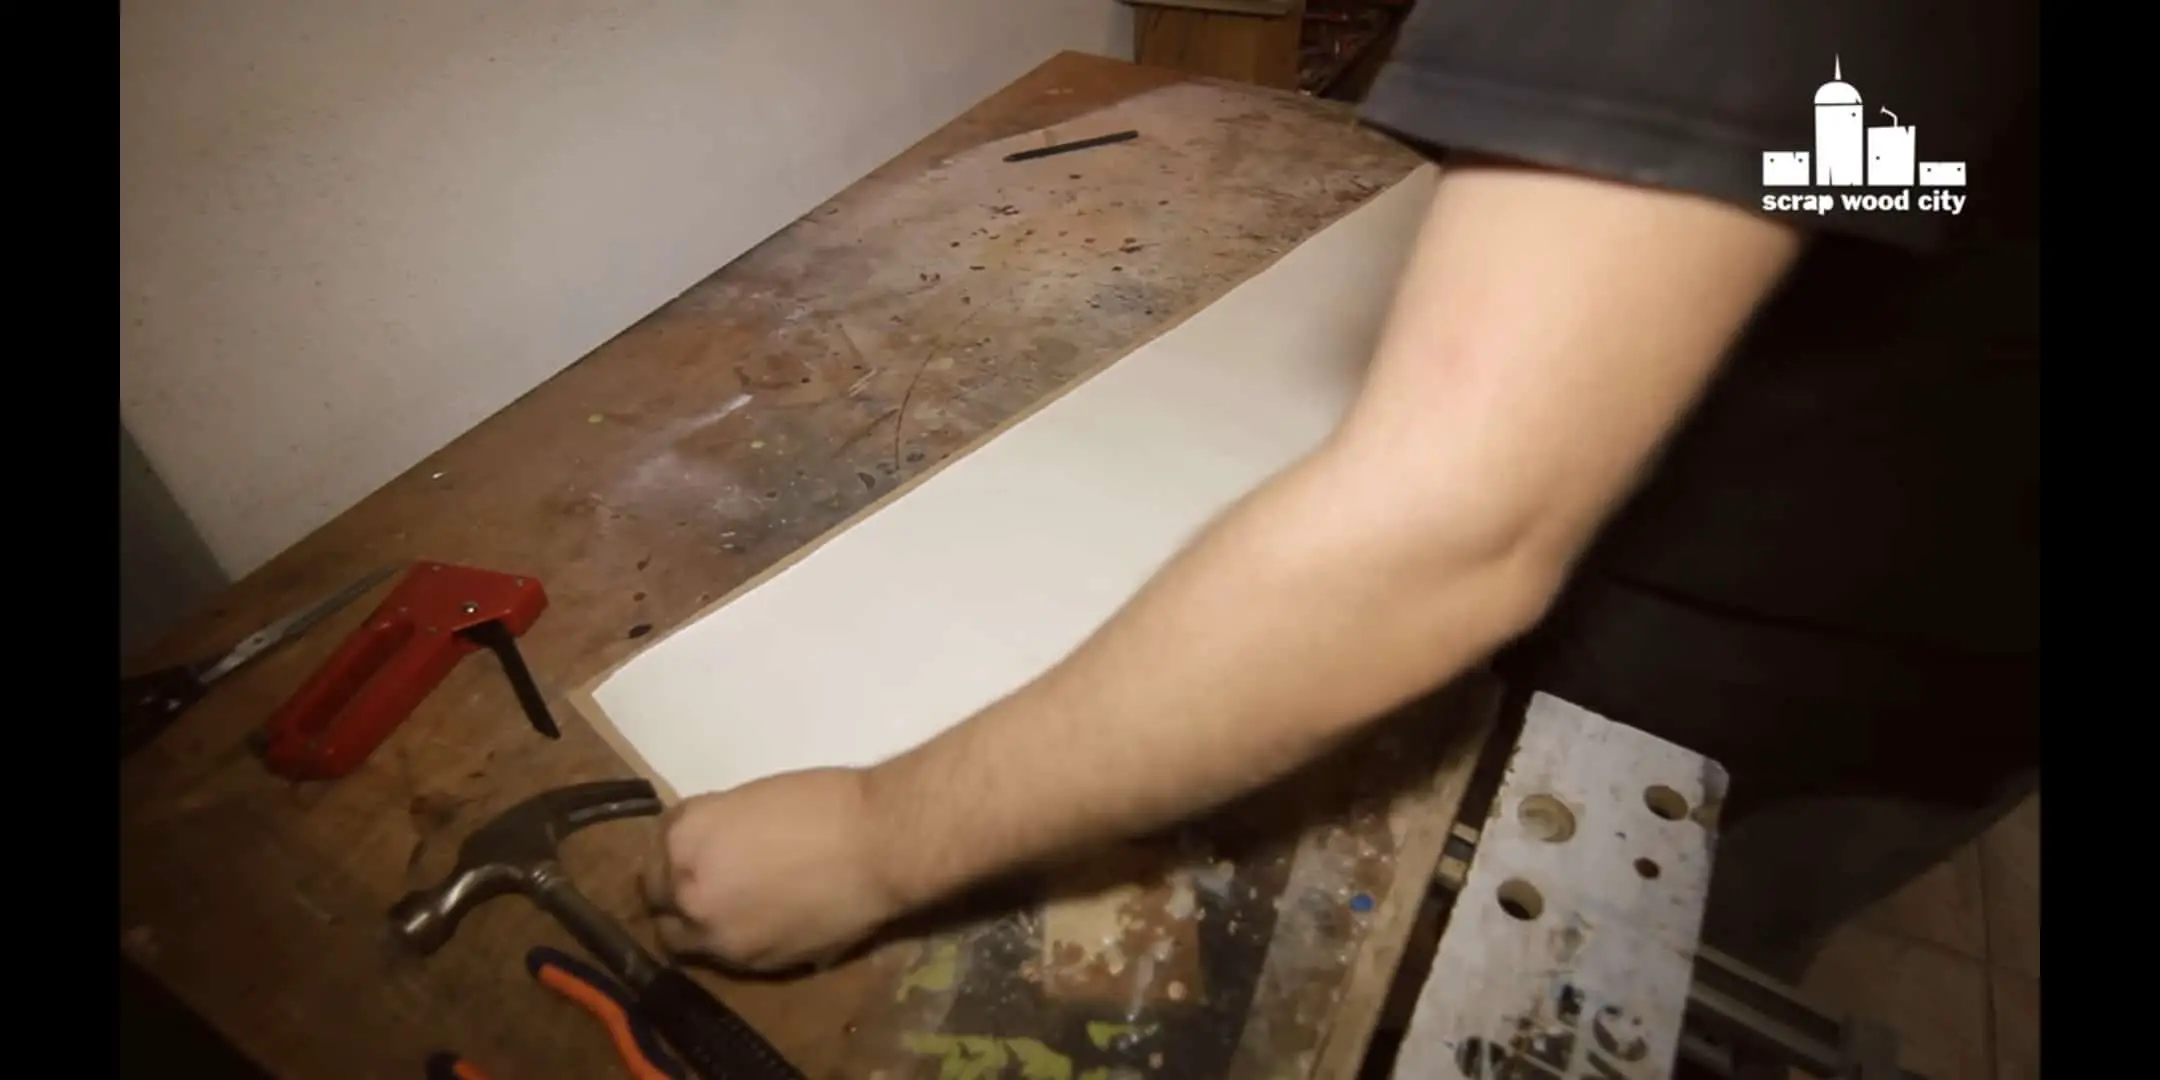
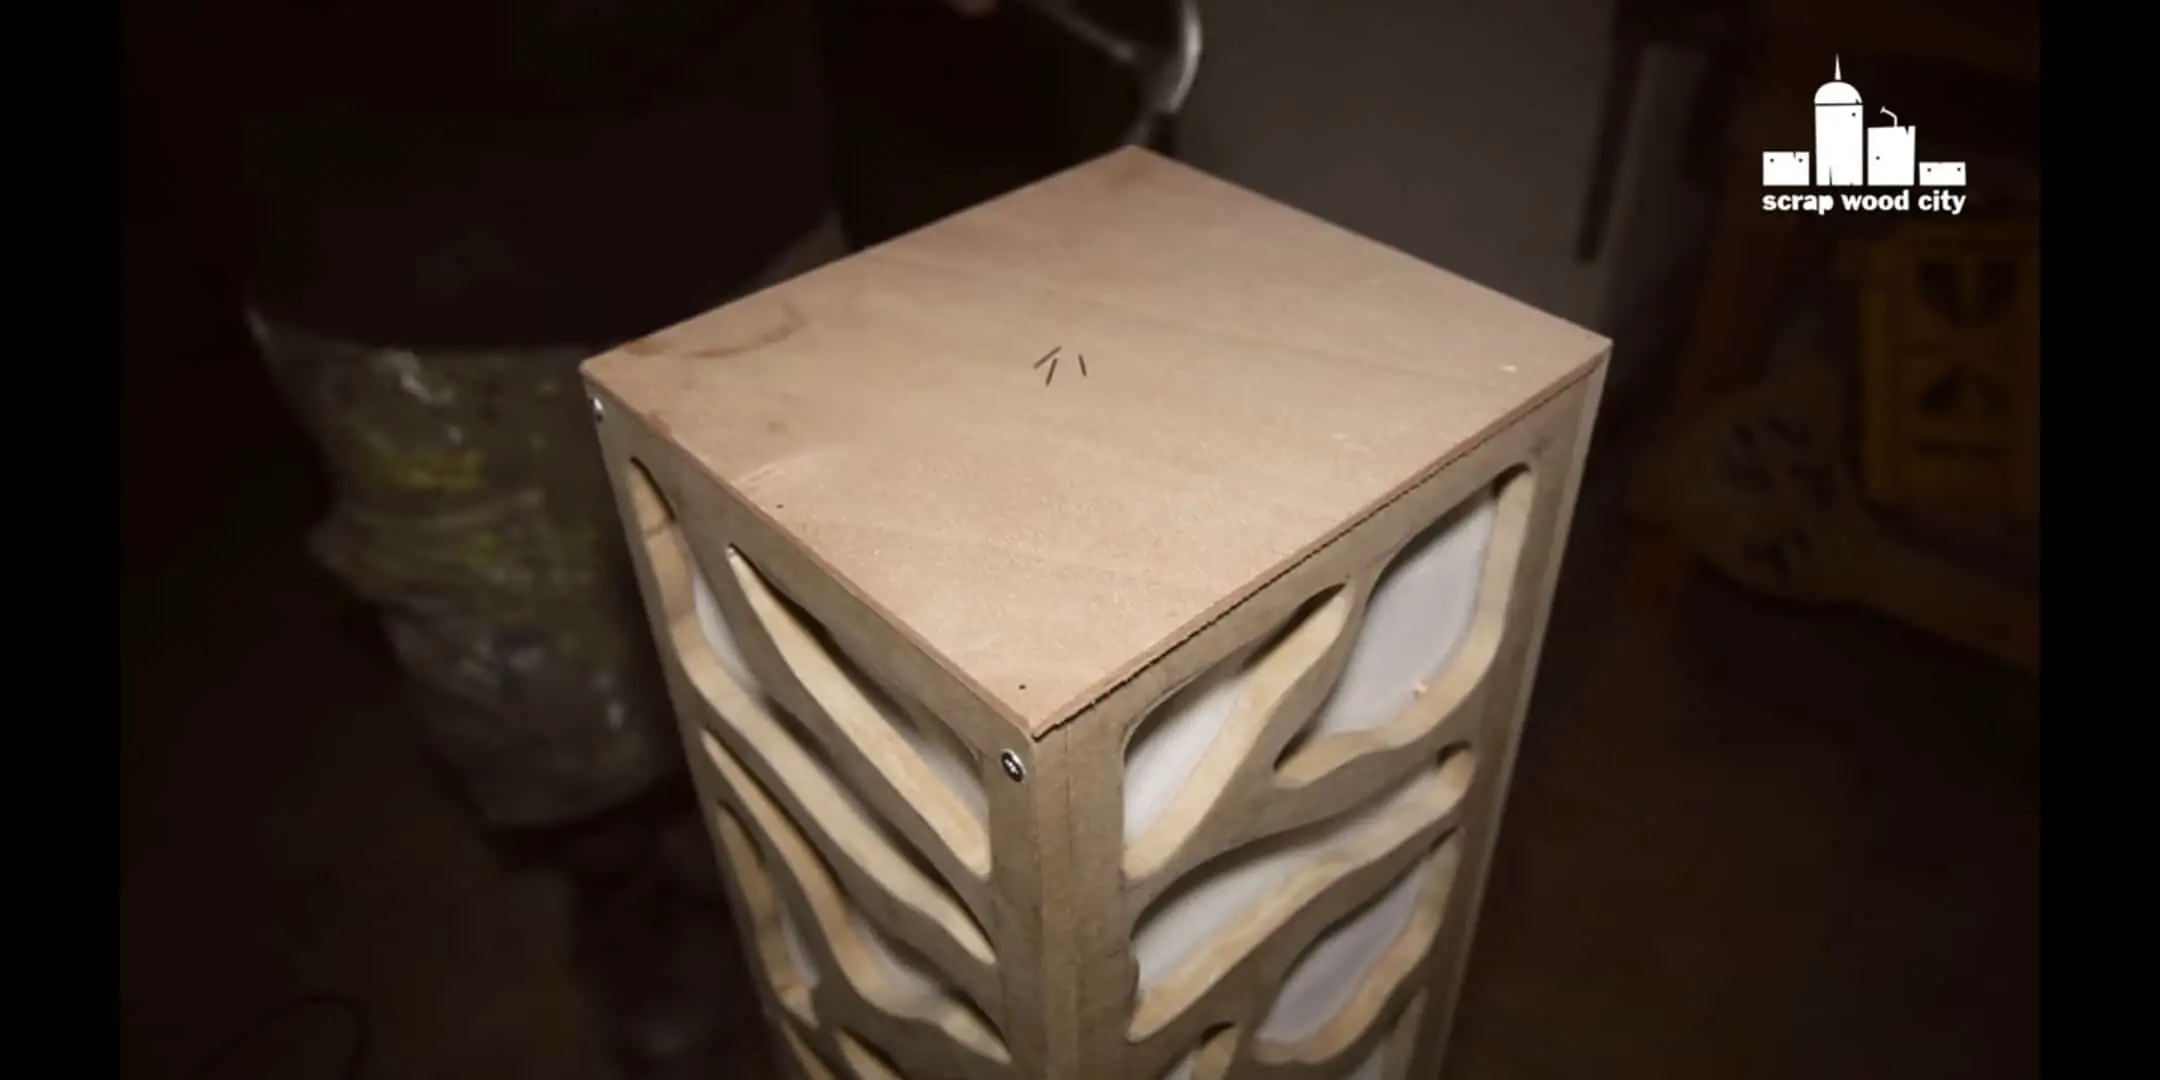
Step 02: Join the frames
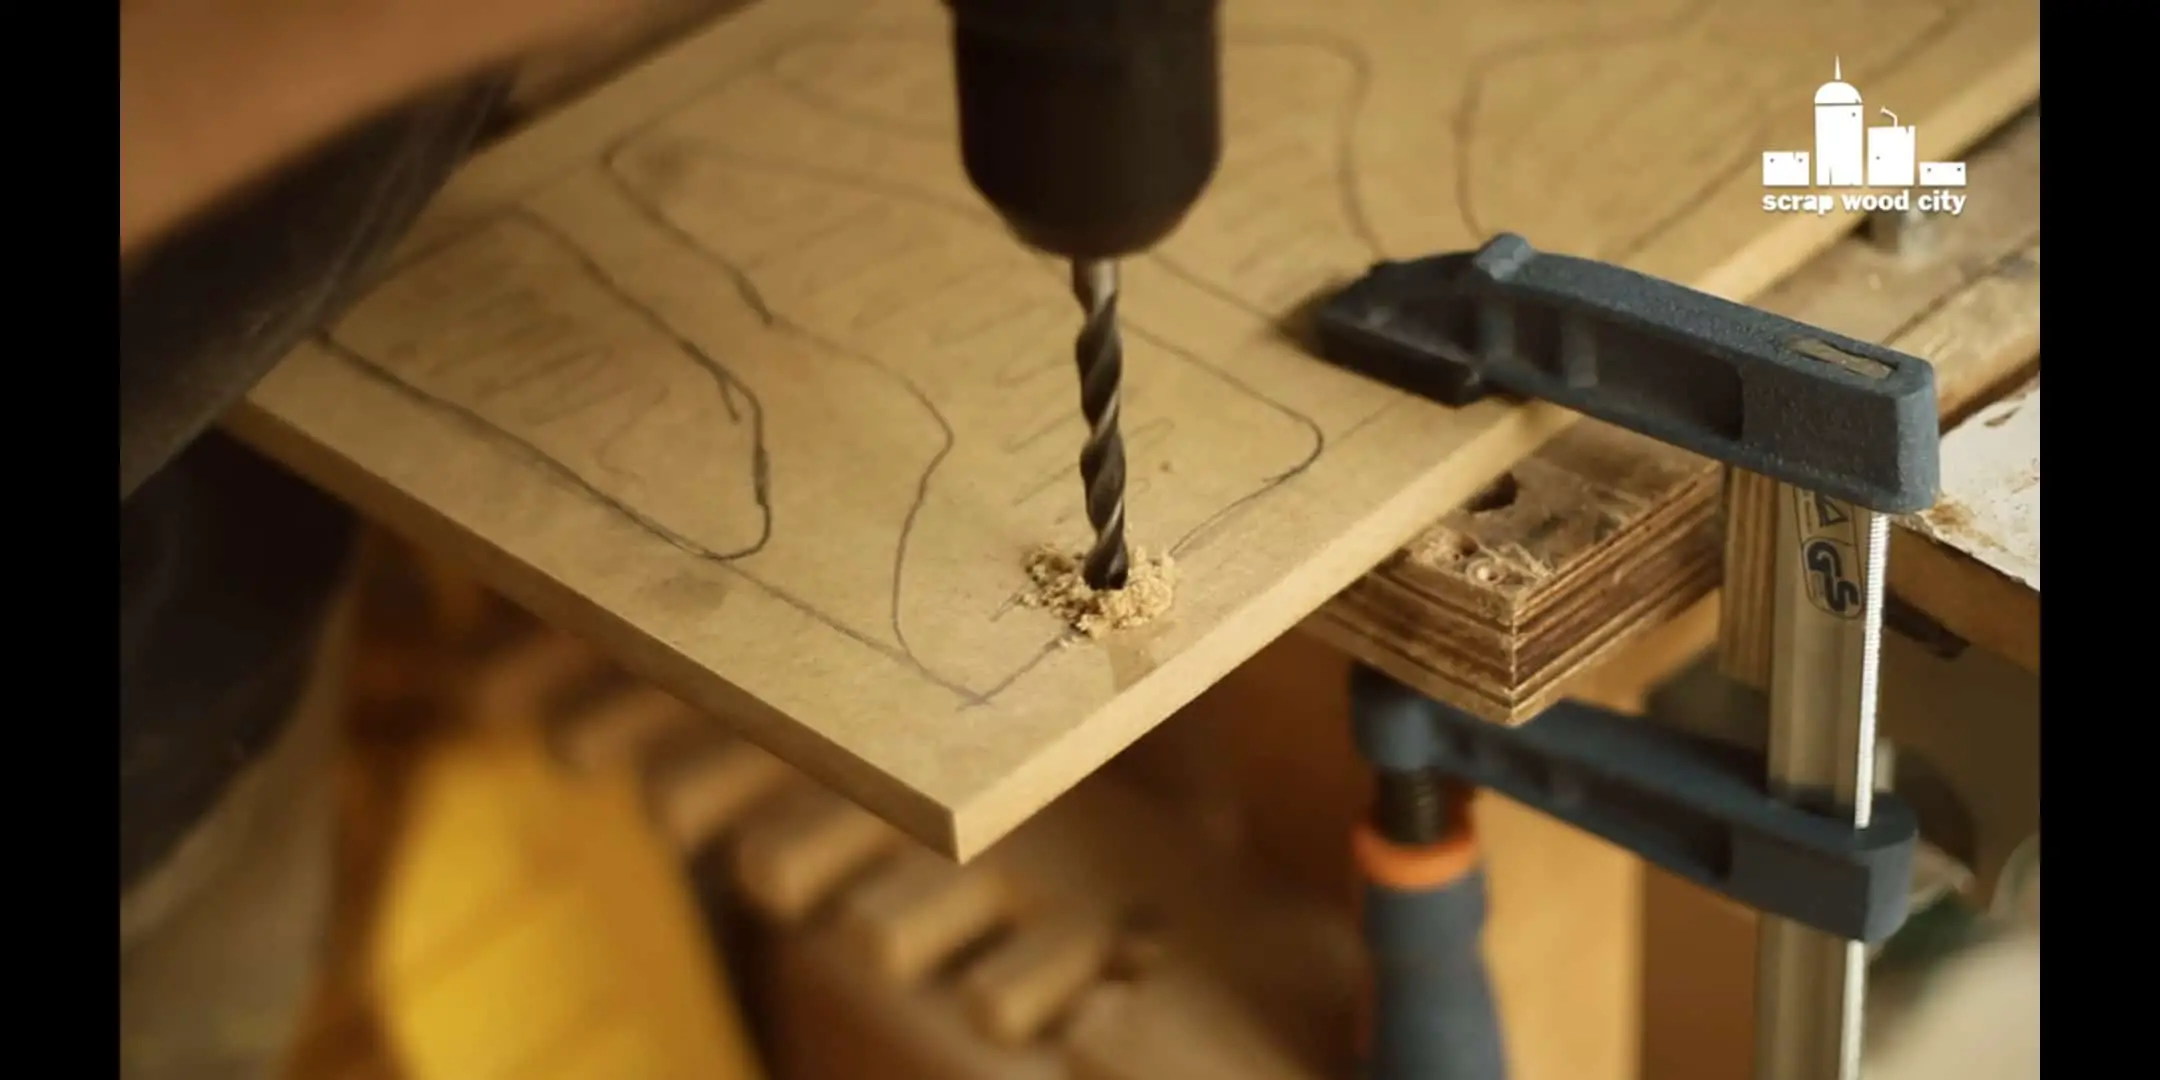
Use corner clamps in order to hold the four sides of the lamp temporarily in place. After that drill, it to create pilot holes and then join all the sides using screws.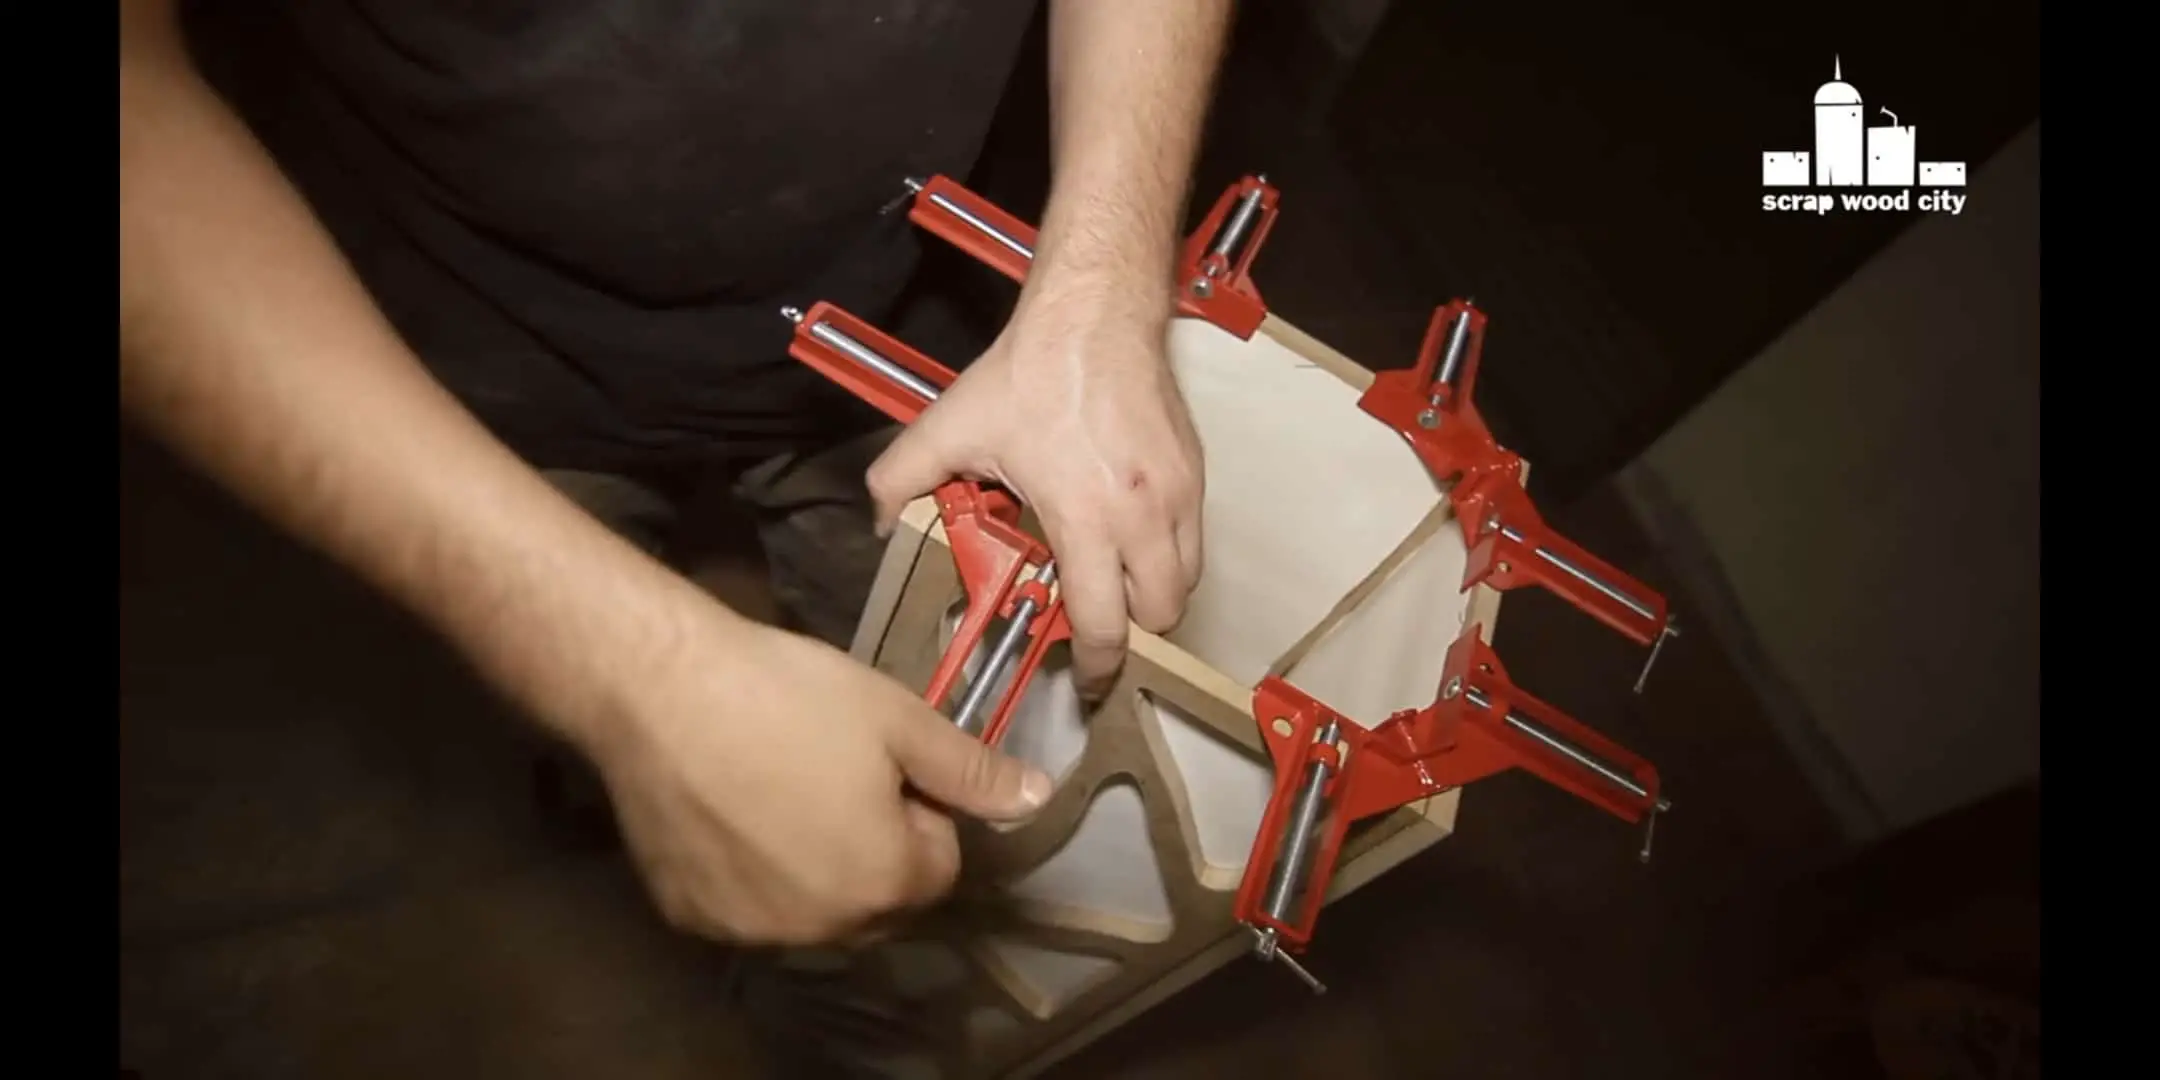
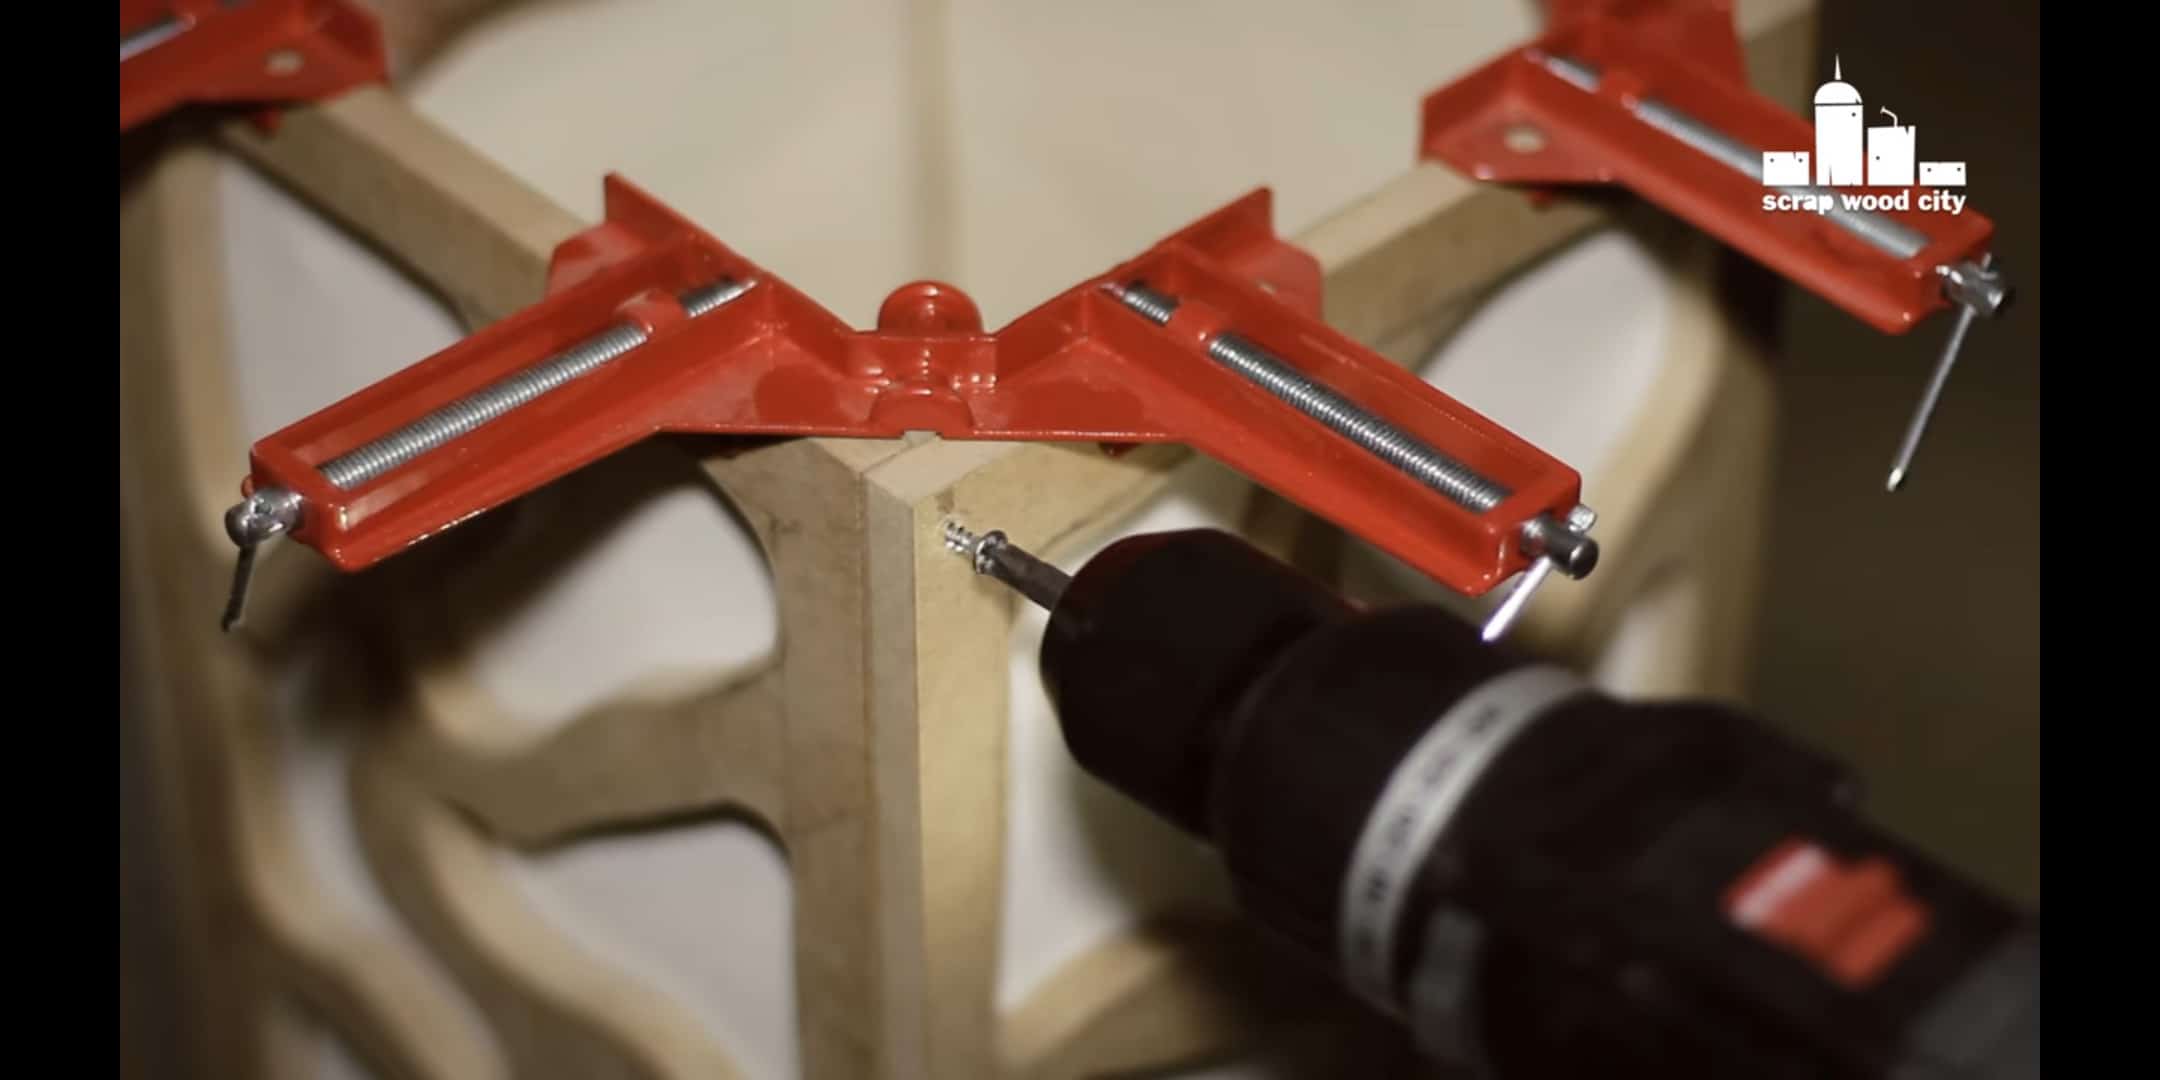
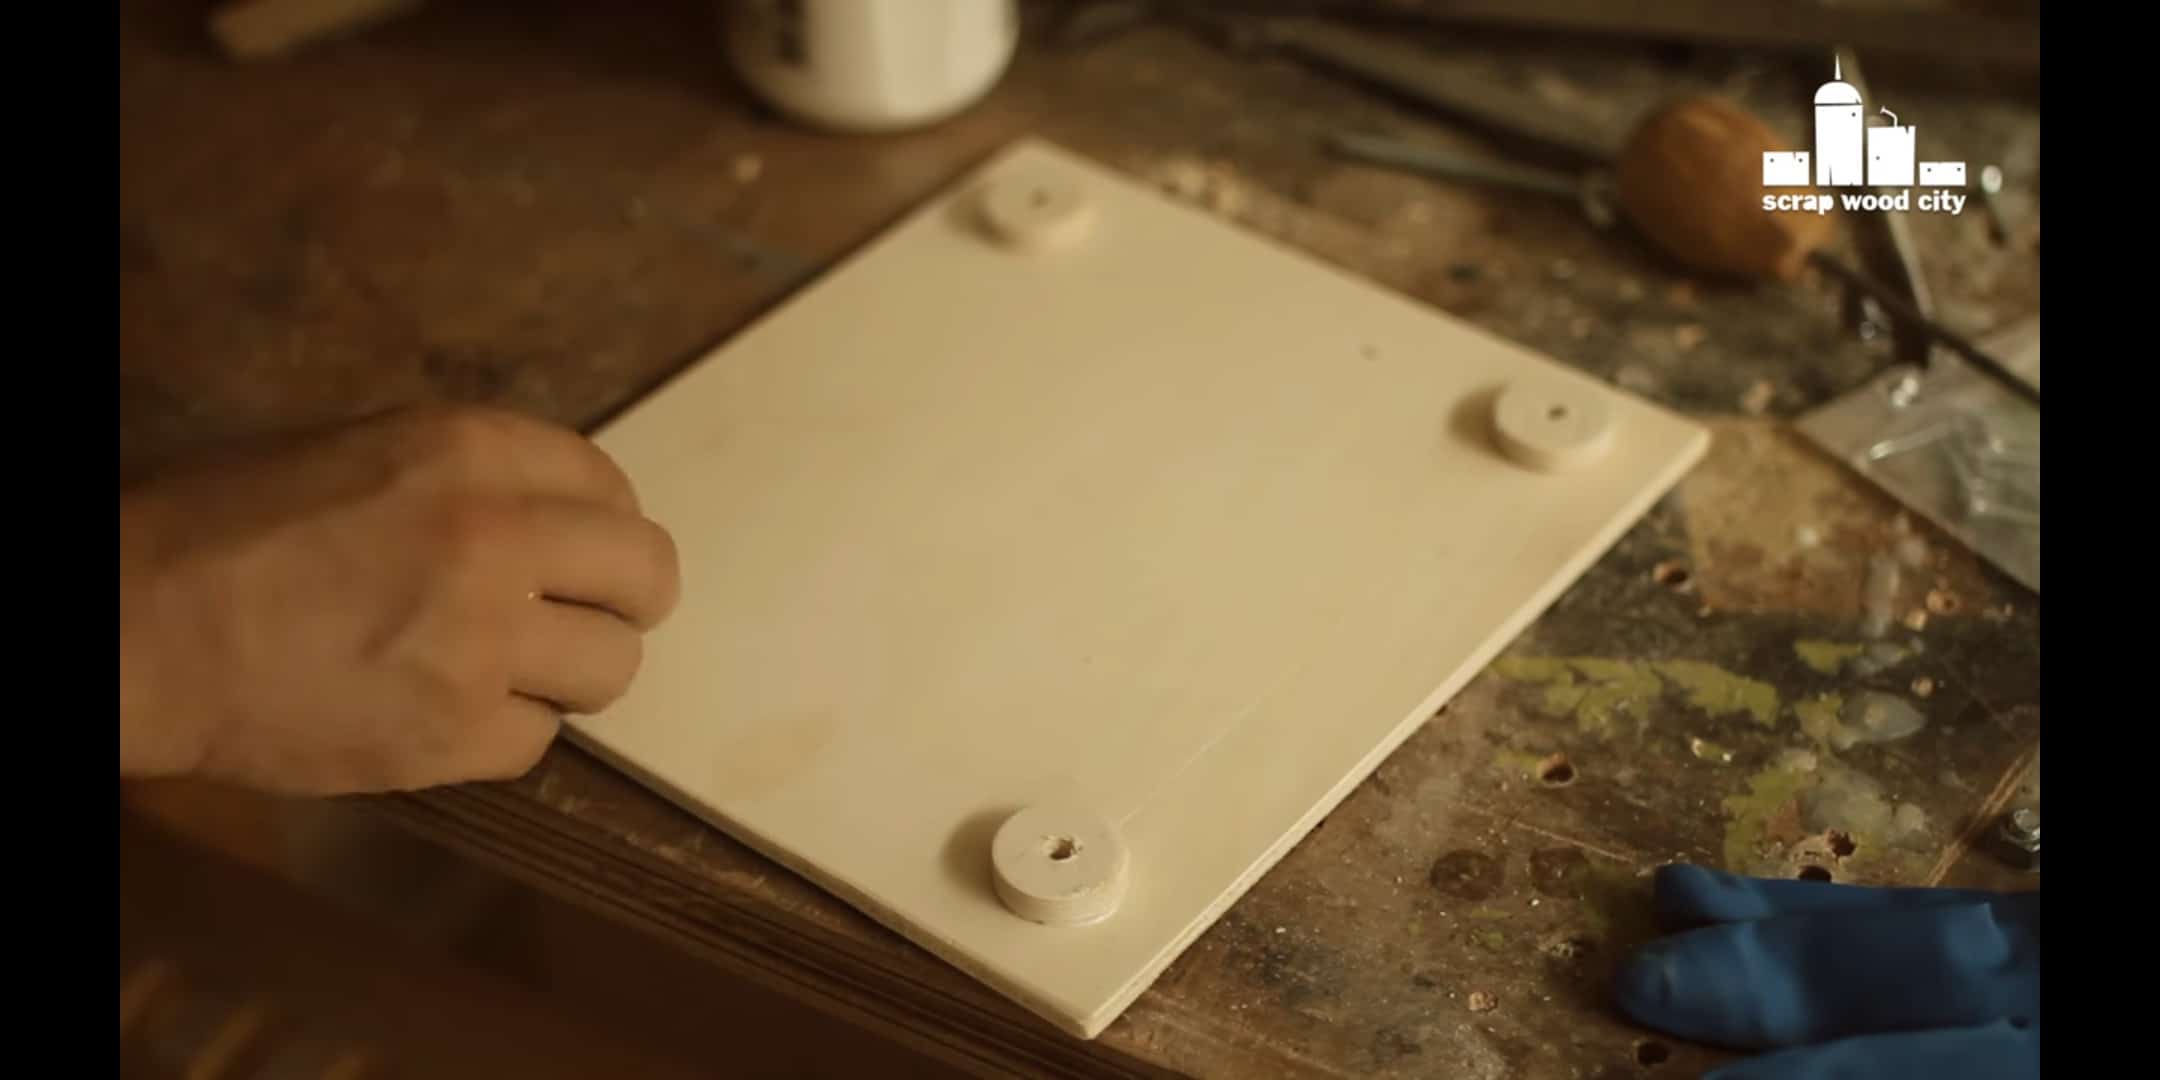
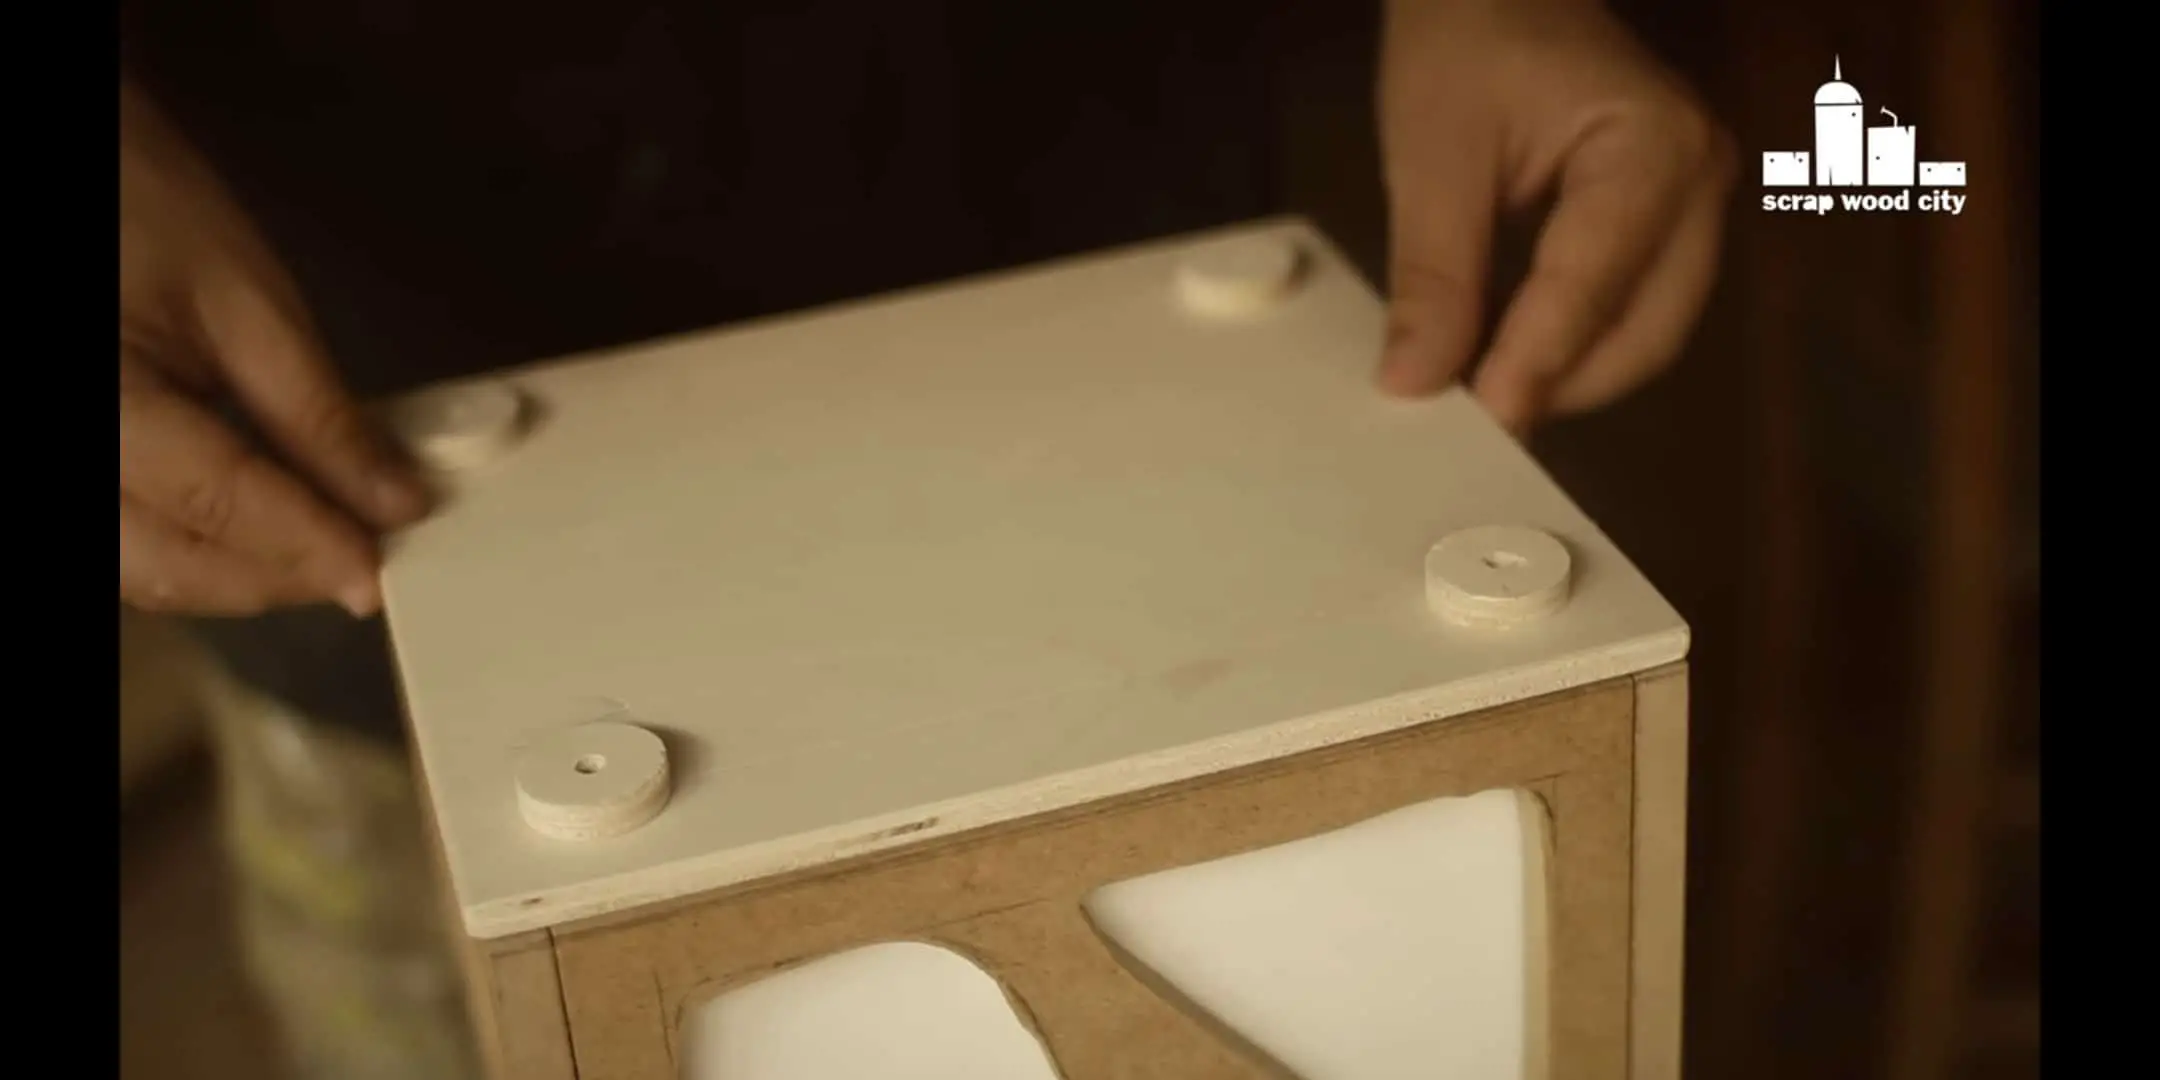
Step 03: Attach the lights
After completing the framing make arrangements for the light source of the floor lamp. Use led light for this purpose. Cut out a led light stripe and secure it on the dowel with zip ties. After that do the power supply arrangements. Connect the power supply for the LEDs and screw it on the bottom of the lamp.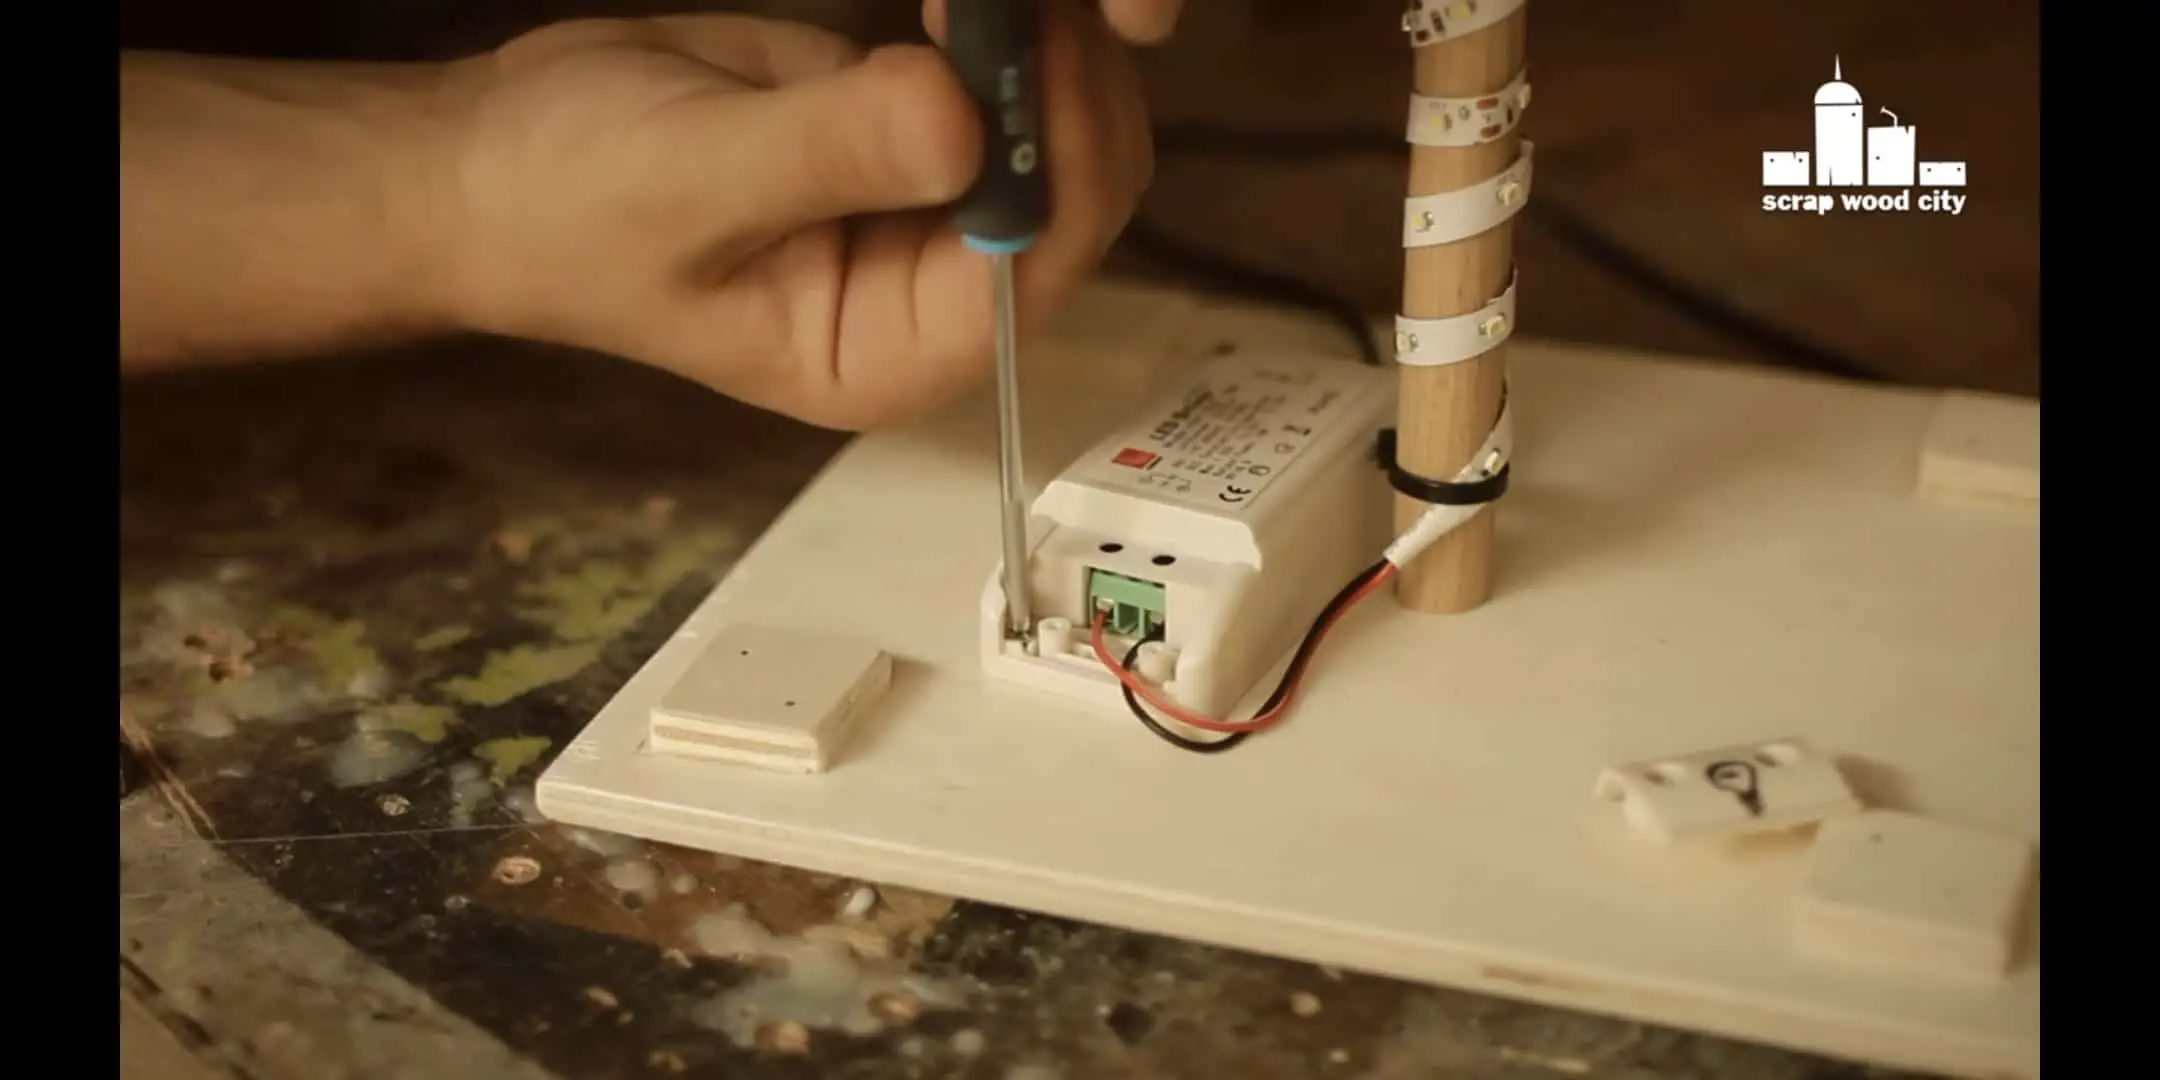
Step 04: Decoration
After completing framing and lighting arrangements make the lamp look good. Paint it to make it look more attractive and also to make your room look good. Before painting, add cardboard pieces between the canvas and the MDF sides. This way the canvas gets a small distance from the MDF. With this kind of masking arrangement, the inner sides can be painted properly. Otherwise, the canvas may get colored. Use a small brush to paint the inner sides. Then use a roller to paint the outer surface and complete the paint job.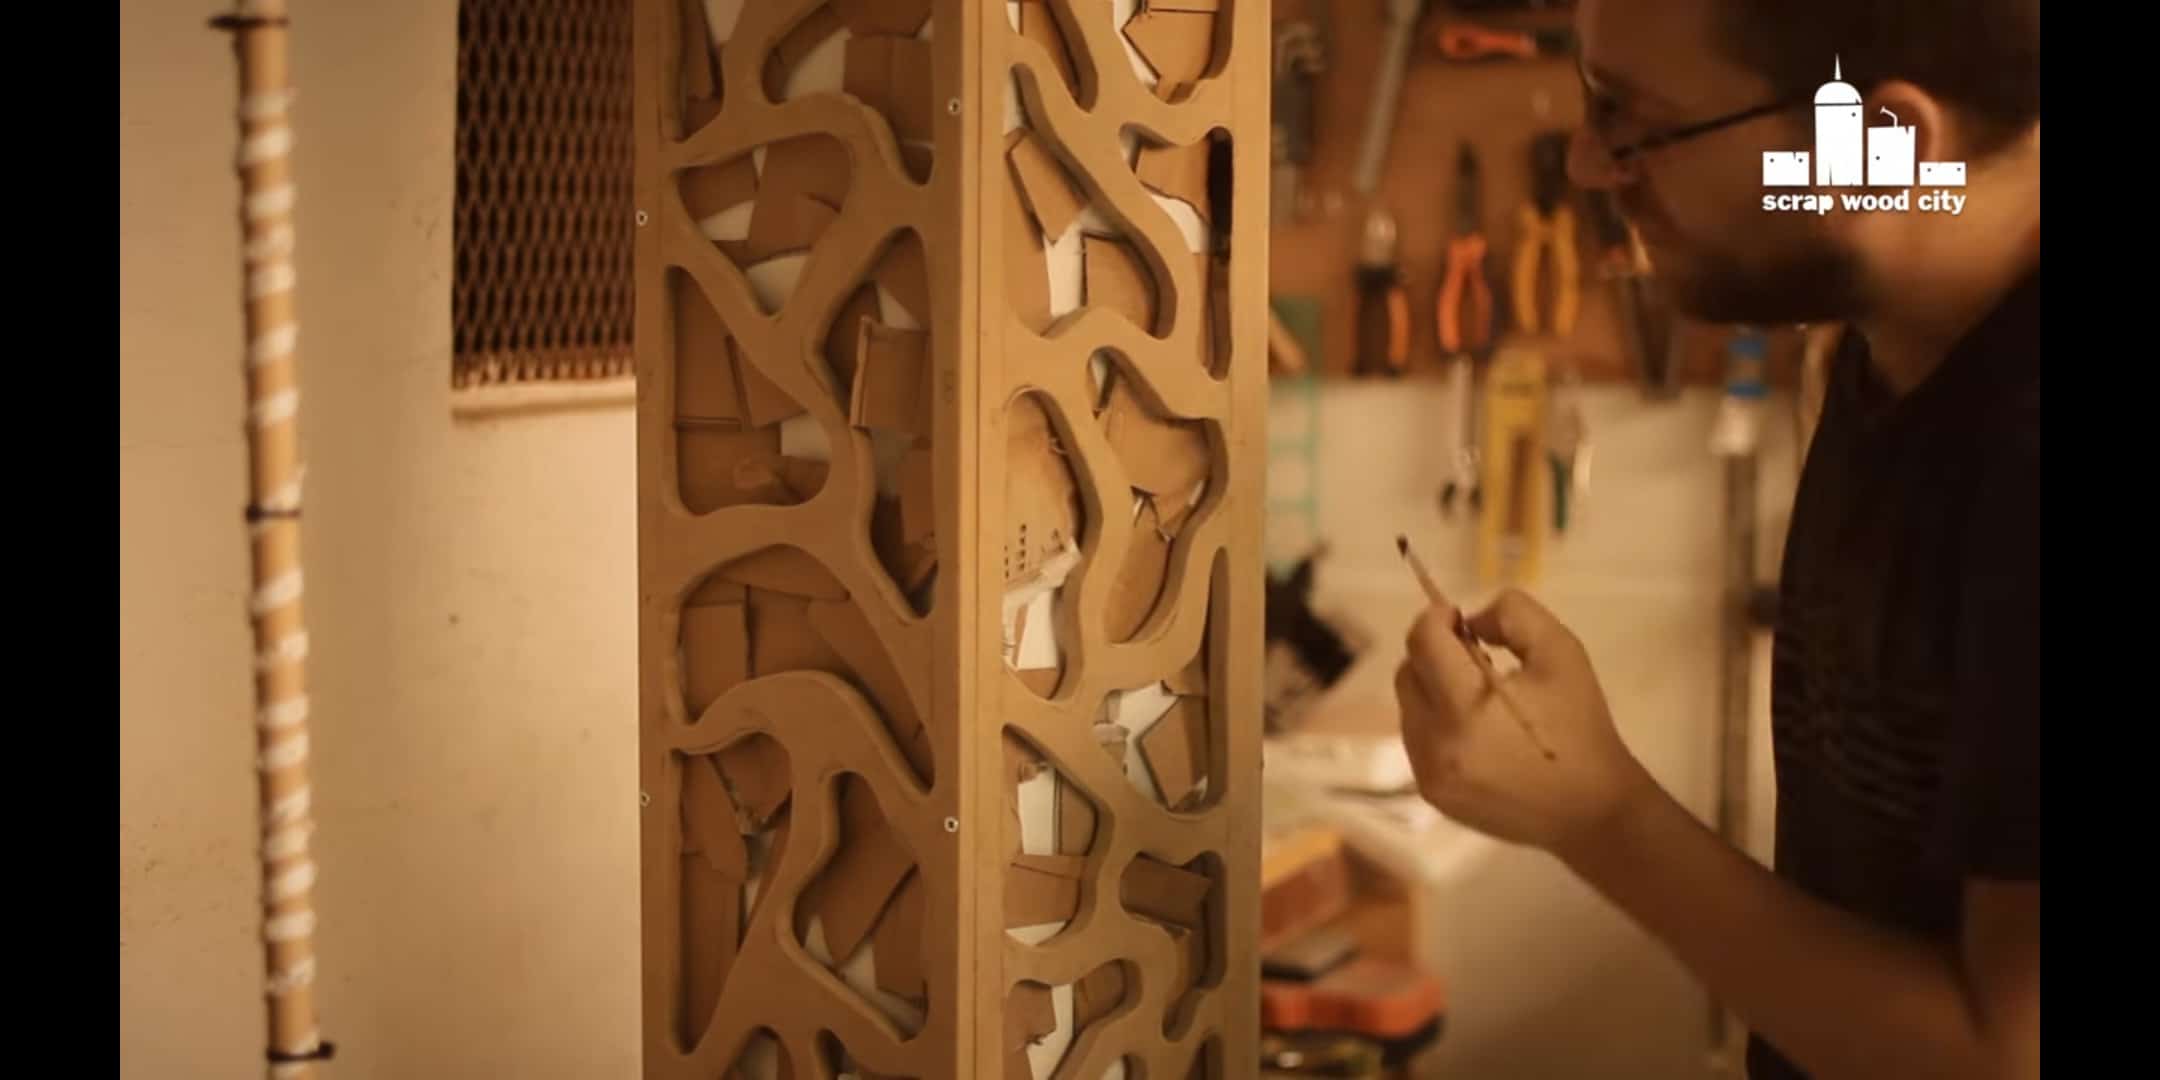
Conclusion
This floor lamp is easy to make and it looks very nice. All you need is just a good drill and jigsaw piece and you can make plywood pieces into these types of lamp. The cost is also cheap and you can make it easily at home. So try this wooden floor lamp idea to get an excellent outcome.I'm Joost Nusselder, the founder of Tools Doctor, content marketer, and dad. I love trying out new equipment, and together with my team I've been creating in-depth blog articles since 2016 to help loyal readers with tools & crafting tips.
