Painting children’s room with acrylic paint into a playroom or a nursery.
Painting a nursery with water-based paint and painting a nursery (or baby’s room) requires a tight schedule.
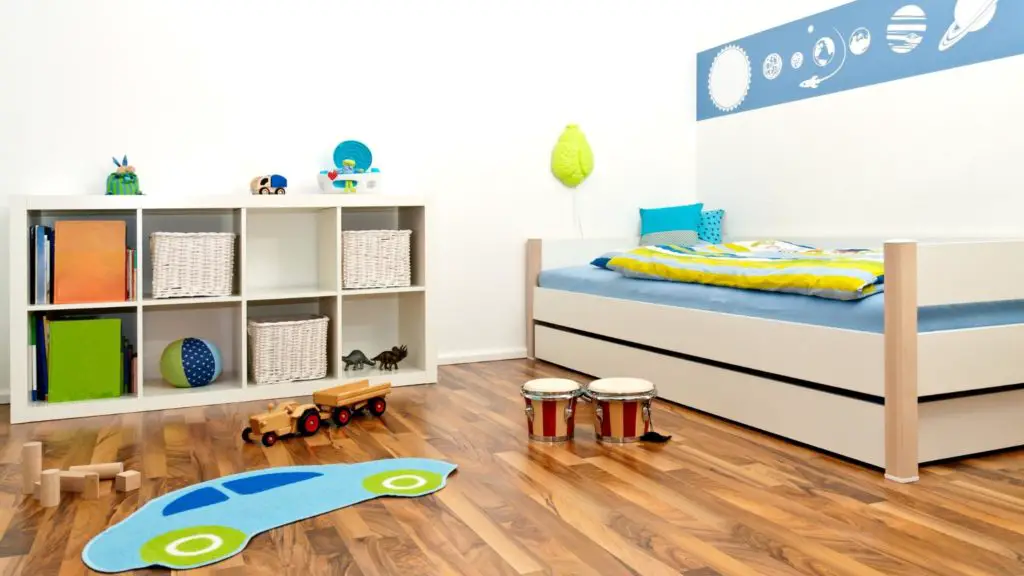
Painting a nursery in itself is fun to do. After all, the parents are looking forward to when the little one comes. Nowadays people often know what it will be: a boy or a girl. This makes it easier to choose a color in advance. It used to be that you just had to wait and see what came into the world. Now with today’s techniques this has become a lot easier.
When it is known what it will be, you can quickly start painting a baby’s room. You can start with which room it will be. Then you know the square meters by now. The furniture is often selected first. Then the colors of frames, doors and walls are discussed. You can already do this for the first few months. Then it is time to plan the implementation. Of course you would like to do it yourself. I have read in articles that this is unwise for women. If you have a handy man he can do this for you. If not, you will have to outsource it. Then make preferably three quotations from a painting company. After this you make a choice and agree a time with that painter when he will perform this. Plan this so that the painting is completed three months in advance. Click here to get free quotes from up to 6 local painters with just one inquiry.
Painting a playroom with water-based paint
You always paint a baby’s room with acrylic paint. This is a water-based paint that does not contain any harmful solvents. Never use turpentine-based paint in a baby’s room. When you use acrylic paint, you can be sure that your son or daughter will not be bothered by volatile substances later on. Paint three months in advance when the time comes. Just stick to these rules. This is in the interest of the health of the child.
Painting a room also pay attention to the wallpaper
When painting a baby’s room, you should also pay attention to the choice of wallpaper. There are types of wallpaper that also contain harmful substances. Never use vinyl wallpaper. This wallpaper is made of plastics. This wallpaper attracts more dust than regular wallpaper. Also pay attention to the glue you buy. It may also contain substances that can be harmful. When purchasing the wallpaper and glue, inquire about it so that you are sure that this is correct.
You can paint a baby’s room yourself
You can of course also paint a baby’s room yourself. You must follow a procedure for this. A logical order is that you first paint the woodwork. Then the ceiling and the walls. You shouldn’t do it the other way around. You will then get dust from sanding on your painted ceiling and walls. So you start with degreasing, sanding and removing dust from the woodwork. Then you will finish with an acrylic paint satin gloss. Allow the paint to cure thoroughly and wait at least 1 week before continuing with the ceiling and wall painting. First of all, it’s better to tape it off. By this I mean that when you remove the tape you don’t pull any paint with it. Second, you can better deal with any damage.
Ventilate well upon delivery
When you are finished painting, the main thing is that you ventilate well. I assume that the floor will also be laid level and the furniture will be placed in it. Do all this within the three months before delivery. Constantly leave a window open so that the odors that are there disappear. This way you are sure that the male or female will come to this earth healthy.
Combining colors in hair and what you can achieve with colors to get a total change.
The time has come again for a painter to carry out interior work again.
With interior work you are always sure that you can schedule the work.
After all, you are not dependent on the weather.
A few years ago, for example, I received a call from a customer in hair, the Brummers family.
I had to combine colors, that was the assignment.
They also asked me for advice on colours.
It had to be a fresh and cheerful room.
After much deliberation, the colors green and blue have become the basic colors.
Combining colors is not a problem for me because I have a lot of experience with this.
Colors combine from ceiling to walls.
Combining colors you first need to know which furniture is or will be in it.
When combining colours, you should also pay attention to the color of the windows and doors.
Before painting, I first looked carefully at the room where the colors had to come.
I chose blue for the ceiling and the sloping sides.
The rest of the walls are green and some red.
I chose a latex paint for all the walls.
The first thing I did was degrease all the walls well with an all-purpose cleaner.
Then taped the floor with a cover film and then taped the frames and baseboards, sockets.
The walls were previously white, so that means I painted all the walls twice.
I started with the blue color and then waited 1 day for the wall paint to dry well before I continued with the green and red color.
After all, I couldn’t go straight to the inside work because I couldn’t draw straight lines with tape.
I let the ceiling continue in the blue color for another 3 centimeters, so that it seems that the ceiling looks even slightly larger.
You get a nice effect here.
The Brummer family was very satisfied with the color combination.
This was also a nice challenge for me to do this and I would like to thank the Brummer family again for the assignment.
If you have any questions about this, or about combining your own colors, please let me know by leaving a comment below this article.
BVD.
Pete deVries.

I'm Joost Nusselder, the founder of Tools Doctor, content marketer, and dad. I love trying out new equipment, and together with my team I've been creating in-depth blog articles since 2016 to help loyal readers with tools & crafting tips.