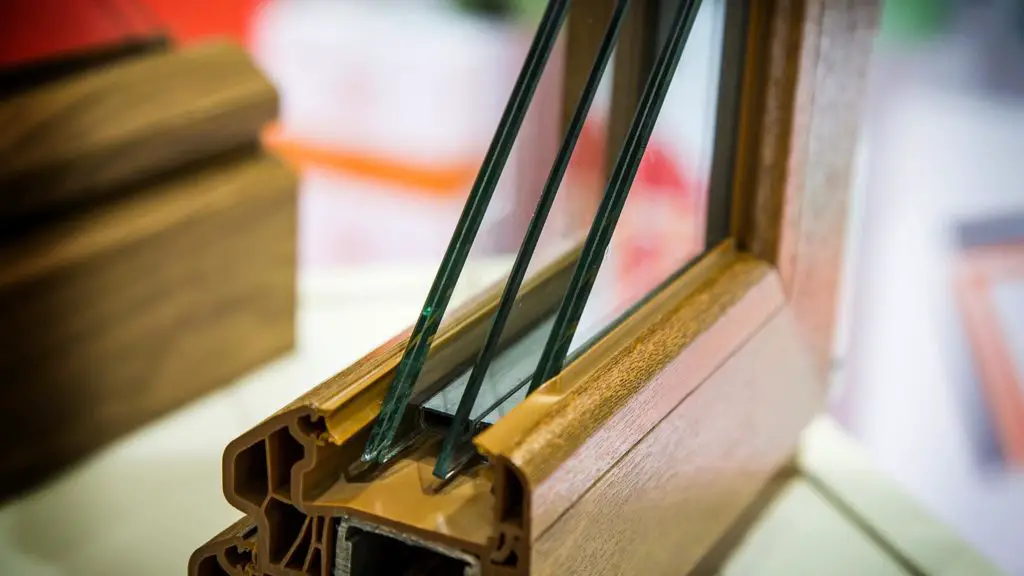
REPLACING GLASS LATCHES: window glazing beads

REPLACEMENT REPLACEMENT GLASS LATCHES
Stanley knife
Chisel, hammer and punch
Miter box and saw
Penny
Stainless steel headless nails 2 centimeters and glass band
Fast soil and brush
glass kit
A wide and narrow putty knife
Two component putty
ROADMAP
Cut the sealant loose with a utility knife.
Remove old glazing bars with chisel and hammer
Cleaning the frame
Measure glazing bead and saw miter
Sticking glass tape on the side where glazing bar touches the glass
Fasten with stainless steel nails and float away
Apply quick primer to holes of stainless steel nails
Stop using two component putty and prime again
Apply glass sealant
PROCEDURE INSTALLING NEW GLASS LATCHES
Take a Stanley knife and cut the sealant loose so that it comes loose from the glazing bead. Then try to trace the nail holes with which the glazing beads are attached. Now take a chisel, wide putty knife and a hammer and try with the chisel between the glazing bead and pry the frame loose from the glazing bead. Use the wide putty knife on the frame to prevent damage. ( see picture)
Do this very carefully. When the glazing bead has been removed, you first clean everything. That is, remove the old sealant and leftover glass tape. When you are done with this, you will measure how long this glazing bead should be. Always measure a little more. After that, you take a miter box and go you can saw the glazing bead to size.
If the glazing bars are bare, apply quick soil on four sides. When this has dried you will apply glass tape. Stay about 2 to 3 millimeters from the top of the glass. Then fasten the glazing bar with 4 headless nails of stainless steel per linear meter. Make sure to use a wide putty knife when hammering the nails, this will prevent damage to the glass.
KITTEN AND PLAMMERS
Now you have to putty between the glass and the glazing beads. Use glass sealant for this. For a tight result: Take a PVC tube and saw it off at an angle and sand off the cut part. Immerse the PVC tube in soapy water and go over the sealant with the angled section of the tube. Do this in such a way that the excess sealant ends up in the PVC tube through the angled section. After this you have a tight sealant edge.
After this you will drive the nails away with a punch. Apply quick soil in the holes. Then you will fill the holes with putty. After this you will sand the filler smooth and make it dust-free. Before painting, prime the filler with a primer.
RUN YOURSELF
You must always keep in mind that you do not damage the frame and that you do not touch the double glazing. If you pay attention to this, nothing can happen and then replacing glazing beads is a piece of cake. once done? And how did it go? What are your experiences with this? Would you like to report an experience by posting a comment under this article?
Thanks in advance.
Pete de Vries.
I'm Joost Nusselder, the founder of Tools Doctor, content marketer, and dad. I love trying out new equipment, and together with my team I've been creating in-depth blog articles since 2016 to help loyal readers with tools & crafting tips.
