I love creating free content full of tips for my readers, you. I don't accept paid sponsorships, my opinion is my own, but if you find my recommendations helpful and you end up buying something you like through one of my links, I could earn a commission at no extra cost to you. Learn more
Soldering a copper pipe can be tricky. And the pipeline containing water in it makes it even more difficult. Check out this step by step instructions on how to solder a copper pipe with water in it.
In this post we'll cover:
Tools and Materials
- White Bread
- Flux
- Vacuum
- Flame protector
- Soldering torch
- Compression Valve
- Jet Swet
- Fitting brush
- Pipe Cutter
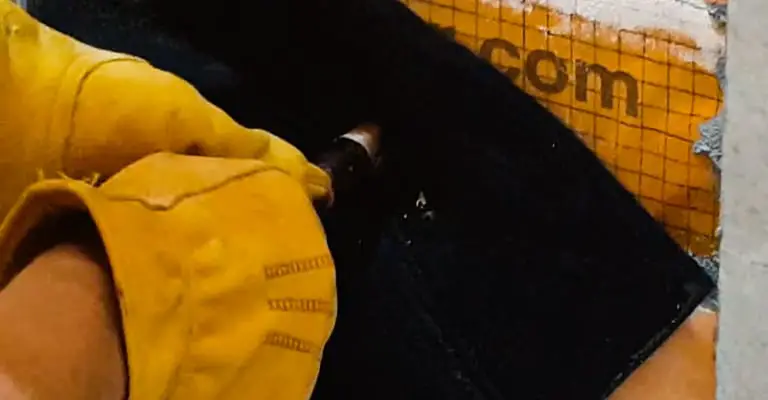
Step 1: Stop the Water Flow
Soldering a copper pipe using a butane torch while containing water inside the pipe is almost impossible as most heat from the soldering torch goes right into the water and vaporizes it. The solder starts melting at about 250oC depending on the type, while the boiling point of water is 100oC. So, you can’t solder with water in the pipe. There are several methods you can use to stop the water flow in the pipe.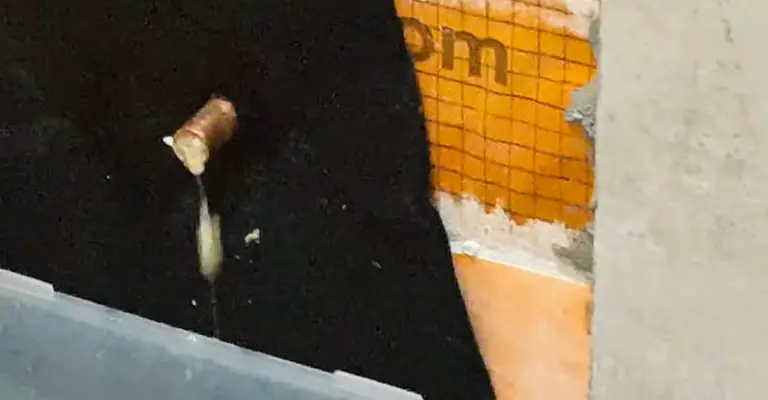
White Bread
This is an old timer’s trick to do it, with white bread. It’s an inexpensive and convenient method. Note that you can do it only with white bread, not wheat bread, or the crust. Shove a tightly-knit ball made with the bread down into the pipe. Push it far enough with a stick or any tool to clear the soldering joint. However, this method might not work if the water flow is strong enough to push back the bread dough.Compression Valve
If the water flow is strong enough to push back the white bread pulp, the compression valve is the better option. Install the valve right before the soldering joint and close the knob. Now the water flow is stopped so you can move on to the next procedures.Jet Swet
Jet Swet is a device that can be used to temporarily block the water flow of the leaking pipe. You can remove the equipment after the soldering process and use it again in similar cases.Step 2: Remove the Remaining Water
Suck out the water remaining in the pipeline with a vacuum. Even a tiny amount of water in the soldering joint makes it very troublesome.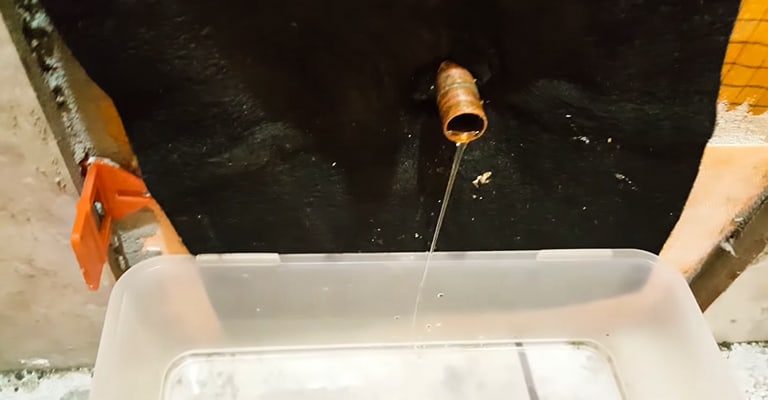
Step 3: Clean the Soldering Surface
Clean both of the insides and outside of the pipe surface thoroughly with a fitting brush. You can also use emery cloth to ensure a solid joint.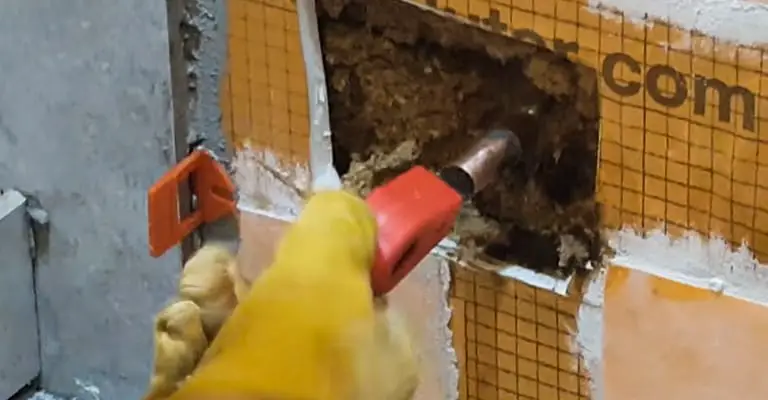
Step 4: Apply Flux
The flux is a wax-like material that dissolves when the heat is applied and removes oxidation from the joint surface. Use a brush to make a thin layer with a small amount of flux. Apply it on both inside and outside of the surface.
Step 5: Use Flame Protector
Use a flame protector to prevent damage to the nearby surfaces.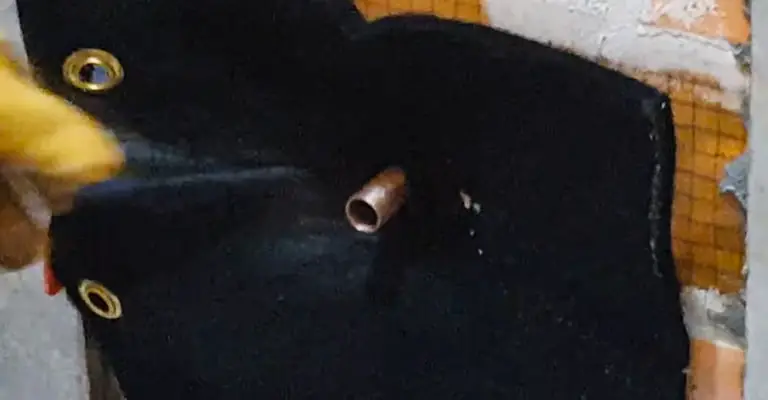
Step 5: Heat the Joint
Use MAPP gas in soldering torch instead of propane speeds up the work. MAPP burns hotter than propane so it takes less time to finish the process. Light up your soldering torch and set the flame to a stable temperature. Heat the fitting gently to avoid excessive heating. After a few moments touch the tip of the solder in the joint surface. Make sure to distribute enough solder to all around the fitting. If the heat is not enough to melt the solder, heat the soldering joint for an extra few seconds.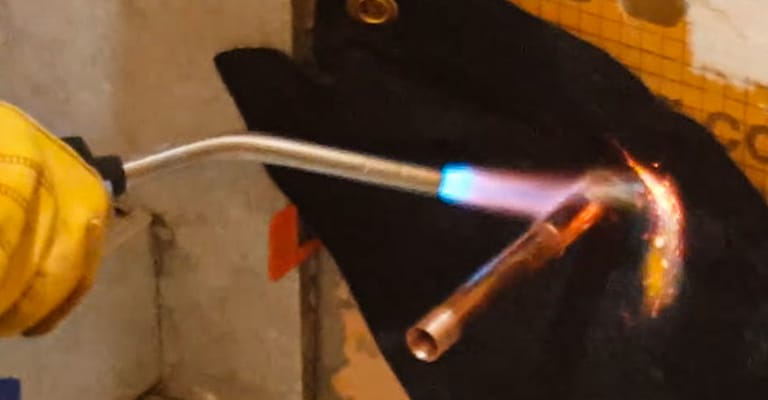
Precautions
Always make sure to use gloves before doing the soldering works. The flame, tip of the soldering torch, and the heated surfaces are dangerous enough to cause severe damage. Keep a fire extinguisher and water nearby for safety reasons. After extinguishing put your torch in a safe place as the nozzle will be heated.What Kind of Solder Should I Use?
The solder material depends on the use of your pipe. For soldering drainage pipe you can use 50/50 solder, but for drinking water, you can’t use this type. This type of solder contains lead and other materials which is toxic and harmful for containing water. For drinking water pipelines, use 95/5 solder instead, which is lead and other harmful chemicals free and safe.To Conclude
Make sure to clean and flux the tip of the pipes and the inside of the fittings before welding them. Before starting the soldering process, make sure they’re fully attached by pressing the pipes tightly into the joints. To solder multiple joints on the same pipe, use a wet rug to wrap up other joints to avoid melting of the solder. Well, you can join the copper pipes without soldering as well.
I'm Joost Nusselder, the founder of Tools Doctor, content marketer, and dad. I love trying out new equipment, and together with my team I've been creating in-depth blog articles since 2016 to help loyal readers with tools & crafting tips.