I love creating free content full of tips for my readers, you. I don't accept paid sponsorships, my opinion is my own, but if you find my recommendations helpful and you end up buying something you like through one of my links, I could earn a commission at no extra cost to you. Learn more
A miter saw is one of the most used tools by any woodworker, whether he is fairly a newcomer or a veteran with years of experience. That’s because the tool is very flexible and versatile.
Even though the tool is pretty simple to master, it can be daunting at the first look. So, how do you unlock a miter saw and prepare it for work?
A typical miter saw has about 2-4 different locking mechanisms to freeze it in the desired angle while allowing the flexibility to change the setup accordingly.
 These pivoting points allow you to adjust the miter angle, the bevel angle, lock the head when not in use, and set the sliding arm in some models. But-
In this post we'll cover:
How To Lock And Unlock The Pivots
As I mentioned above, a miter saw contains at the very least two angle control knobs/levers, which adjusts the miter angle and the bevel angle. This is like the barebone of a miter saw. The knobs, or levers in some cases, maybe located at different places on different machines.How To Unlock The Miter Control Knob
On the majority of the models available, the miter angle is locked in place with a knob that is shaped more like a handle. It is located at the bottom part of the tool and placed right at the periphery of the miter scale near the base of the tool. The handle itself may be the knob, thus can be rotated to lock and unlock the miter angle pivot, or in some cases, the handle may be purely a handle, and there is a separate knob or lever to lock the saw. Your tool’s manual will be the best way to be certain. Rotating the knob counterclockwise or pulling the lever downwards should do the trick. With the knob loosened, you can freely rotate your tool and get the desired miter angle. Most of the saw has an auto-locking feature at popular angles like 30-degree, 45-degree, etc. With the angle set, be sure to lock the screw back in place.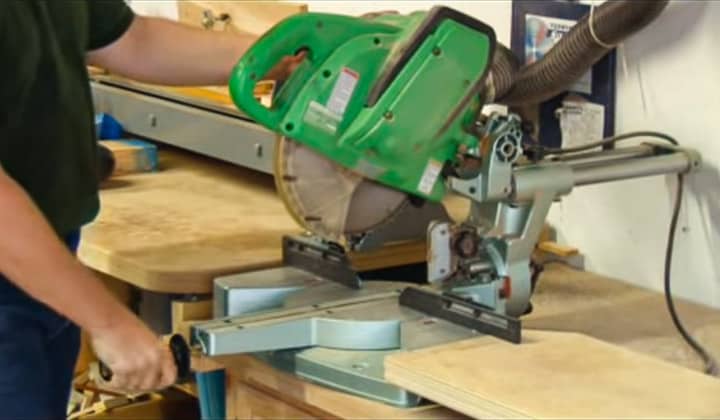
How To Unlock The Bevel Control Knob
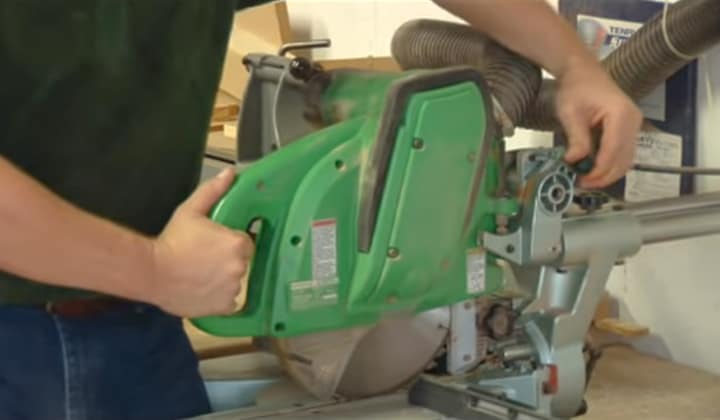
This knob is probably the trickiest one to get to. The bevel control knob is placed at the very back of the miter saw, either literally at the backside or on a side, but very close to the ankle, which connects the upper portion to the lower. In order to unlock the bevel knob, grab the saw’s handle strongly. The head part will get loose and will want to tilt to a side on its weight once the bevel knob is loosened. If the tool’s head is not secured properly, it can end up hurting you or the toddler standing beside you or damage the device itself. Now, unlocking the knob is pretty much the same as most other screws and knobs. Turning anti-clockwise should get the knob loose. The rest should be the same as the miter control screw. After achieving the correct bevel angle, be sure to lock the screw back. The bevel knob is the riskiest knob among the available ones. Because in case it fails, the result could be disastrous.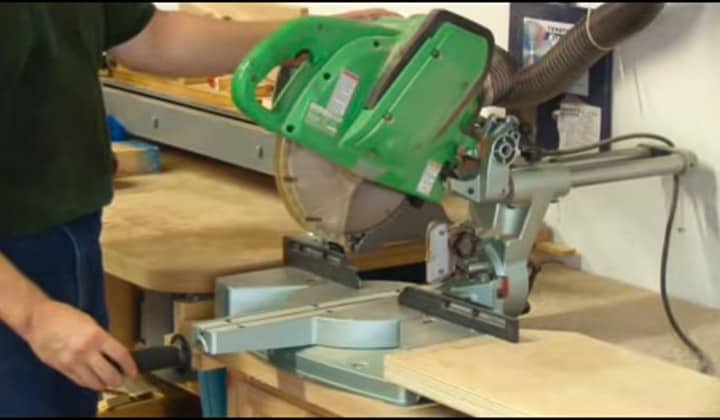
Conclusion
That is the most common knobs available on almost all the miter saw available in the market. One last thing to mention here is that always be sure to unplug the tool and that the blade guard is in place before accessing any of the knobs. Granted that most of the companies install multiple safety mechanisms, but the last thing you want is the power button being pressed accidentally and the saw turning on while the knobs are loose. That already sounds disastrous. Anyway, I hope you found your answer, and you can approach your miter saw more confidently next time. Oh! Always wear safety gear when handling a tool with a high-speed electric motor and razor-sharp teeth.
I'm Joost Nusselder, the founder of Tools Doctor, content marketer, and dad. I love trying out new equipment, and together with my team I've been creating in-depth blog articles since 2016 to help loyal readers with tools & crafting tips.