Keeping the surface of your workpieces clean when you’re attempting a solder is as important as keeping the license plate on your car. And I am not being the least bit sarcastic, your current bill will skyrocket for a failed solder. If you’re not using flux to clean your surfaces the soldering will come off before you know it.
Besides, hot metals do tend to form oxides when it comes in contact with air. That causes the solder to fail a lot of the time. These days there’s a few different types of solder out there. Let’s talk about them.
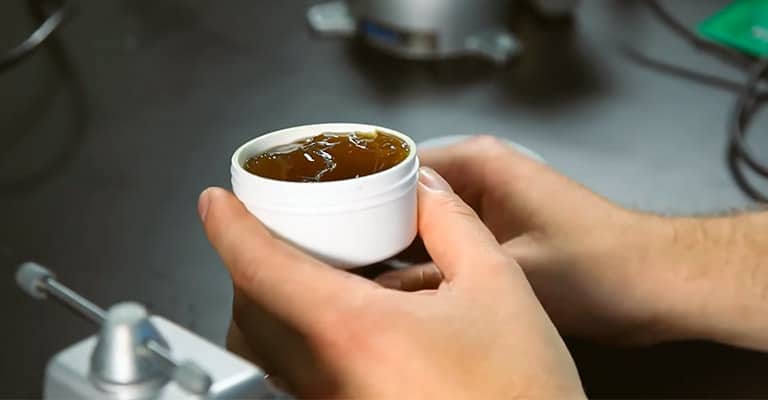
In this post we'll cover:
Types of Soldering Flux
Soldering fluxes differ greatly in terms of their performance, strength, impact on soldering quality, reliability, and more. Because of this, you cannot use any flux agent to solder wires or electronic components. Based on their flux activity, soldering flux essentially fall into the following basic categories:
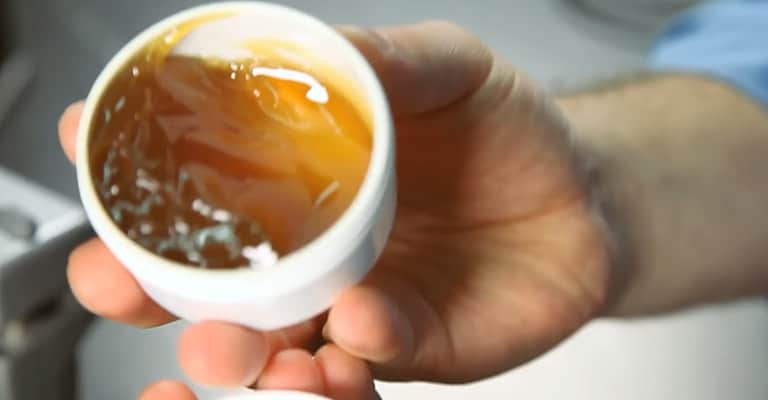
Rosin Flux
There are different types of flux for electrical soldering, rosin flux is one of the most popular of them. The primary element in rosin flux is rosin which is extracted from refined pinesap. Other than that, it contains the active ingredient abietic acid as well as few natural acids. Most rosin fluxes have activators in them which enable the flux to deoxidize and clean the soldered surfaces. This type can be divided into three sub-types:
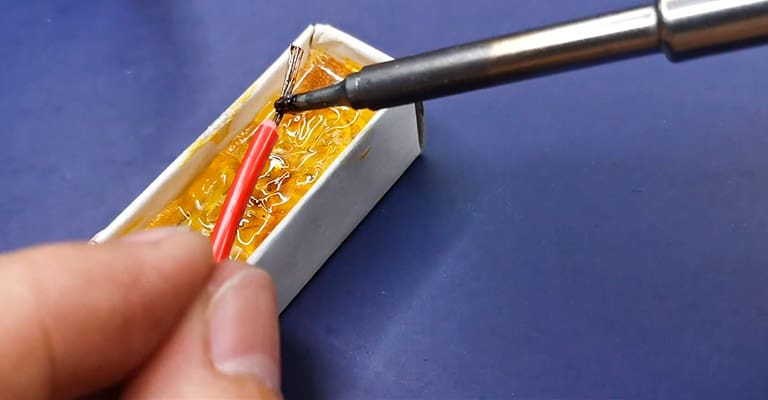
Rosin(R) Flux
This rosin(R) flux is only composed of rosin and least active among three types. It is mostly used for soldering copper wire, PCBs, and other hand-soldering applications. Usually, it is used on an already cleaned surface with minimum oxidation. The biggest advantage of it is it does not leave any residue behind.
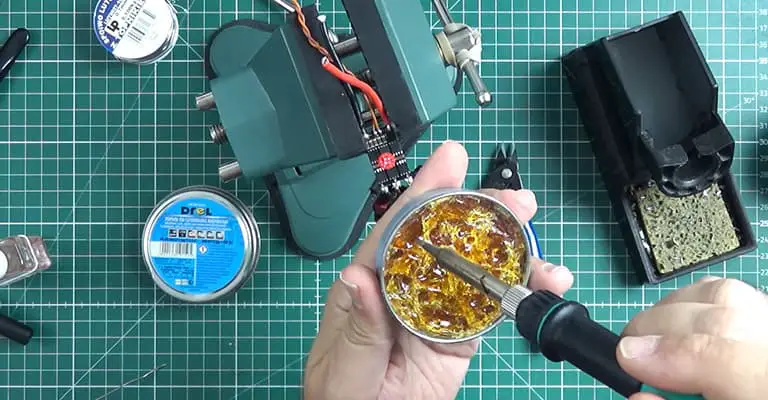
Rosin Mildly Active (RMA)
Rosin mildly activated flux has sufficient activators to clean moderately dirty surfaces. However, such products leave more residue than any other ordinary flux. Thus, after using, you must clean the surface with flux cleaner to prevent any damage to the circuit or components.
Rosin Activated (RA)
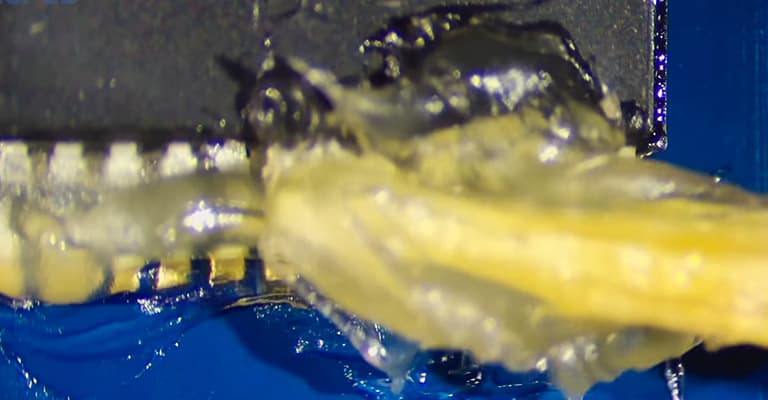
Rosin activated is the most active among three types of rosin fluxes. It cleans the best and provides excellent soldering. This makes them ideal for cleaning hard to clean surfaces with lots of oxides present. On the flip side, this type is rarely used as it tends to leave a significant amount of residues behind.
Water Soluble Flux or Organic Acid Flux
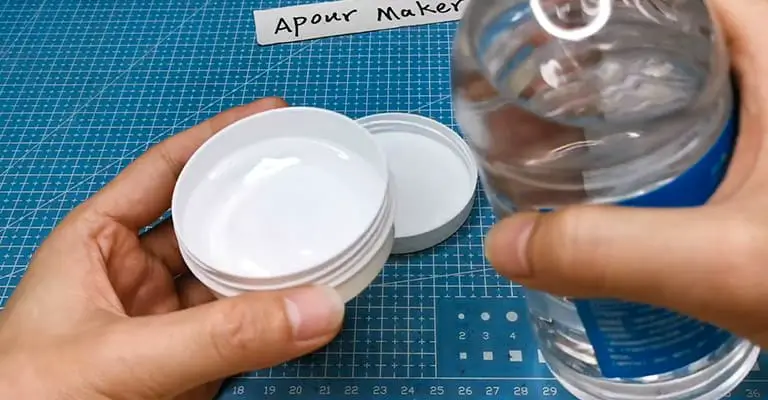
This type primarily contains weak organic acids and dissolves readily in water and isopropyl alcohol. So, you can remove flux residue using only regular water. But you have to take care that the components do not get wet.
Additionally, this type possesses more corrosive power than rosin-based fluxes. Because of this, they are way quicker at removing oxides on the surface. Though, you will require extra protection during the cleaning of the PCB to avoid flux contamination. Also, after soldering, the traces of flux residue must be cleaned.
Inorganic Acid Flux
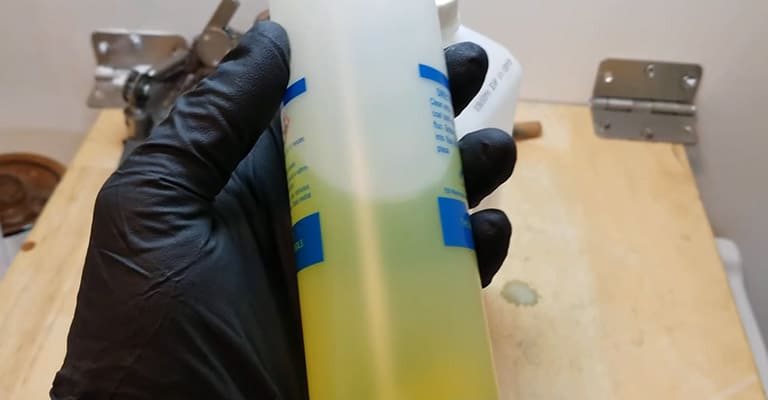
Inorganic acid fluxes are meant for high-temperature soldering that are difficult to bond. These are more corrosive or stronger than organic fluxes. Besides, they are used on stronger metals and help to get rid of a large number of oxides from heavily oxidized metals. But, these are not best suited for electronic assemblies.
No-Clean Flux
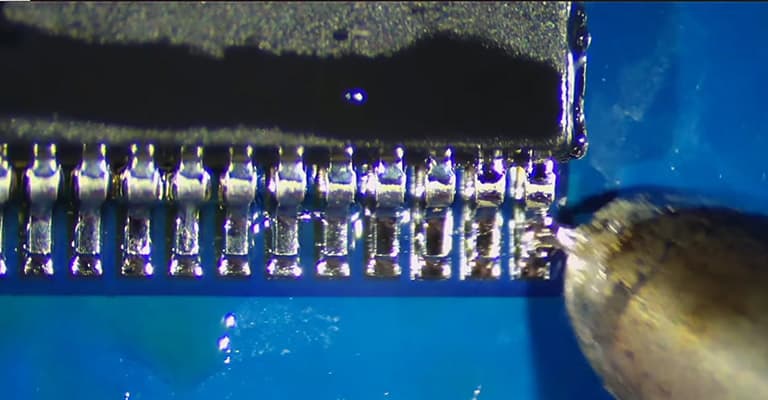
For this type of flux, cleaning is not needed after soldering. It is specially designed to have mild action. Hence even if there is a little residue left, it will not cause any damage to the components or boards. For these reasons, these are ideal for automated soldering applications, wave soldering, and surface mount PCBs.
Basic Guide | How to Use Flux for Soldering
As you can see there are many different types of flux for electronic soldering available in various textures like liquid or paste. Also, for different soldering processes flux is applied differently. Therefore, for your convenience and to avoid confusion, here we go for a step-by-step guide of using soldering flux.
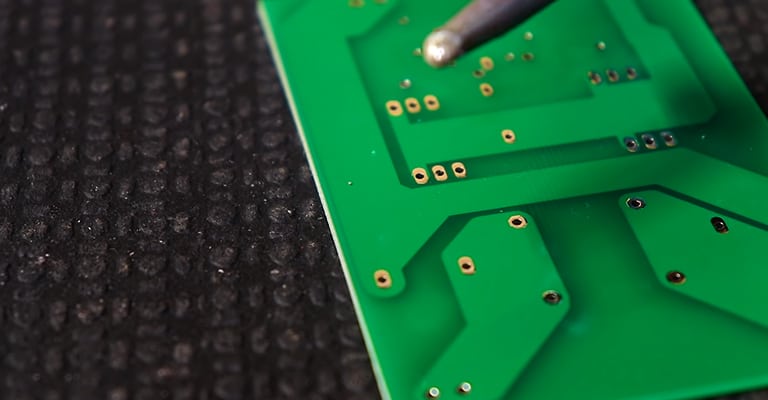
Choose Suitable Flux and Clean the Surface
Initially, pick a suitable flux for your soldering job from our list of different types of soldering fluxes. Next, you should clean the metal surface so that it has no dust, grime, or excessive oxidation.
Cover the Area with Flux
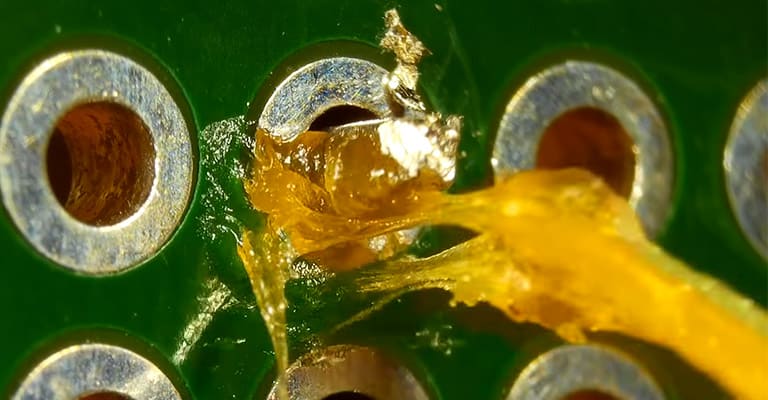
After that, you need to apply an even layer of the selected flux to the surface where you will be soldering. Note that you should fully cover the area. At this stage, you should not apply heat.
Apply Heat with Soldering Iron
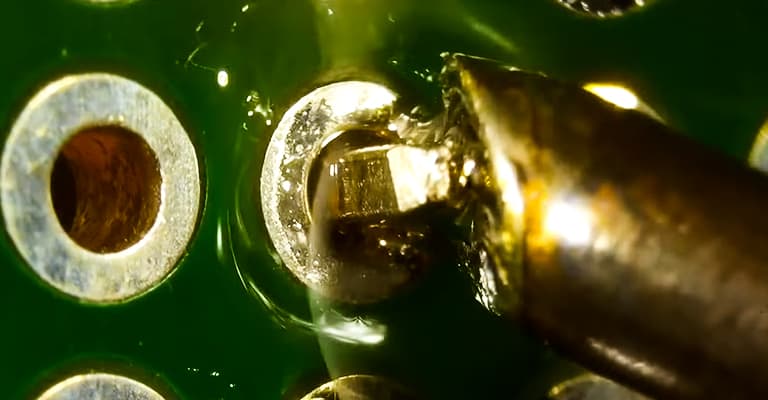
Next, start the iron so that the tip gets hot enough to melt the flux with contact. Place the iron on top of the flux and allow it to melt the flux to liquid form. This not only will help to get rid of the present oxide layer, but also will prevent future oxidization until the flux remains. Now, you can start the soldering process.
Soldering Wires with Soldering Flux
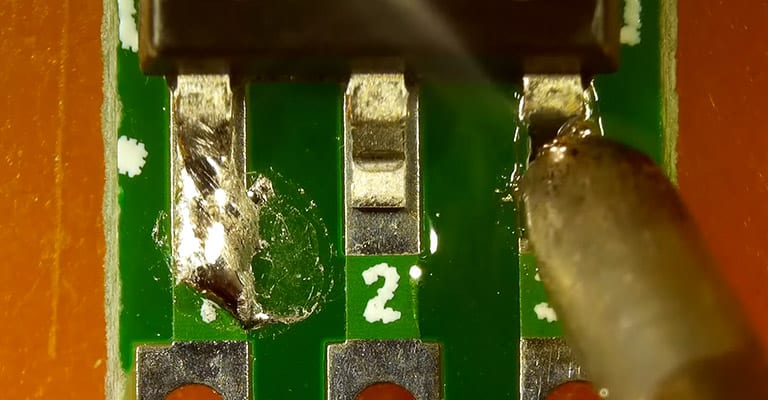
Using soldering flux while soldering wires or connectors has few differences from the general procedure we described before. As these are very flimsy, a few changes may damage the wires. This is why, before using the flux on wires, make sure you are doing the correct procedure.
Choose Right Flux
As most wires are fragile and thin, using anything too corrosive may damage your circuit. So, many experts advise picking rosin-based flux for soldering because it is the least corrosive.
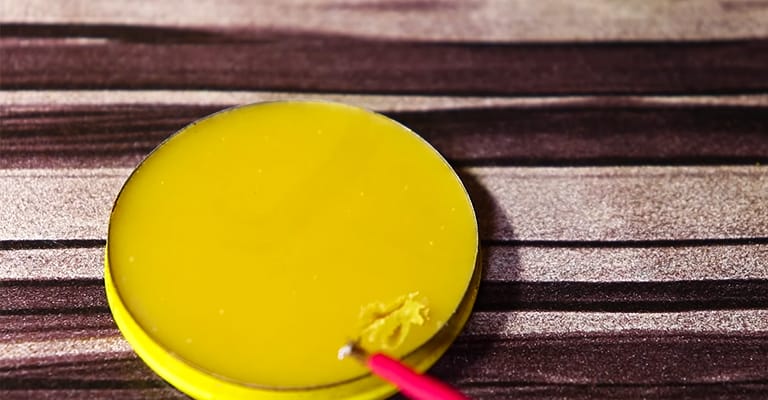
Clean and Intertwine the Wires
Primarily make sure each wire is clean. Now, twist the exposed ends of each wire together. Keep twisting the wires over and around until you cannot see any pointed ends. And if you want to put heat-sink tubing over your soldering, do this before twisting the wires. Make sure the tubing is small and shrinks tightly to the wires.
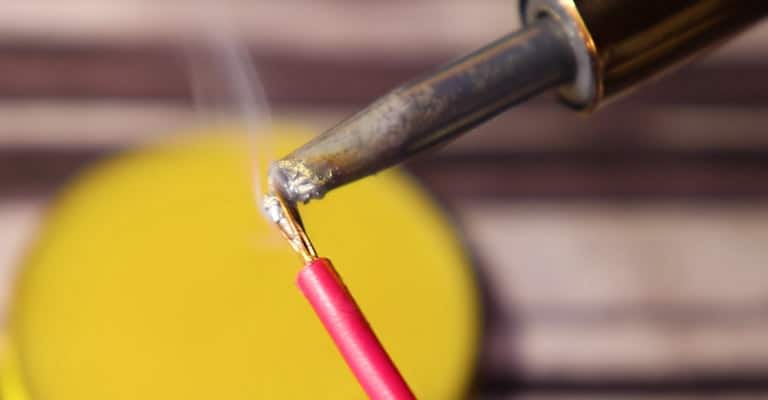
Put Soldering Flux on the Wires
To coat the wires, use your fingers or small paintbrush to scoop a small amount of flux and spread them over the area. Flux should fully cover the wires. Not to mention, you should wipe excess flux before starting to solder.
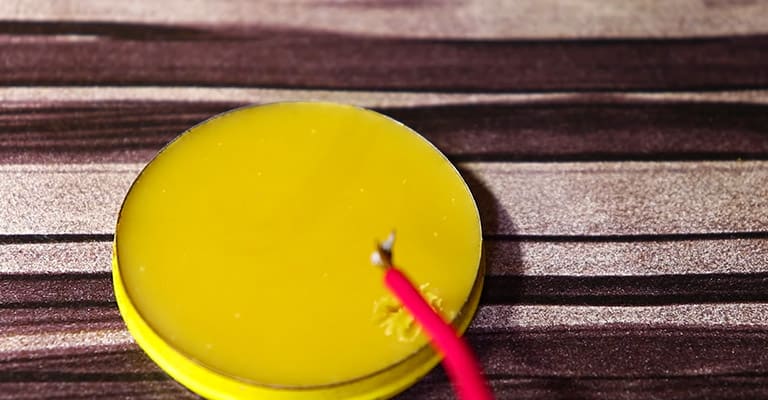
Melt the Flux with Soldering Iron
Heat the iron now and once it is hot, press the iron onto one side of the wires. Continue this process until the flux is fully melted and starts bubbling. You can put a small amount of solder onto the tip of iron while pressing it to wire to speed up the heat transfer.
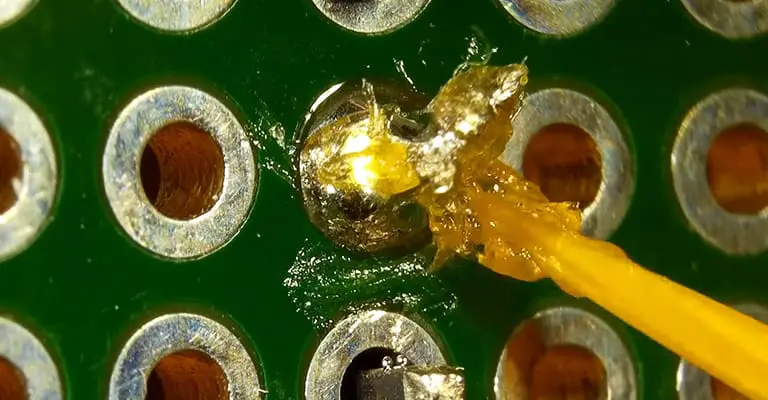
Apply Solder into the Wires
While the iron is pressed against the wires on the bottom side, apply some solder onto the other side of the wires. The solder will melt immediately if the iron is hot enough. Be sure that you will put enough solder to cover the connection entirely.
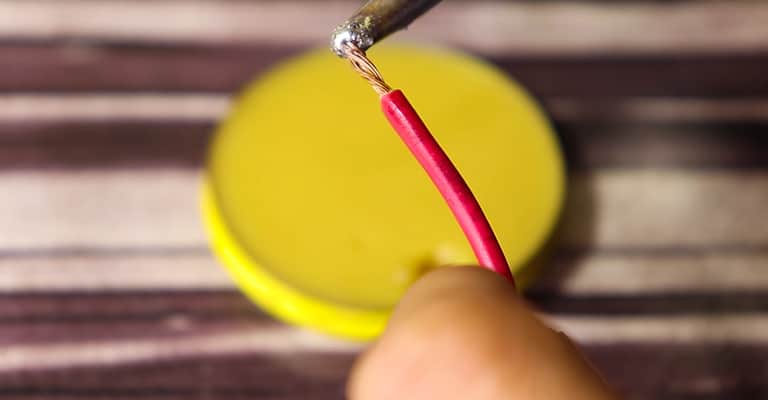
Let the Solder Harden
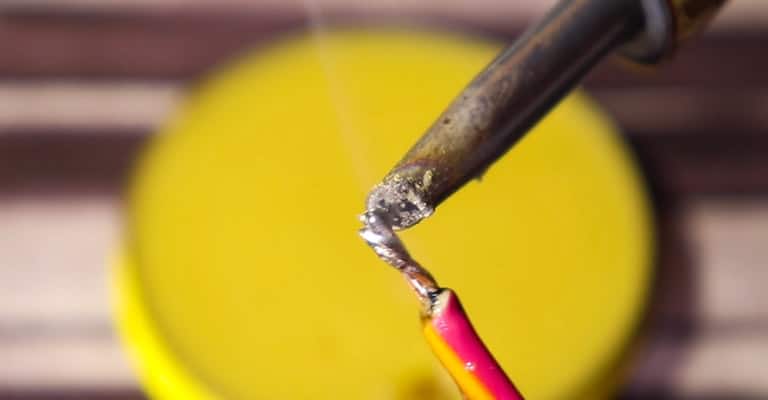
Now take the soldering iron away and be patient for the solder to cool down. As they cool down you can see them hardening. Once the solder is set, look for any exposed wire. If there is any, feed some more solder onto it and let them harden.
Conclusion
Soldering art is quite simple, yet a little mistake can be in the way of creating the perfect bond. Thus, it is extremely necessary to know the proper use of soldering flux. Whether you are a beginner or non-professional, hopefully, our detailed guide has helped you enough to fully understand all the necessary aspects of using it.
Keep in mind that soldering flux is corrosive and can damage your skin if it is in liquid form or heated up. But you don’t need to worry if it has a pasty texture. For extra safety, use heat-resistant leather gloves while working.
I'm Joost Nusselder, the founder of Tools Doctor, content marketer, and dad. I love trying out new equipment, and together with my team I've been creating in-depth blog articles since 2016 to help loyal readers with tools & crafting tips.
