Putty is indispensable when painting your woodwork. Whether you are going to work with doors, frames or furniture.
There are always holes in your woodwork, especially when painting outside. Putty is indispensable for the do-it-yourselfer.
In this article I’ll tell you everything about filler, how to use it properly and which brands are the best choices.
In this post we'll cover:
Using wall putty
Plastering can be done in different ways. The product is available in tubes and cans.
In addition, you have different types of filler for multiple surfaces such as wood, metal, plastic and so on.
If you want to continue working quickly, there is a quick filler for sale.
I prefer the regular putty.
When do you use putty?
Putty is very suitable for smoothing out small irregularities.
You can use it on wood as well as on the wall, if you use the right kind of filler.
When installing double glazing, the glazing beads are often fastened to the frames with staples. This creates small holes in your woodwork that need to be filled.
Because it is only a few millimeters deep, putty is ideal here.
Nail holes, dents or cracks in the wall can also be filled with filler.
If you have deeper holes, for example more than half a centimeter deep, you should use a different filler.
Just think of wood rot, where you have to use a filler.
Puttying is only suitable for small holes up to about half a centimeter.
You have to apply it layer by layer otherwise it will collapse. I will discuss that later in this article.
But first you want to know what the right filler is for your project.
What types of putty are there?
In simple terms, there are two types of putty:
- powder based filler
- putty based on acrylic
Within this division you then have different types of filler products, each of which has its own application.
When do you use which filler? I will explain.
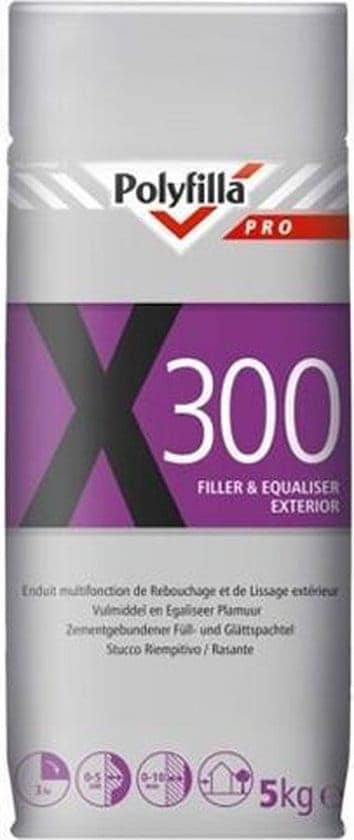
White cement powder filler
Powder-based wall putty consists of white cement mixed with polymers and minerals.
Because it is based on white cement, it can be used on interior and exterior walls due to its powerful bonding ability.
It is also suitable for stony ground.
Consists of white cement, added polymers and minerals
Used for both indoor and outdoor application
Has superior bonding properties as it is white cement based
Polyfilla Pro X300 is the best adhering cement putty that you can use perfectly outside:
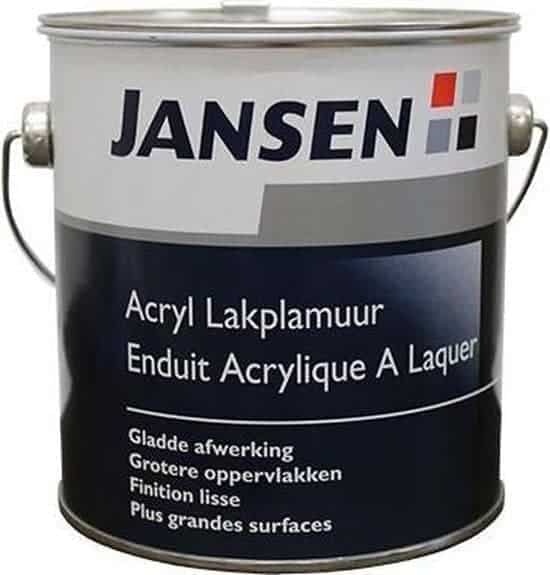
Acrylic lacquer putty
Lacquer Putty is based on a nitrocellulose alkyd resin formulated to cover or fill imperfections in wood and metal such as crevices, joints, dents and nail holes.
It applies smoothly, dries quickly and can be sanded easily with excellent adhesion to the base coat and to the top coat.
It is only suitable for repairing minor damage in the lacquer of wood and is tuned to have the right thickness and consistency to match the existing lacquer.
The brand I choose is this lacquer putty from Jansen:
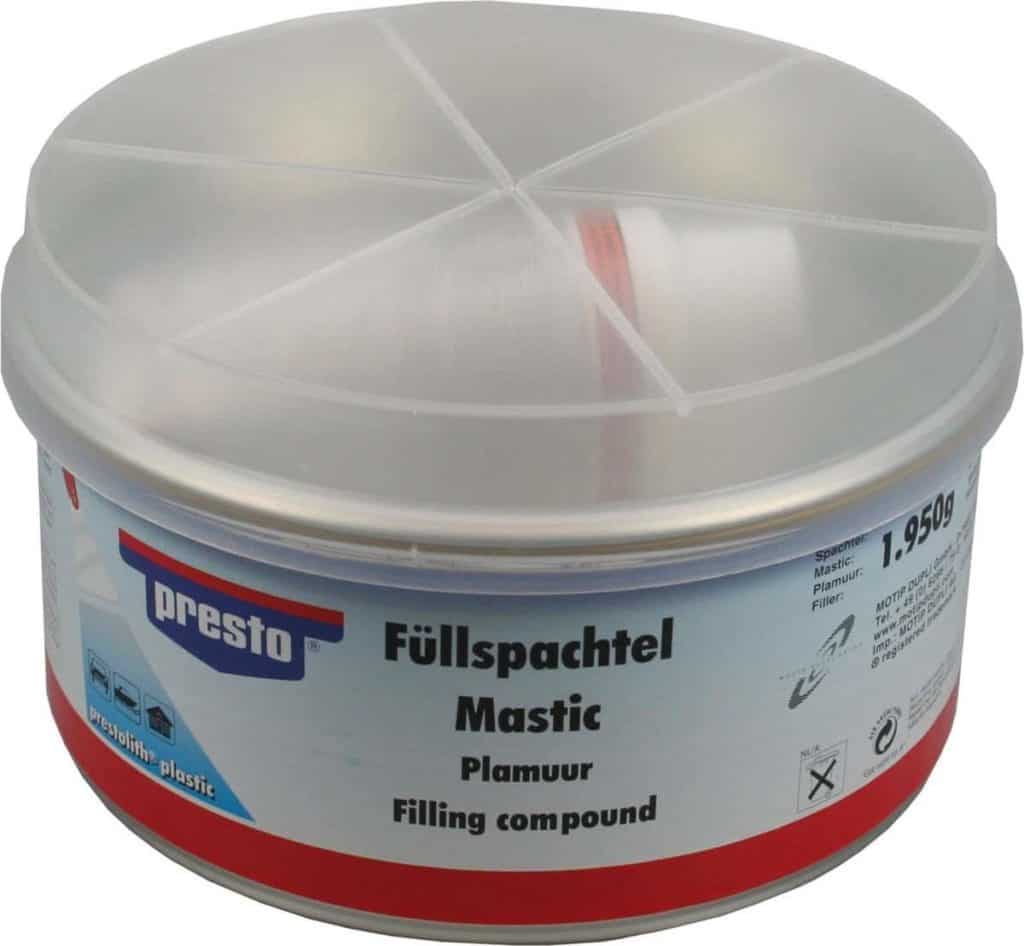
2 components putty
Two part epoxy putty, or 2 part putty, for repair or modeling is an equal parts mixed putty that can be used in a wide variety of projects.
For example, it can be used as an adhesive, filler and sealant on metal surfaces, wood, concrete, composite laminates, etc.
You can also fill some larger holes with it, up to 12mm, but not as big as with cement putty. It is slightly easier to use than cement putty.
Here I explain how to properly apply two-component filler.
Presto 2K is a sturdy 2-component filler:
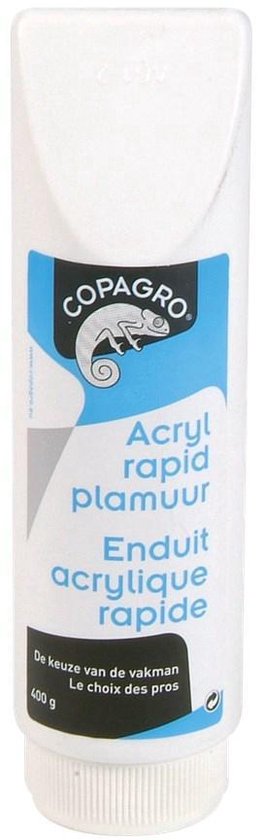
Acrylic wall putty
Acrylic wall putty is a putty with a smooth paste-like consistency and based on acrylic. It is generally recommended for interiors.
An acrylic and water based solution
Only suitable for interiors
Binding quality is inferior to alternative white cement
A good acrylic putty is this one from Copagro:
Polyester putty or “steel putty”
Polyester Putty is elastic and very easy to sand. Polyester putty can be painted over with all paint systems and is resistant to chemicals and weather influences.
MoTip Polyester Putty can be applied in layers with a thickness of up to 2 centimeters:
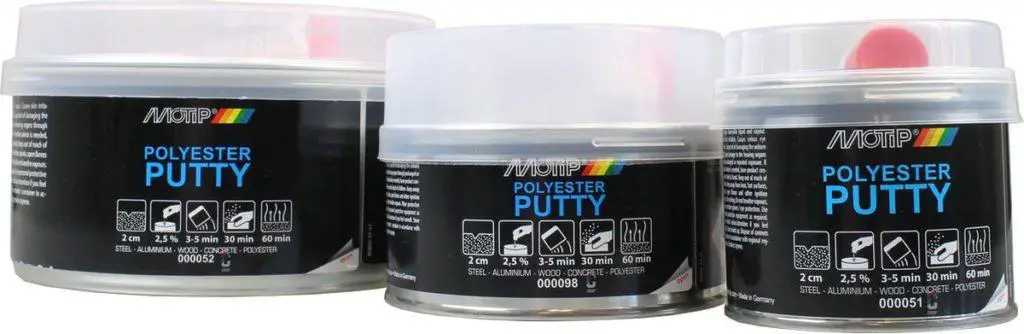
Is polyester putty waterproof?
Unlike wood putty, polyester putty dries hard so it can be sanded to match the profile of the surrounding wood.
Polyester wood fillers are less flexible than epoxies and do not adhere as well to wood. These fillers are water repellent, but not waterproof.
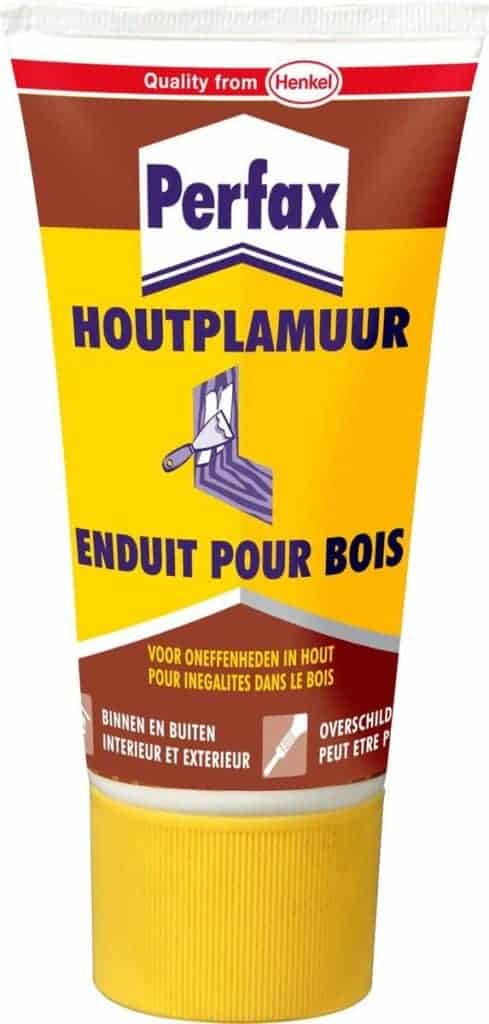
Wood putty
Wood putty, also known as plastic or malleable wood, is a substance used to fill imperfections, such as
nail holes, to be filled in wood before finishing.
It is often composed of wood dust in combination with a drying binder and a diluent (thinner), and sometimes pigment.
Perfax wood putty is the brand that many professionals use to fill small holes in wood and to sand them smooth:
What is the difference between wood putty and wood filler?
Wood filler is applied to restore the wood from the inside. As it hardens, it helps the wood maintain its integrity.
While wood putty is usually not applied until after the finish has been completed as it contains chemicals that can damage the wood and is only intended to fill holes on the surface.
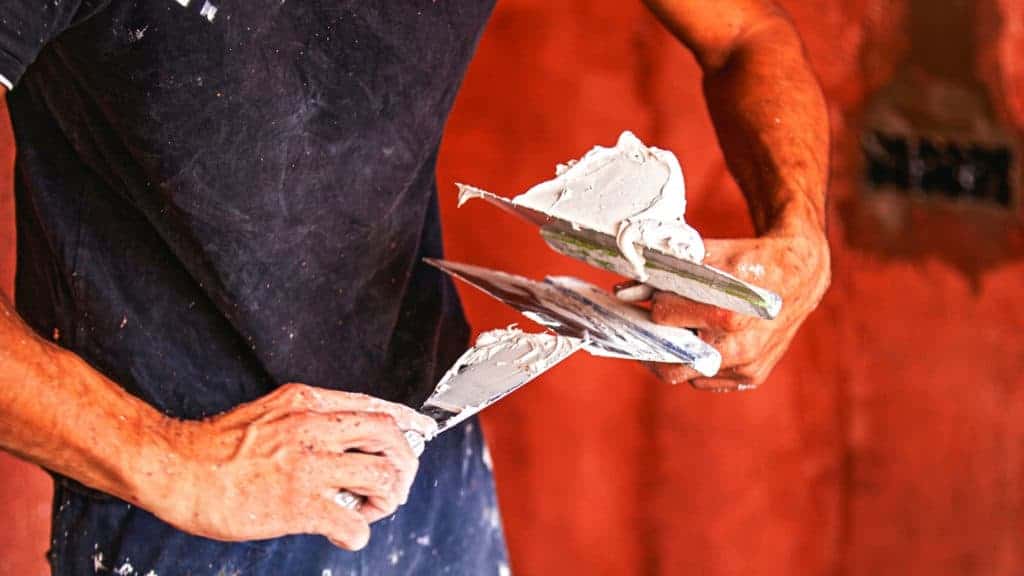
How do you apply putty?
Once you have your filler at home, you can get started. I explain here exactly how to putty.
This method applies to both new surfaces and existing paintwork.
In addition to the putty, make sure you also have two putty knives to hand.
You will need a narrow and wide putty knife to apply the putty, and a wide putty knife to apply your stock of putty.
Degrease first
If you want to putty a surface, you must first degrease the surface well. You can do this with an all-purpose cleaner.
You can use St. Marcs, B-clean or Dasty for this.
Sanding and primer
Then you will first sand it lightly and make it dust-free and then apply a primer.
Only when the primer has cured do you start filling.
Putty layer by layer
You can often fill small irregularities in one go. With the putty knife you pull the putty over the hole in one movement.
If the hole is deeper, you have to proceed step by step. You then have to apply it per layer of 1 millimeter.
If you are going to fill more than 1 mm at a time, there is a good chance that the mixture will sink.
It shrinks when it dries. Apply several thin layers for a tight end result.
Also avoid putting filler on the surface around the hole. If it does, wipe it off quickly.
Apply filler in such a way that your surface is completely smooth. Make sure you allow enough time between coats of putty.
Then paint
When the surface is completely smooth and flat, apply another primer. Then sand it slightly and make it dust-free.
Only now can you start to finish or paint.
When it is varnished, you will no longer see it at all and you will have delivered a nice tight and smooth painting.
Painting walls inside? This is how you handle this like a professional

I'm Joost Nusselder, the founder of Tools Doctor, content marketer, and dad. I love trying out new equipment, and together with my team I've been creating in-depth blog articles since 2016 to help loyal readers with tools & crafting tips.