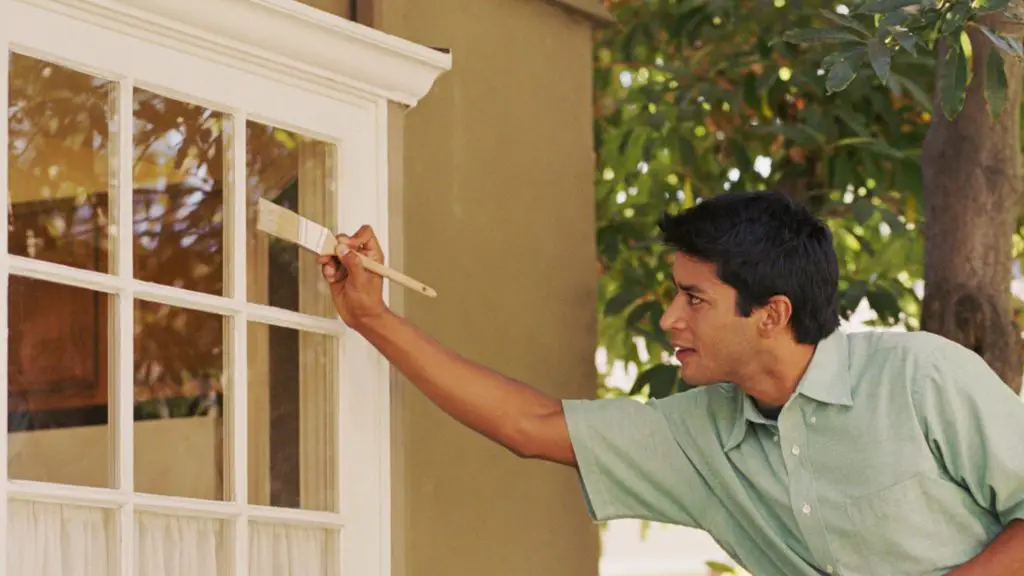
What you can do with lacquer paint and the types of lacquer paint that are available to get a nice end result. I personally prefer to work outside. And then with lacquer paint on an alkyd basis.
This paint always gives a nice end result and the brand I use flows well and has a good covering power. Compared to water-based lacquer, I prefer alkyd-based lacquer.

Now I must confess that the water-based paints are getting better and better!
Lacquer paint, high gloss has a long-lasting gloss retention.
If you are going to paint outside, choose a paint that defies our climate optimally! High gloss always has a deep shine. The durability is good and has a long-lasting gloss retention (especially with the dark colors). There can be a downside if you paint with a high gloss. You see everything on it! However, if you carry out the pre-treatment properly, that is no longer a problem.
Satin gloss, which gives your home a contemporary look.
If you don’t want a shine on your woodwork, I recommend a satin finish. You don’t see everything on it and gives a contemporary look to your painting. I would opt for the 1 pot system. By that I mean that you don’t need a primer for pre-processing. As a primer, use the same paint with a little white spirit added. The advantage of this is that you already have the base layer in the same color as the finishing layer. Once the primer has been applied, sand lightly and dust after 1 day, then apply this paint undiluted and ready! There is another advantage to this and that is that this 1 pot system is moisture regulating!
Everything comes with good preparation!
If you prepare everything well and do it according to the rules, you don’t have to take the pot of paint from the basement every year and go up the ladder again. I now give you my method that I use and that always works. First degrease and clean the old paint layer. When the woodwork has dried, scrape off old layers of paint with a scraper or hair dryer. Always scratch in line with the wood grain. If there are areas where the wood has become bare, it is best to machine sand them with a grit 100 and finish with a grit 180. Then remove any dust from the sanded area and prime it in white or gray, depending on which color is applied. If there are holes or seams, first fill them with a putty and sand again after curing. Remove dust again with a damp cloth and when the coat is dry, sand lightly and apply a second primer coat. Once the base coat has hardened, sand it once more and the preparation is ready. If you always follow this method, nothing can ever go wrong! Wish you luck with painting.
I'm Joost Nusselder, the founder of Tools Doctor, content marketer, and dad. I love trying out new equipment, and together with my team I've been creating in-depth blog articles since 2016 to help loyal readers with tools & crafting tips.
