There are times when you want to clean your circuit board thoroughly. In that case, you might need to remove old solder.
But to remove solder, you’ll need a desoldering tool to work with a soldering iron. What are those tools though?
Now, if you don’t know the different tools for desoldering, then you’ve come to the right place! If you go through this article, you’ll learn about different techniques and tools you can use to desolder.
Then you can decide on which method or tool you’ll be using. And once you’re done deciding, you can start removing solder from different components and boards.
However, before learning about the different types of desoldering, you must know what desoldering exactly is. So let’s begin!
In this post we'll cover:
- What is desoldering?
- What are the tools required for desoldering?
- Ways to remove solder
- 1. Braid method of desoldering
- 2. Pump method of desoldering
- 3. Iron method of desoldering
- 4. Heat gun desoldering method
- 5. Hot-air rework station desoldering method
- 6. Compressed air desoldering method
- 7. Desoldering with tweezers
- 8. Desoldering with a hot plate
- 9. Desoldering bulb method
- 10. Desoldering with drills
- 11. Desoldering with Chip Quik
- Remove solder like a pro with my tips
What is desoldering?
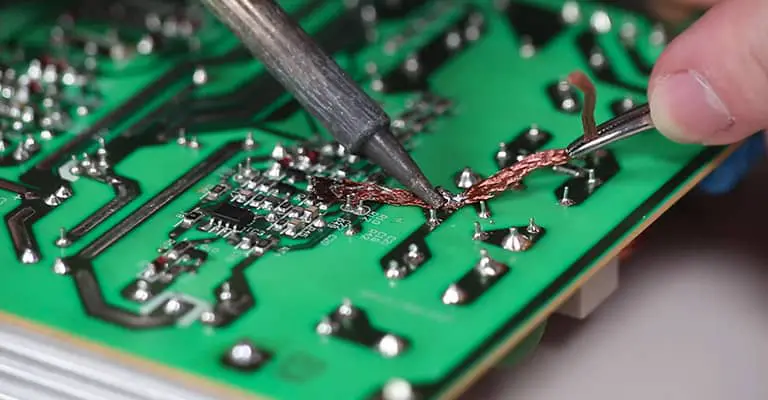
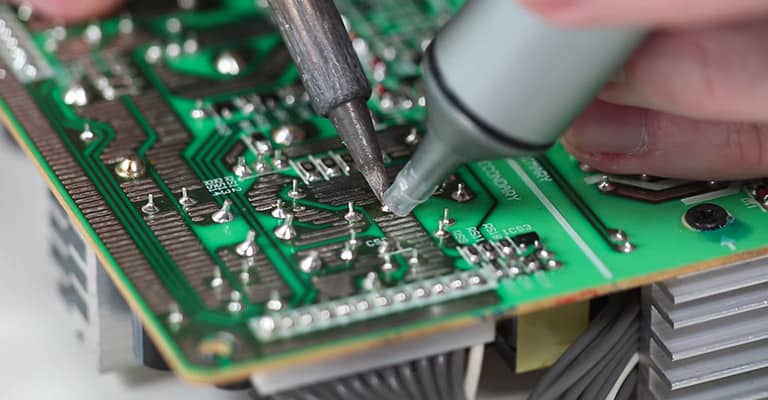
Desoldering is the method of removing solder and components that are mounted on a circuit board. This process is mainly used to remove solder joints.
The application of heat is required here.
What are the tools required for desoldering?
These are the tools you’ll need to get rid of that unnecessary solder:
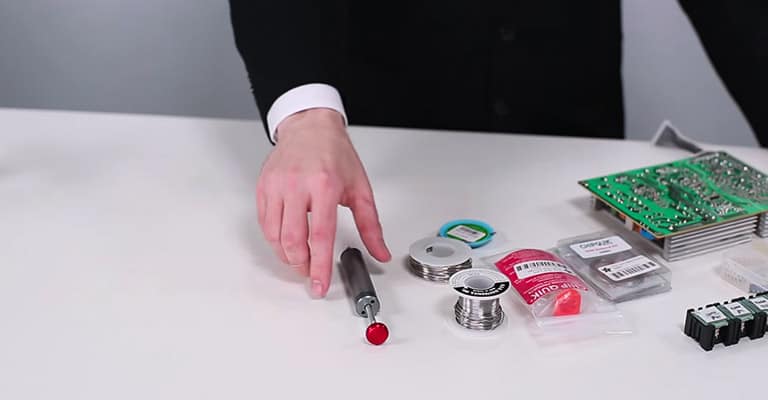
- Desoldering pump
- Desoldering bulb
- Heated soldering tweezers
- Desoldering braid or wick
- Removal fluxes
- Removal alloys
- Heat guns or hot air guns
- Rework stations or a soldering station
- Vacuum and pressure pumps
- Various picks and tweezers
Ways to remove solder
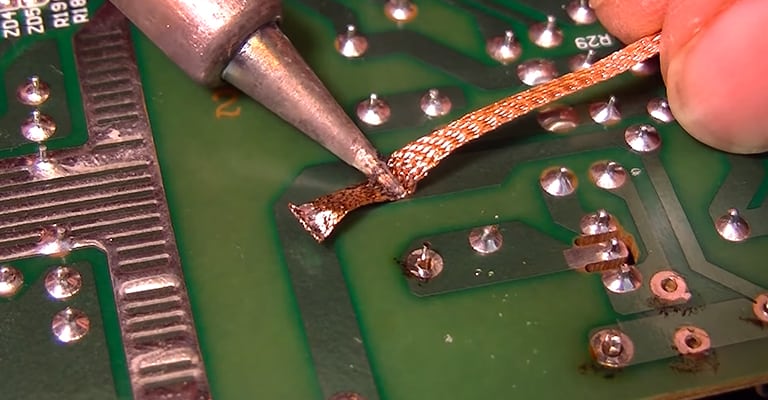
1. Braid method of desoldering
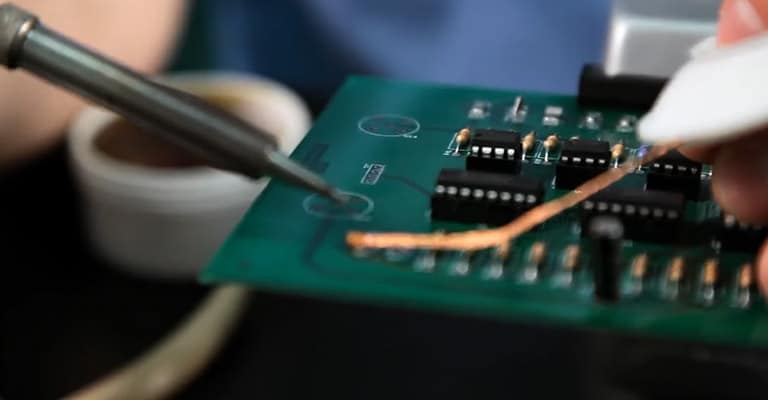
In this method, when you heat the solder, the copper braid soaks it up. You must keep in mind that a quality solder braid always has flux in it. Also, clean the soldering iron before these steps.
Here are the steps:
Choose the size of the braid
First, you have to choose the size of the desoldering braid wisely. Use a braid that’s the same width or a bit wider than the solder joint you’ll be removing.
Use a soldering iron
To use the braid, make a hole in the solder joint you want to remove and lay the braid on it. Then hold a soldering iron up to it so that the solder wick can absorb the heat and transfer it to the joint.
Always select a quality solder braid
Now, in this process, having a quality solder braid is essential. Or else, it won’t be able to soak the heat.
However, if you have a weak quality solder, don’t get disheartened. You can fix it by adding some flux.
You just have to add it to the part of the braid you’ll be using. And you must do it before you put it on the joint.
Moreover, if you feel like the joint doesn’t have enough solder, you can add fresh solder to the joint beforehand.
You’ll observe a change in color
When the solder joint gets melted, you’ll observe the molten metal soaking into the braid and turning it to a tin color.
Spool out more of the braid and move to the next section and continue the process until the joint’s completely absorbed and removed.
Remove the soldering iron and braid together
Once the molten solder is removed, lift both the soldering iron and braid together in one movement. When you remove the iron before the braid, the solder-filled braid might cool off rapidly and solidify back to the project.
2. Pump method of desoldering
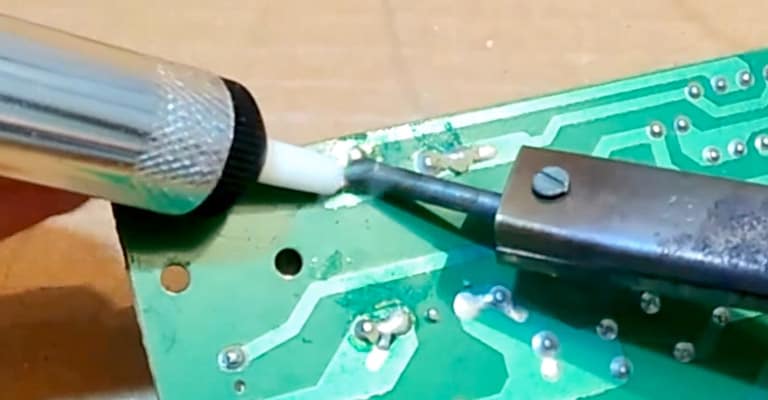
The desoldering pump (also known as a solder sucker or solder vacuum) is used to vacuum small quantities of melted solder when you melt the joints.
The manual type is the most trusted version of this tool. It has reliable suction power and can rapidly remove melted solder.
This is the most popular method among the ways to remove solder without a soldering iron.
Set the spring
First, you have to set the spring of the solder pump.
Heat the soldering iron to a certain temperature
Heat the soldering iron for about 3 minutes.
Make gentle contact between the soldering iron and the solder joint you want to remove. Use the tip of the iron.
Keep heating the solder until it melts.
Use the solder sucker
Now touch the tip of the solder sucker to the melted solder and solder pad. Try not to apply any pressure.
Push the release button
After you push the release button, the piston will shoot back quickly. This will create quick suction that’ll pull the melted solder into the pump.
Cool off the melted solder
Give the melted solder some time to cool off and then empty the suction device into the trash.
3. Iron method of desoldering
This method is quite similar to the methods above.
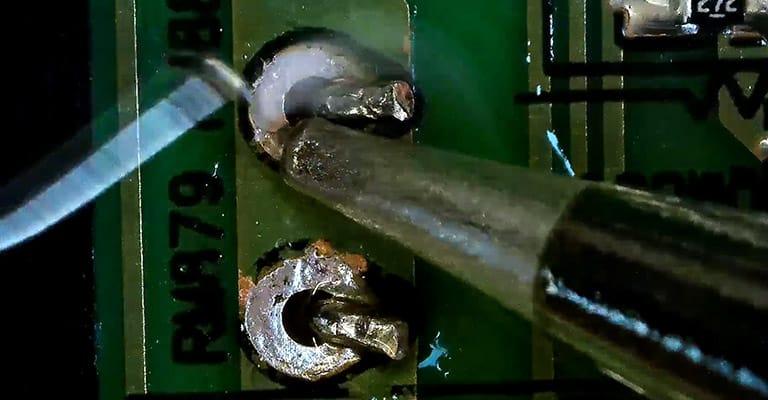
It requires a one-piece desoldering iron. The iron comes with a built-in suction component that vacuums away the melted solder.
Apply the tip of the preheated iron to the solder joint you want to remove. As soon as the solder liquefies, the running solder pump will take away the melted solder.
4. Heat gun desoldering method
First, remove the PCB from the casings.
Now, you have to heat the area with your heat gun. Here, you must place the item on something incombustible; the area around it must also be incombustible.
When you’re heating, you’ll observe the solder turning shiny; that means it’s getting melted. Then, you can remove the solder using tweezers or similar tools.
You can now place it in a safe place to cool off.
5. Hot-air rework station desoldering method
A hot-air rework station is an excellent tool for small jobs that you need to do quickly. It’s a useful tool for removing solder parts from old circuit boards.
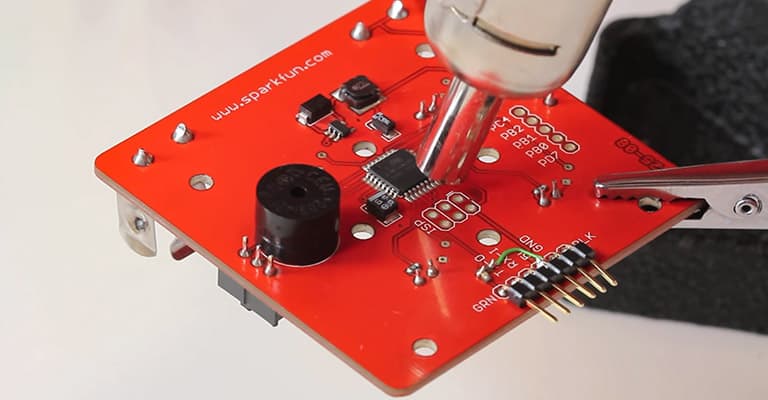
Use the following steps:
Choose your nozzle
The smaller ones are good for working on smaller components, while the bigger ones are great for significant areas of the board.
Switch on the device
Once you turn the device on, it’ll start heating up. Always warm up the hot air station before using it.
Aim the nozzle; you might notice little puffs of white smoke emitting from it. Well, these are normal, so you don’t have to worry about it!
Adjust the airflow and temperature
There are 2 different knobs for each. Set the airflow and temperature higher than the melting point of the solder.
Apply flux
Apply flux to the solder joint you want to remove.
Aim the nozzle
Now that you’ve prepared, it’s time to aim the nozzle at the part you’ll be working on. Keep moving the nozzle back and forth until the solder starts to melt.
Now carefully remove the part that you need to rework with tweezers. Be careful of the hot air.
Let the device cool off
Switch off the device to let it cool. Wash the board in case there’s any water-soluble flux left. If left, this can cause corrosion.
6. Compressed air desoldering method
For this method, you only need a soldering iron and compressed air. You must wear safety glasses. This technique is slightly messy, but it’s straightforward.
At first, you have to heat the soldering iron. Gently touch the solder joint that you want to remove.
Then heat the solder joint and use the compressed air to blow away the solder. And the process is done!
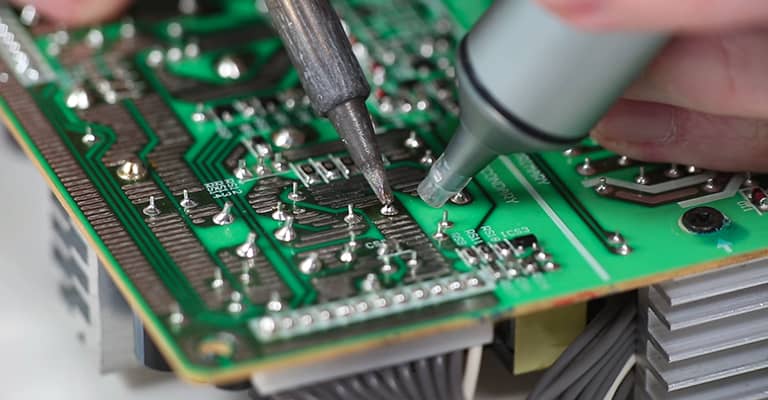
7. Desoldering with tweezers
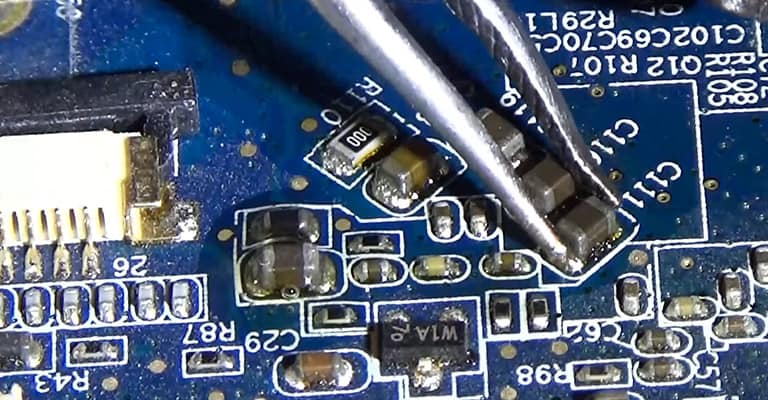
People mainly use desoldering tweezers to melt solder in the right place. The tweezers come in 2 forms: either controlled by a soldering station or free standing.
Mainly, the 2 tips of the tool are used in desoldering; you should apply the tips to the 2 terminals of the component.
So what’s the method of desoldering? Let’s go through that!
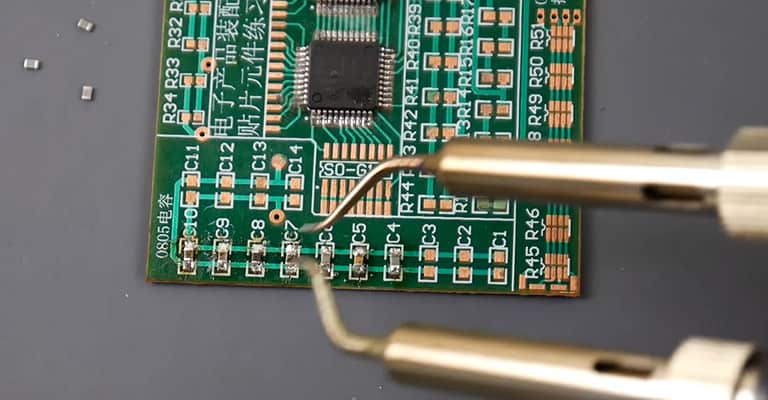
Turn the tweezers on
First, you need to turn the tweezers on and set the temperature. You can check the manual for detailed instructions.
To create good contact between the tweezers and the component, you can use flux or extra solder.
Melt the solder away
For this, place the tip of the tweezers on the area and wait until the solder melts.
Grab the component using the tweezers
Now that the solder is molten, grab the component by gently squeezing the tweezers. Lift the part and move it to a new place to release the tweezers.
You can use this tool for components with 2 terminals, like resistors, diodes, or capacitors. The plus point of using tweezers is they don’t heat other (surrounding) parts.
8. Desoldering with a hot plate
People generally use an electric hot plate to heat the board to soldering temperature, as well as remove solder bridges off the board.
You’ll need a flat metal piece, soldering iron, and soldering wick. The metal is to place your board on the hot plate.
Let’s see the process.
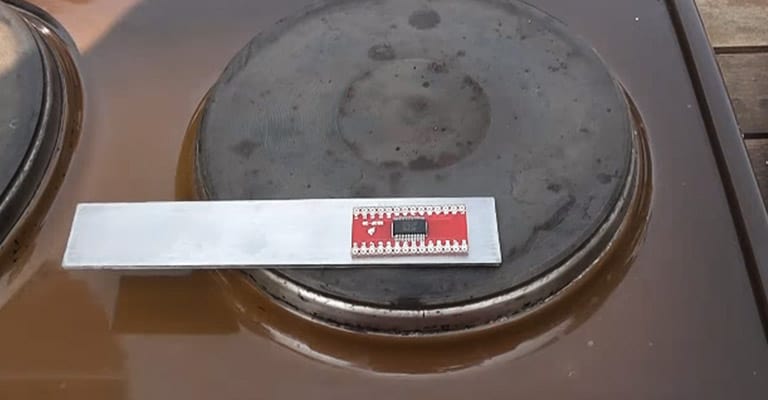
Add solder paste to your board
You need to add solder paste to your board. You can use a syringe to directly apply solder to the desired pads. It’s cheap too!
Make sure to place the solder paste between each set of pins. You don’t have to worry about putting too much on it because you can easily remove the extra later.
Place the chip to the solder paste
Now you need to place the chip to the solder paste and check if it’s placed correctly.
Use the metal piece
Use the metal piece to place the board on it. Then place it on the hot plate and turn the device on.
Determine the right temperature for the process
You don’t want your board to get so hot that it starts to damage the chips and the epoxy that binds the circuit board. You have to make it warm enough to make the solder flow.
In this case, you must have an idea of your hot plate’s capacity beforehand. Then, put the dial to the right temperature and wait.
After some time, the solder will start to melt. You’ll see the solder turning all shiny.
You’ll observe some solder bridges
Fully melted solder leaves solder bridges. Once the solder’s done moving, turn the device off, take the metal piece with the board off, and let it cool down.
Use a desoldering braid and iron
Now you can use a desoldering braid and iron to remove the solder bridges. You can follow the process of desoldering braids mentioned earlier.
9. Desoldering bulb method
For this process, you’ll need a desoldering bulb and a soldering iron. The desoldering bulb uses a vacuum action to remove the solder quickly and easily.
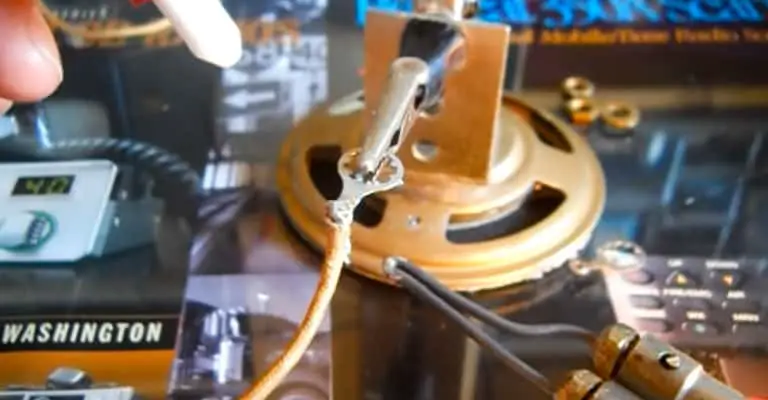
How do you use a desoldering bulb?
Heat the soldering iron and use it to melt the solder you want to remove.
Compress the bulb with one hand and touch the melted solder with the tip of the bulb. Release it so the solder will be sucked up into the bulb.
Wait until the solder cools down. Then, you can remove the tip and release the contents of the bulb.
Although this tool doesn’t have much suction power, you don’t risk any damage from it. You can use this method in case you want to remove a specific amount of solder.
10. Desoldering with drills
You can use a small hand drill in this process. Also, you can use a pin vise with a tiny drill bit. Purchase drills depending on the hole size that you need to unclog.
Many people prefer to use drills after using a desoldering bulb. After you suck out the solder with the bulb, you can drill out the remaining solder if there’s any.
You should use the cobalt, carbon, or high-speed steel drill bits, but never use the carbide one. And be careful while working with an oversized drill.
11. Desoldering with Chip Quik
The Chip Quik removal alloy lowers the temperature of the solder by mixing it with the existing solder. This helps speed up the desoldering process and keeps the solder molten for a longer time.
If you intend to remove significant surface mount components like ICs, you can use Chip Quik. You can remove the SMD components with a soldering iron rather than using a hot air rework station.
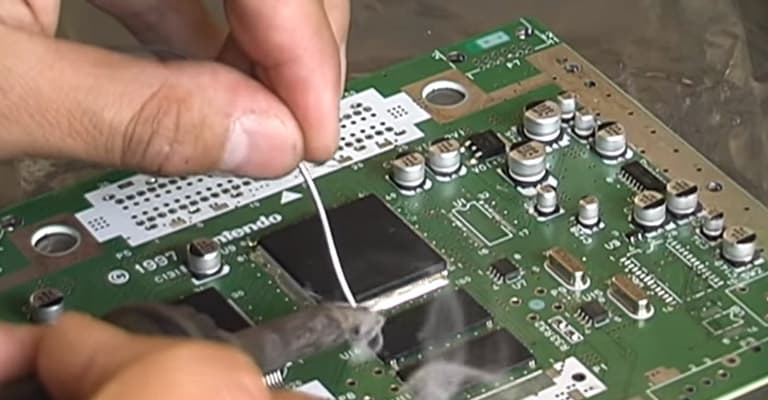
Remove solder like a pro with my tips
Once you’re familiar with the method of desoldering, it’ll be a fun task to do!
However, there are so many other ways to remove solder. For example, if you want to remove solder from circuit boards, you can follow the basic desoldering technique, which is grinding and scraping.
Milling out the solder is another technique, although it needs high levels of experience and skill.
In case you want to remove solder from copper plates, you can do chemical stripping. Moreover, sometimes, you might need to micro-blast your PCB while removing solder from a large surface area.
Obviously, you must decide on the methods carefully; understanding the above methods will help greatly, as you’ll know which technique is best suited for your job.
The methods mentioned in this article offer an excellent start to learn how to desolder.
I'm Joost Nusselder, the founder of Tools Doctor, content marketer, and dad. I love trying out new equipment, and together with my team I've been creating in-depth blog articles since 2016 to help loyal readers with tools & crafting tips.
