Wall murals are very beautiful and can be just what you are looking for for your living room or bedroom.
Where some people are already afraid to apply normal wallpaper, this may be even worse with photo wallpaper.
If you use wallpaper with a solid color, it is sufficient to ensure that the strips are glued straight and that they are against the ceiling.

With photo wallpaper, on the other hand, you really have to pay attention that the strips fit together exactly. If you don’t, the photo will no longer be correct and that is of course a great shame. You can read how to apply photo wallpaper in this handy step-by-step plan.
The step-by-step plan
If this is necessary, first switch off the electricity, remove the frames from the sockets and light switches and cover them with wallpaper tape. Also cover the ground well with a tarp, newspapers or cloths.
If it is necessary to remove the old wallpaper, do so first. It is important that the wall is completely smooth, so remove all nails, screws and other imperfections and fill these holes with a filler. Let it dry well and then sand it smooth.
Then remove all wallpaper rolls from the packaging, roll them out and check whether they are in order. At the bottom of the wallpaper or otherwise on the back are numbers with which you can easily keep the order.
It is of course important that the wallpaper is stuck perfectly straight on the wall. It is best to draw a perpendicular line on the wall with a pencil. Use a long spirit level to do this and make sure to place a thin, soft line. If you don’t do this, it can shine through the wallpaper. You determine the position of the line by first measuring the width of the wallpaper strip and then marking this on the wall with a tape measure.
Now it’s time to apply the wallpaper glue. Make it as indicated in the manual. If you have non-woven wallpaper, you apply the wall per lane. Use a glue brush or a wallpaper glue roller. Always apply the wall slightly wider than the width of the wallpaper, so that you are sure that you do not miss a spot.
When applying the wallpaper, you work from top to bottom. Make sure you place the track straight along the perpendicular, as all subsequent courses will connect to this. Then press the wallpaper well with a wallpaper presser or spatula and make sure that you press the wallpaper extra in the corners so that a nice fold line is created. Excess wallpaper can easily be cut off by pressing the pusher firmly and passing it with a sharp knife. At sockets you can press the wallpaper firmly and then cut away the center piece.
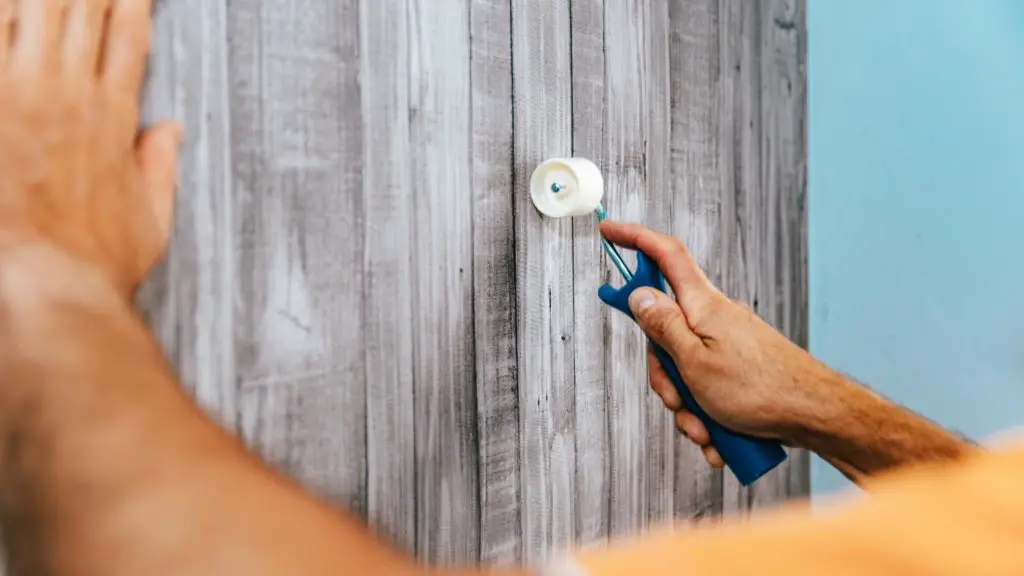
When you have pasted all the strips, it is important that you remove the air from under the wallpaper. Use a pressure roller for this and roll to the side so that all the air can escape. You can also use a wallpaper seam roller for a sleek result.
Check that all the excess wallpaper is gone, and that the edges and seams stick well. Then reassemble the frames of the sockets and switches and your photo wallpaper is ready!
What do you need?
When you get started with photo wallpaper, you need a number of things. You may already have these in the shed at home, otherwise you can just buy this at the hardware store or online.
Rolls of numbered wall murals
Suitable wallpaper glue
wallpaper pusher
pressure roller
Wallpaper seam roller
Stanley knife
Glue roller or glue brush
wallpaper scissors
stairs
Screwdriver for the frames
wallpaper tape
Sail, cloths or newspapers
filler
Any material to remove the old wallpaper
With a good household ladder you can place the wallpaper perfectly!
Extra tips for the photo wallpaper
To prevent your wallpaper from shrinking, it is best to let it acclimatize for 24 hours before applying it to the wall
It is best to apply wallpaper in a room with a temperature of 18-25 degrees
The wall must be clean and dry before you start wallpapering
Did you paint the walls first? Then wait 10 days before applying the wallpaper
Do you have plastered walls? Then use a primer so that the glue is not sucked into the wall and the wallpaper does not stick
With a large air bubble, first puncture it with a pin before wiping the air away
It is best to remove excess glue with a dry cloth
Also read:
Paint sockets
Painting windows inside
whiten the ceiling
Fix wallpaper
I'm Joost Nusselder, the founder of Tools Doctor, content marketer, and dad. I love trying out new equipment, and together with my team I've been creating in-depth blog articles since 2016 to help loyal readers with tools & crafting tips.

