I was trying to clean my workshop the other day, and I quickly ran into an issue. Not for the first time, but for, I don’t know, like the twentieth time. Dust keeps collecting at the furthest corner under my workbenches. Hence arose the necessity of attaching casters. So, how do you attach casters to workbenches (like some of these we’ve reviewed)?
I am pretty sure many of you can relate to the situation. I need to admit that the scenario I mentioned is not actually true. I mean, not anymore. I actually attached the casters after being annoyed for the eighteenth time.
So, This time, the twentieth time, I am the one who’s laughing, not the dust. If you also want to be the pro smart like me, here’s how to –
In this post we'll cover:
Attaching Casters To A Workbench
I will share two methods of attaching casters to the workbench here. One method is for a wooden workbench, and the other is for a metal workbench. I will try my best to keep things simple yet clear to understand. So, here’s how-
Attaching To A Wooden Workbench
Attaching a set of casters to a wooden workbench is relatively simple and straightforward. There are several ways of doing it, but very few are consistent throughout all types of workbenches.
This method is one of the few that will be applicable in almost all situations. For this, you will need –
- A few pieces of scrap wood of 4×4 with a length of at least the base of your casters
- Some screws
- Some power tools like a drill, a screwdriver, or an impact wrench
- Glue, sander, or sandpaper, clamps, and obviously,
- The set of casters
- Your workbench
In case you are not sure yet, we will not attach the casters directly to the workbench. We will add additional pieces of wood to the workbench and attach the casters to them. This way, you will not be damaging your original workbench and can replace or rework the setup anytime without any consequences.
Step 1
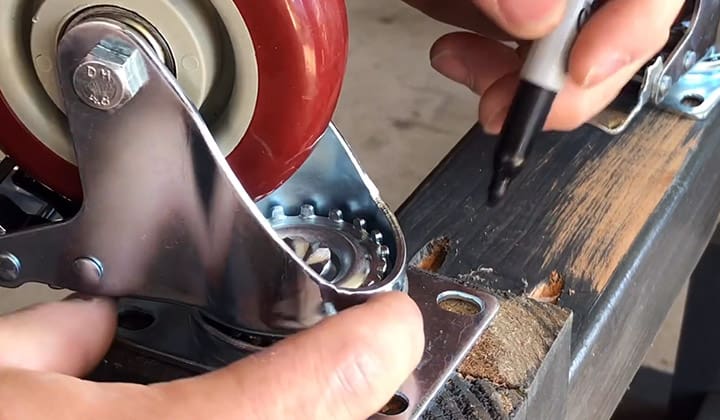
Take the scrap woods and polish them or resize/reshape them as needed. Since you will be attaching the casters to these pieces of wood, they need to be large enough to accommodate the caster base but not too large that they will get in the way all the time.
Pay attention to the grain of the scrap woods. We will attach the casters on the side/perpendicular to the grain. Not parallel to it. When the pieces are cut and prepared as per necessity, you should sand them to get smooth sides and edges.
Step 2
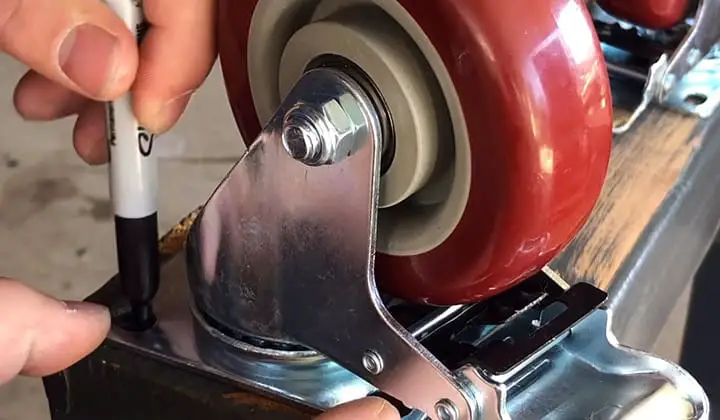
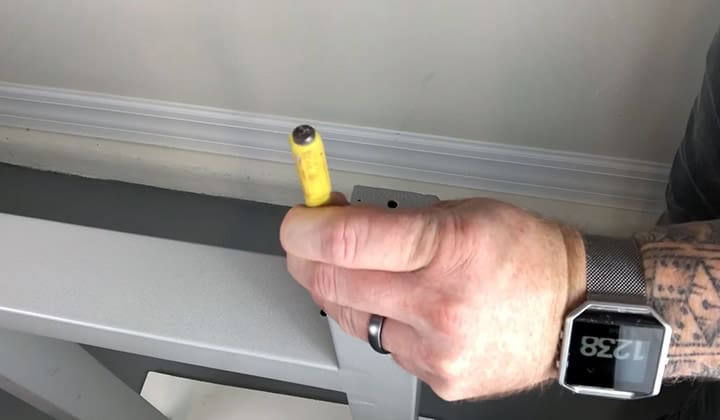
When the pieces are ready, place the casters on top of them and mark the positions of the screws on the wood. Do this for every piece of wood. Then use a power drill or impact drill to drill the holes. The width and depth of the pilot holes should be slightly smaller than the size of the screws that came inside the package of the casters.
But we will not attach the casters yet. Before that, we will need to turn the workbench upside down or sideways as it fits your situation. Then place the pieces next to the four feet of the workbench where they will permanently reside.
Or if your workbench has solid sides, then place them inside the walls, right at the bottom. In short, place them next to a solid surface that can carry the weight of the table. Mark two spots on each of the pieces where you can insert two more screws without interfering with the pilot holes that you made for the casters.
Now take the pieces out and actually drill the holes on the marked spots. The same rules apply as before. Holes should be one size smaller than the screws so that the screws can bite in and sit more strongly. Now sand the pieces one last time if necessary.
Step 3
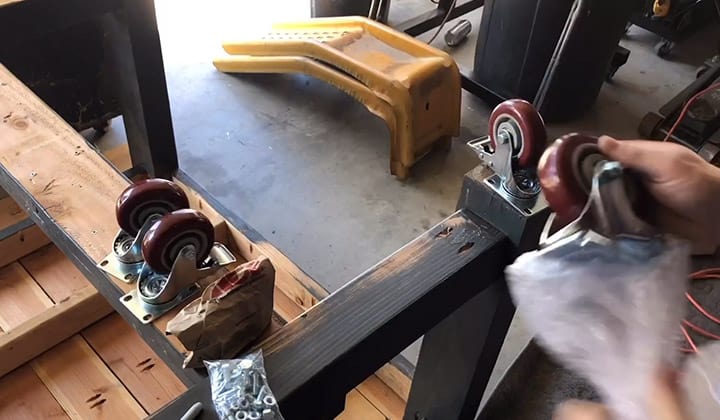
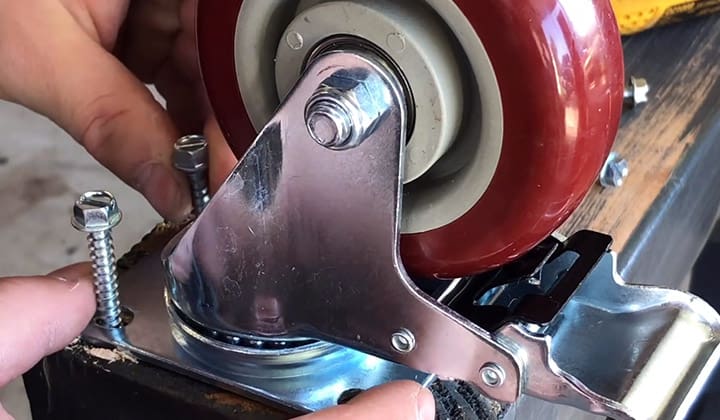
Apply glue on the pieces and on the workbench where the pieces will sit. Place the piece on the spot and clamp everything tight. Let the glue dry and set properly before moving on.
Once the pieces are set, insert the locking screws to make the pieces permanent. Then put the casters and drive the final screws. Repeat the process three more times, and your workbench will be ready to use but with casters this time.
Attaching Casters to a Metal Workbench
Attaching casters to a steel or heavy metal workbench can prove to be a little more tedious as well as time-consuming. The reason being, drilling, gluing, or working with metal tables, in general, is a relatively harder process.
However, with brute force and brute patience, you can follow the same previous steps to acquire the same outcome, even with a metal workbench. But that is not the smartest way to go about it. As they say, “brain over body” is the way to go. I will provide a neat alternative that is smarter and also probably simpler.
Step 1
Get four pieces of 4×4 scrap wood with a length not larger than the width of the feet of your workbench. We will be attaching the casters with them and later, attach them with each foot of your workbench.
Attaching the casters will be very easy. It is essentially woodwork, and hopefully, we all have done our homework before taking on this project. However, attaching the wood bits with the metal table may prove to be a little more difficult. For that, we will use four pieces of angled aluminum bars.
Aluminum can be welded with the table very easily as well as be drilled through to house screws to attach it with the wood pieces. The length of the aluminum pieces should be less than or equal to the length of the wood.
Step 2
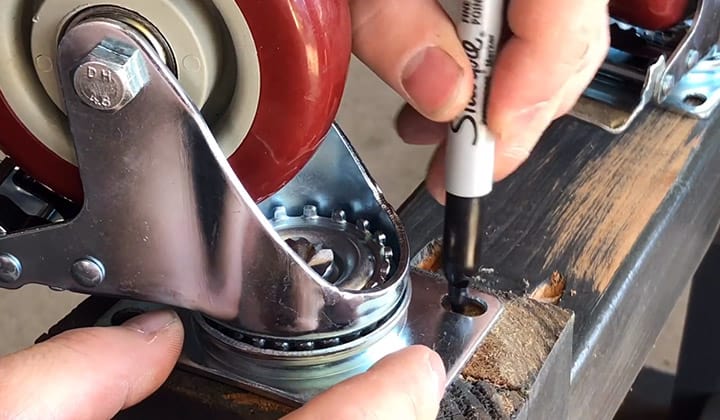
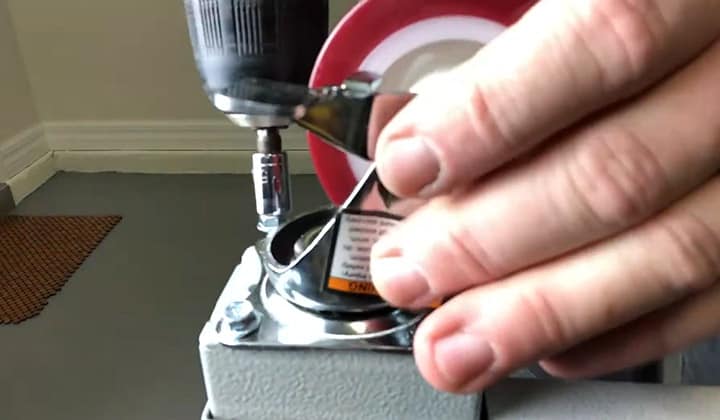
Take a piece of angled aluminum and mark two spots for drilling pilot holes. Once the holes are drilled through, take a piece of wood, and put the aluminum on top of it.
Mark the holes on the wood and drill into the wood as well. Repeat the same process for the three other sets and secure the aluminum pieces on the woods with screws.
Step 3
Take the pieces and place them beside the four legs of the table, touching them as well as touching the floor. The aluminum pieces should be on the top. Mark the highest points on all four of the feet of the table. Now, separate the aluminum from the wood pieces and prepare to weld.
Turn the table upside down or sideways, depending on how you think will suit you better, and weld the aluminum pieces with the table. Do this for all four. The wood pieces come later after we secure the casters.
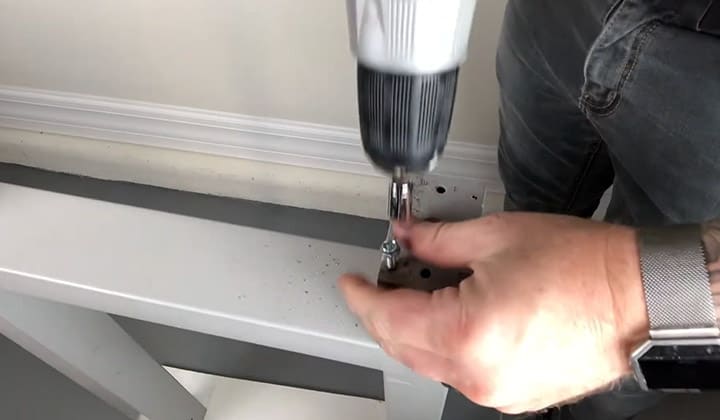
Step 4
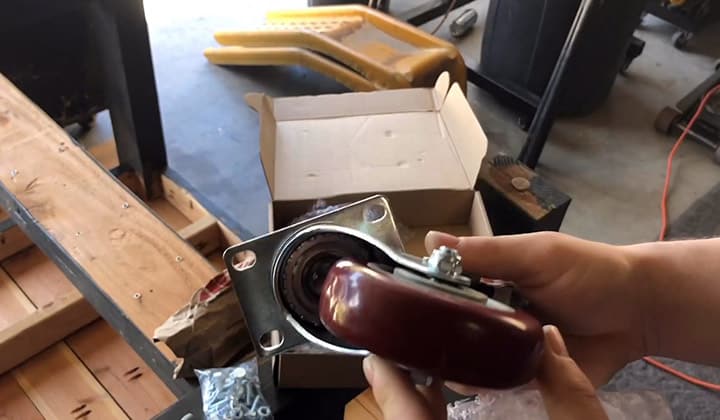
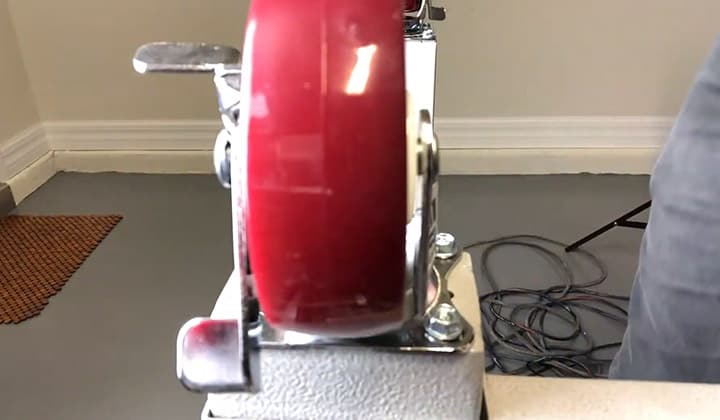
To attach the casters, place them on the opposite end of the wood from the aluminum side. Mark and drill holes in the wood. Mount the casters and screw them in place. Do this for the other three as well. This should be plenty.
Step 5
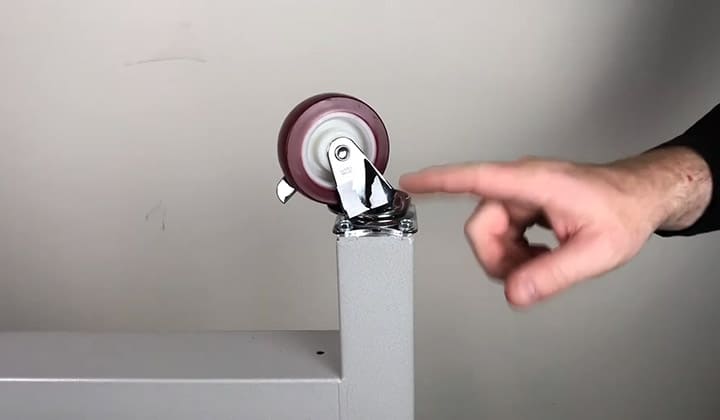
Take the pieces of wood with the casters already attached. The workbench should already be upside down. All you need to do is to put one part of the wood attachment on the welded aluminum on each foot of the table and bolt them in place. If everything is measured and attached correctly, you should not face any issues.
To Sum Things Up
There are various reasons where having a caster on a workbench or on any other table will be helpful, if not necessary. There are a lot of ways of approaching the problem. I mentioned two generalized solutions that should work in the majority of the situations.
However, if you include some hinges, bearings, you can go nuts with them. But that’s a solution for another day. I hope you understood the processes nicely and clear, and it will solve your issues.

I'm Joost Nusselder, the founder of Tools Doctor, content marketer, and dad. I love trying out new equipment, and together with my team I've been creating in-depth blog articles since 2016 to help loyal readers with tools & crafting tips.