Do you want to give the living room or bedroom a new look, but you don’t feel like wallpapering everything again? You can paint over most types of wallpaper, but not all. If you have washable or vinyl wallpaper on the wall, you cannot paint over it. This is because washable wallpaper has a plastic top layer, so the paint does not adhere well to the wallpaper. When you paint vinyl wallpaper, the paint can stick after a while. This is due to the plasticizers in the vinyl.

Check and restore wallpaper
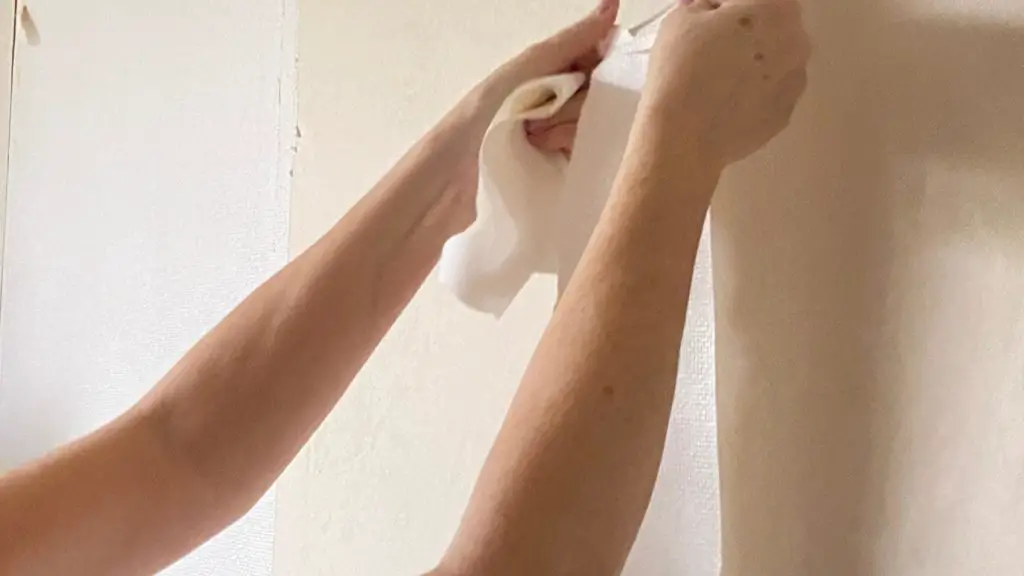
Before you can start painting, you must first check each job carefully. Is the wallpaper still firmly attached? If this is not the case, you can stick the wallpaper back on with a good wallpaper glue. Apply a thick layer of glue and then press the parts well. It is a good idea to remove the excess glue immediately so that it does not stick. Once the glue has dried, you can proceed according to the step-by-step plan below.
refurbish wallpaper
• Make sure you tape all the edges and that your floor and furniture are well protected. If you have skirting boards, it is a good idea to tape them off as well.
• Before you can start painting, you must first clean the wallpaper. This is best done with a clean, slightly damp sponge.
• Check the wallpaper and wall for holes after cleaning. You can fill this with an all-purpose filler, so that you will no longer see it.
• Now that everything is prepared, you can start painting. Start with the edges and corners, paint them with a brush so that you don’t miss a spot.
• When you’re done with that, use the paint roller to paint the rest of the wallpaper. Apply the paint both vertically and horizontally, then spread vertically. How many layers you have to do this depends on the color that is now on the wall, and the new color. If you apply a light color to a dark wall, you will need more coats than if the colors are both quite light.
• Blisters may appear after you have painted the wallpaper. Sometimes these air bubbles pull away, but if they remain, you can easily solve this yourself. Make an incision vertically with a knife and carefully open the bladder. Then put glue behind it and press the loose parts back together. It is important that you do this from the side, so that no air can remain.
• Let the paint dry for at least 24 hours before you push the furniture back against the wall and hang the photos, paintings and other decorations again.
The necessities
• Bucket of warm water and a light sponge
• Optional degreaser to clean the wallpaper
• Wall paint
• Paint roller, at least 1 but it’s best to have one as a spare too
• Acrylic brushes for the corners and edges
• Masking tape
• Foil for the floor and possibly the furniture
• Wallpaper glue
• All-purpose filler
• Stanley knife
Other tips
Not sure whether your wallpaper is suitable for painting? Test this first on a small corner or in an inconspicuous place; for example behind a cupboard. Does the wallpaper get tacky after you put the paint on it? Then the wallpaper is not suitable and you will have to remove it before you can paint. Glass fiber and glass fiber wallpapers are both specially made to paint over, so you’re always in the right place.
Also keep in mind that the room is well ventilated, but that there is no draft. A temperature around 20 degrees is ideal. It is also best to work in daylight. This prevents you from missing pieces of wallpaper, which causes a color difference.
It is best to remove the tape when the paint is still wet. If you do this when the paint has completely dried, there is a very good chance that you will pull pieces of paint, or wallpaper, with it.
I'm Joost Nusselder, the founder of Tools Doctor, content marketer, and dad. I love trying out new equipment, and together with my team I've been creating in-depth blog articles since 2016 to help loyal readers with tools & crafting tips.
