I love creating free content full of tips for my readers, you. I don't accept paid sponsorships, my opinion is my own, but if you find my recommendations helpful and you end up buying something you like through one of my links, I could earn a commission at no extra cost to you. Learn more
Nowadays many woodworkers express that they can’t imagine having to do all woodworking projects by hand. But hand techniques still have an important place in contemporary shops.
Using old techniques doesn’t mean giving up modern techniques. Using a hand saw to rip woods seem to be a very boring and tough task. Pushing a handsaw through a 10-in.-wide board over a length of 20 in., for example, just looks awfully tiring.
Of course, there’s also nervousness around following the line as well. The advantages of resawing are well known: It gives complete control over dimensions and helps in getting the most economical use of the material.
 Cutting board with a handsaw is not that hard or arduous, but it takes trying a few times to realize that. It also takes a good sharp saw, good and sharp one, not necessarily great and perfectly sharpened.
Cutting wood board with a hand saw is an old fashion but its easy to do so. Try to cut one using the following process. Hope this will you.
Cutting board with a handsaw is not that hard or arduous, but it takes trying a few times to realize that. It also takes a good sharp saw, good and sharp one, not necessarily great and perfectly sharpened.
Cutting wood board with a hand saw is an old fashion but its easy to do so. Try to cut one using the following process. Hope this will you.
In this post we'll cover:
How to Rip a Board With a Hand Saw
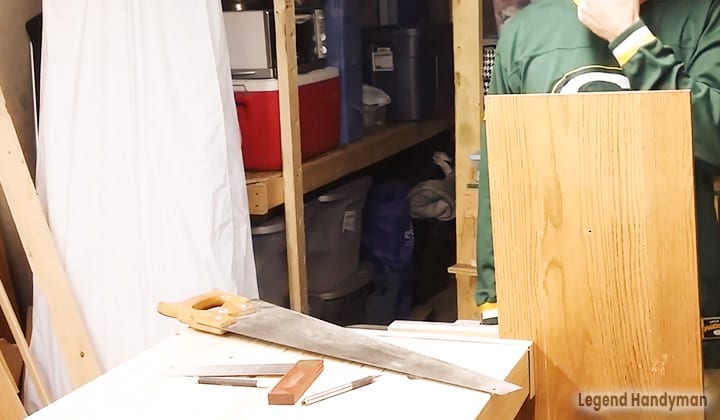
Here are the step by step process.Step 01: Tool Arrangements
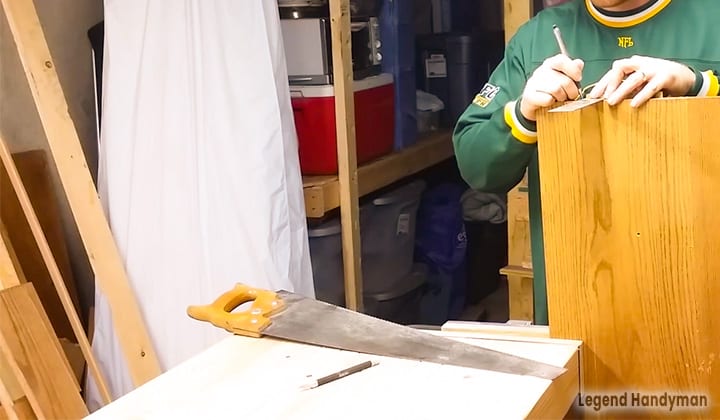
Selecting the Perfect Saw Well as far as saws go, use the largest, most aggressive hand saw appropriate for the job. It is important that the teeth be filed for rip cutting and have some set, but not too much. Generally a typical hand saw with a 26-in.-long blade works well. For most re-sawing, use 5½ points per inch ripsaw. For really aggressive jobs like cutting up backboards, go with something coarser (3½ to 4 points per inch. Conversely, a 7 points per inch ripsaw can be used for all purposes. You’ll also need a sturdy bench and a strong vise due to the amount of force generated while resawing the wood. Workbench and a strong vice help you to hold the wood piece perfectly and also help to put more strength to cut the wood.Step 02: Cutting the Wooden Board
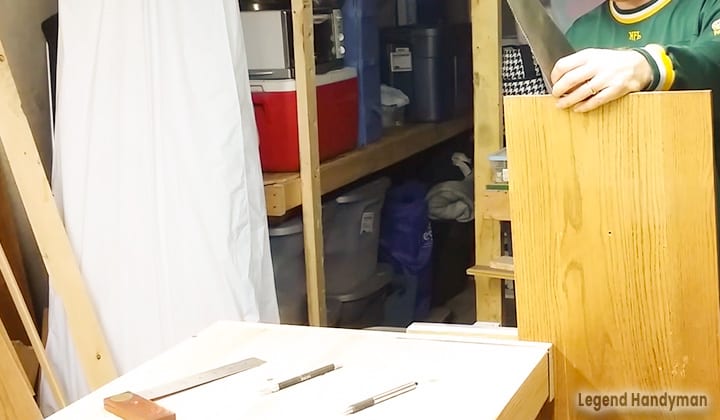
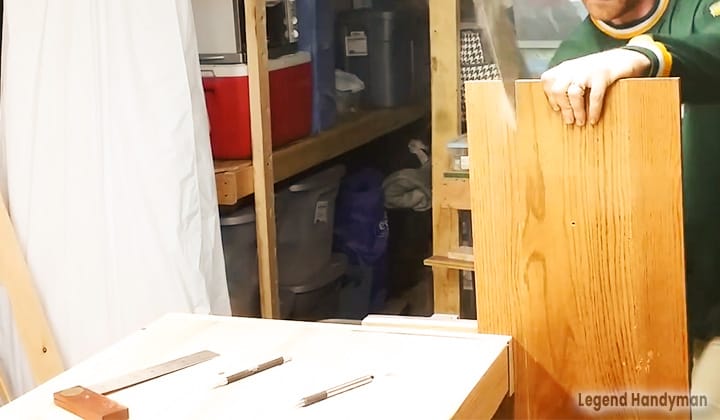
Begin the task by scribing a line around the board from the reference face to the desired thickness needed and then clamp the board in the vise angled slightly away.Read – Best c clamp
Conclusion
In all honesty, it’s easier to resaw a wooden board than to write or read about it. Yes, it can take a little time, but the board cutting needs only four/five minutes to complete, so that’s not bad at all. Cutting woods using a hand saw is easy but you will feel exhausted a little as physical strength is needed here. But its fun to do so and helps to get a proper cut. Try to cut your wooden board using a hand saw and you will love it.
I'm Joost Nusselder, the founder of Tools Doctor, content marketer, and dad. I love trying out new equipment, and together with my team I've been creating in-depth blog articles since 2016 to help loyal readers with tools & crafting tips.