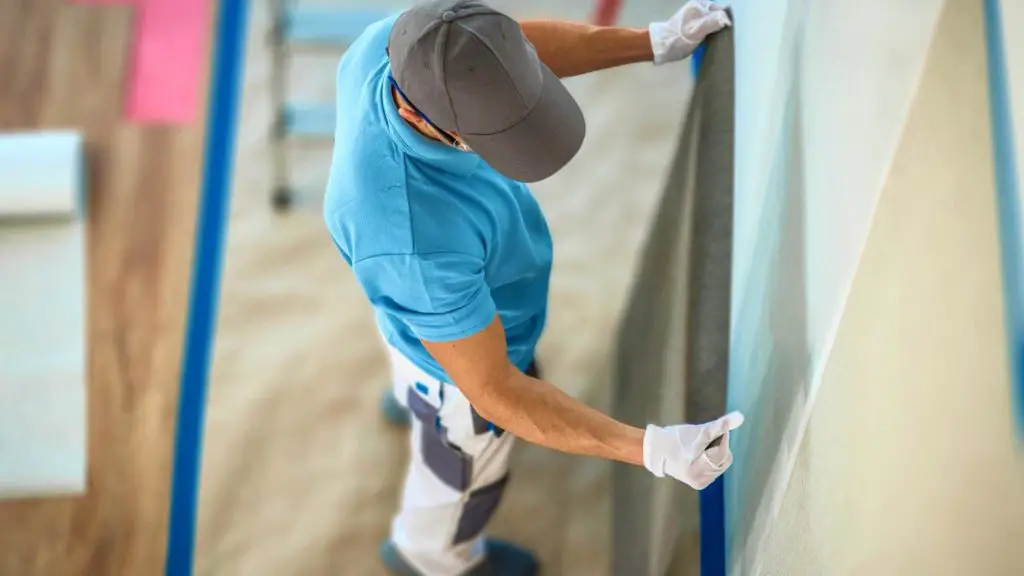
You want to give the living room or bedroom a good makeover and decide to paper the walls. Only you have never done this before and so you doubt whether you can do this.
Wallpapering is not that difficult at all, as long as you know what to do. It is best not to immediately start with a difficult design, because that is more difficult, but plain plain wallpaper is fine.
In addition, wallpaper is also completely of this time! By means of this article with an extensive step-by-step plan you can quickly get started with wallpapering.

The step-by-step plan
Good preparation is half the job. That’s why it’s a good idea to read this article before you buy everything. That way you will soon know exactly what to expect and you can start building your walls in good spirits. Below you will find an extensive step-by-step plan for wallpapering your walls.
Get the right surface – before you actually start wallpapering, make sure the wall is smooth and dry. This means that you have to remove old wallpaper residues and fill holes and/or irregularities with wall filler. As soon as the wall filler has dried well, it is best to sand it smooth, otherwise you will see this through the wallpaper. Does the wall have many (dark) stains? Then you would do well to paint the wall first.
Pay attention to the temperature – for the best results, wallpaper in a room where it is between 18 and 20 degrees. It is a good idea to keep the windows and doors closed, and to turn off the stove so that the wallpaper can dry properly.
Choosing the right wallpaper – there are many different types of wallpaper available, all of which need to be applied to the wall in a different way. for example, with non-woven wallpaper you have to smear the wall with glue, but with paper wallpaper it is the wallpaper itself. If you are going to look for wallpaper, first calculate in advance how many rolls you need. Also check carefully whether all rolls have the same batch numbers to avoid color differences. Also pay attention to the type of glue you need for the type of wallpaper.
Cutting the strips to size – before you start wallpapering, cut all the strips to size, preferably with about 5 centimeters extra so that you have some slack. You can use the first strip as a measuring instrument.
Gluing – if you use non-woven wallpaper, you spread the glue evenly over the wall. Do this across the width of just over one lane at a time. If you use paper wallpaper, then grease the back of the wallpaper.
The first lane – start at the window and work your way into the room in this way. You can use a spirit level or plumb line to stick the wallpaper straight. Make sure you stick the track straight. You can gently smooth out any creases with a brush. Are there air bubbles behind the wallpaper? Then puncture it with a pin.
The next lanes – now you’re again smearing a piece of wall that’s enough for one lane. Then stick the strip tightly against it. Make sure the lanes do not overlap and make sure the second lane hangs straight, right against the first lane. Wipe with a clean, dry brush from the center up and down to allow the wallpaper to adhere well. Do not do this from left to right, as this can create waves in the wallpaper. Cut or trim the excess wallpaper at the top and bottom.
The necessities
Now that you know how to wallpaper, it’s time to make a list of the things you need for this. A complete list can be found below.
A step or kitchen stairs
Pencil to mark the jobs
Plastic sheet or an old rug to protect the floor
A wallpaper steamer, soaking agent or a bucket of warm water and a sponge to easily get the old wallpaper off
Putty knife to cut off the old wallpaper
Garbage bag for the old wallpaper
Filler for the holes and irregularities
Primer or wall sauce
wallpaper table
wallpaper scissors
wallpaper glue
Whisk to make the glue
Glue brush to apply the glue
Spirit level or plumb line
Clean brush or pressure roller to get the wallpaper firm and smooth on the wall
Stanley knife
Seam roller to flatten the seams between two sheets
Other wallpaper tips
You would do well not to think too “easy” about wallpapering, especially if it is your first time. So take plenty of time for it. If you only have two or three hours to finish the whole room, it’s probably going to look a bit sloppy. Extra help is always good, but discuss well in advance who will do which wall. This prevents you from getting in each other’s way halfway and the lanes no longer come out neatly.
I'm Joost Nusselder, the founder of Tools Doctor, content marketer, and dad. I love trying out new equipment, and together with my team I've been creating in-depth blog articles since 2016 to help loyal readers with tools & crafting tips.
