I love creating free content full of tips for my readers, you. I don't accept paid sponsorships, my opinion is my own, but if you find my recommendations helpful and you end up buying something you like through one of my links, I could earn a commission at no extra cost to you. Learn more
Soldering irons have been an ideal solution to all types of joint issues between metals or even welding plastic with solder. Automotive, plumbing, and electrical circuit boards are just a few of the fields that have wide usage of soldering iron. Users love it when they melt the solder with their soldering iron and fix something they’ve been worried about.
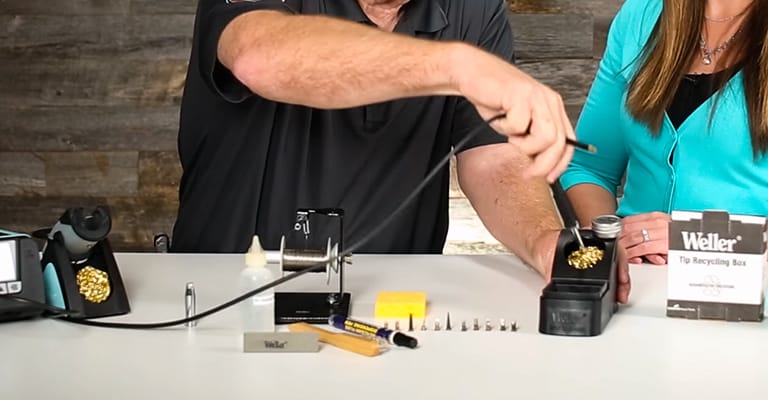
But one thing that none likes is a dirty soldering iron. An unclean soldering iron is not very good to look at and more importantly, it doesn’t work properly in melting the solder. In this guide, we will tell you everything about cleaning a soldering iron and share some tips and tricks along the way.
In this post we'll cover:
Why Does a Soldering Iron Get Dirty?
One of those reasons is that soldering iron tips come in contact with different types of substances and collect them as residue overtime. Also, rusting is a common issue with all metals and a soldering iron is no exception. If you remove solder with a soldering iron from a circuit board, then it will also be a cause of your soldering iron to be dirty.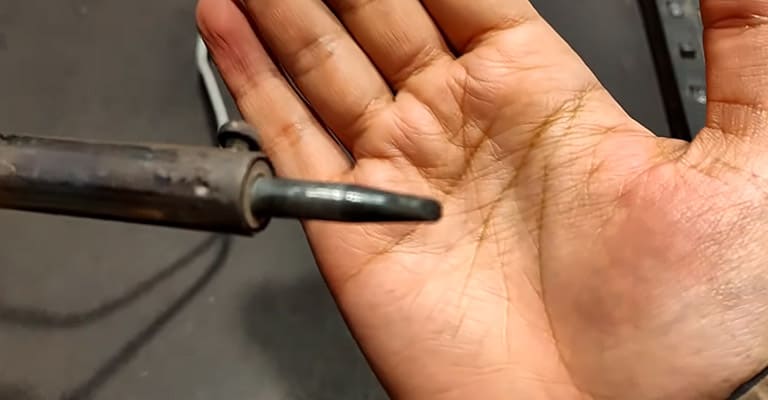
How to Clean Soldering Iron- List of Paradigms
Apart from the iron tip, a soldering iron also has a metal base, plastic or wooden handle, and the power cord. Different types of dirt will accumulate over time on all of these parts. We will tell you about cleaning these parts categorically.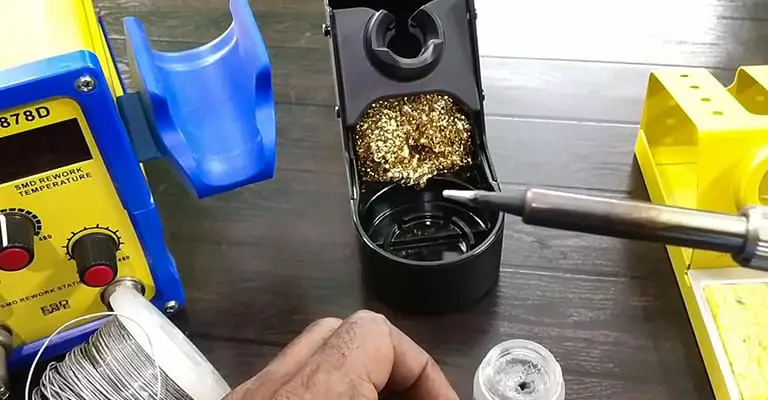
Precautions
Soldering can be risky and dangerous for every beginner. Cleaning the iron also has its fair share of risk. We recommend using safety goggles and gloves while doing the cleaning. It is better to have a good ventilation system to remove the fumes. Ask for an expert’s help if you are not confident alone.Clean the Non-heating Parts
Use a piece of cloth or brush to primarily remove the dust or dirt from the power cable and handle of the soldering iron. Then, use a soaked piece of cloth to get rid of more stubborn stains or sticky substances from the handle and the power cord. Don’t forget to dry the instrument completely before plugging in the cable again.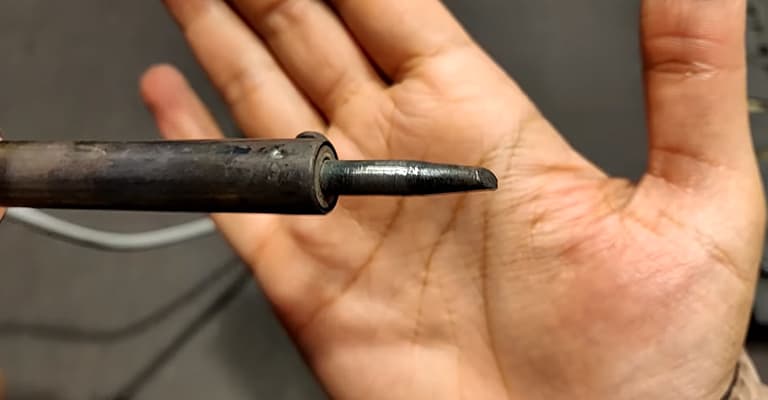
How to Clean the Tip of a Soldering Iron?
Removing dirt from the tip of the soldering iron is a bit more challenging than the other parts. As there are different types of dirt and debris that can make the tip unclean, we will tell you different ways of taking care of them. In this section, we will cover all types of non-oxidizing dirt and proceed to oxidized soldering iron later on.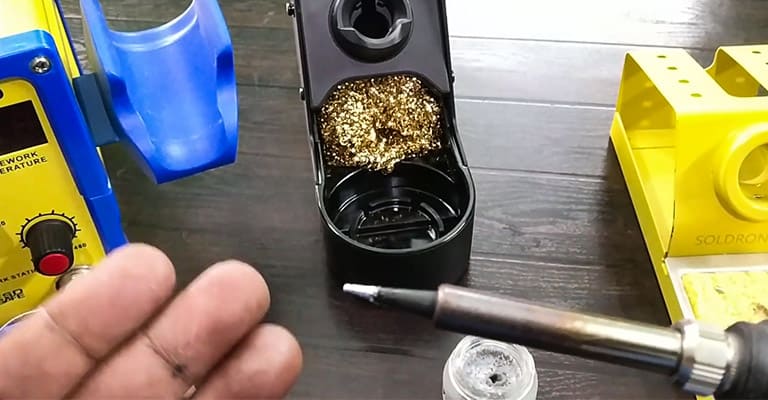
Tinning the Iron Tip
Tinning, as the name suggests, is the process of applying tin. In this particular case, tinning refers to the process of applying an even coating of high-quality soldering tin over the iron tip of the soldering iron. But before you start doing this, we recommend using safety goggles. Heat the soldering iron with your safety goggles on and use the high-quality soldering tin to apply a thin and even layer of tin on the soldering iron tip. Doing this will help prevent rusting so we recommend it after finishing every soldering work.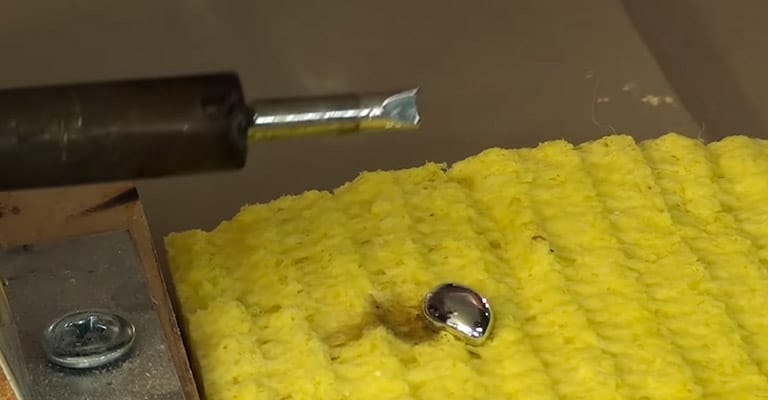
Use Alloy Cleaners
Additionally, you can use alloy cleaners on the soldering iron too for removing non-oxidizing dirt. After you’ve done the previous steps, use a bit to allow cleaner on a microfiber cloth and use it to clean the soldering iron. Rub the cloth thoroughly and with pressure over the iron for better cleaning.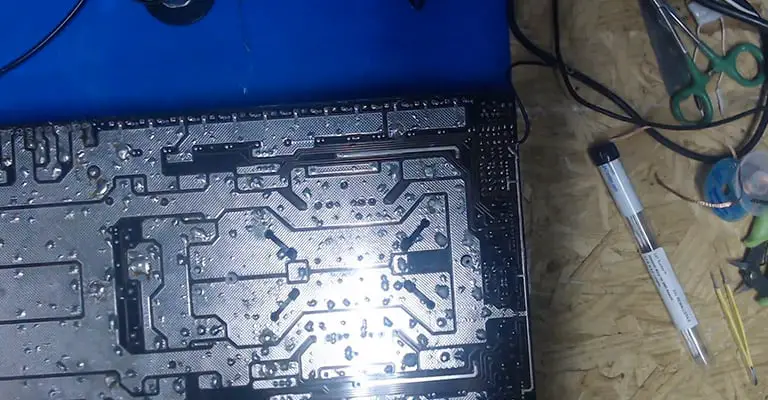
How to Clean Oxidized Soldering Iron Tip?
Oxidizing is the process of forming rust on metals. It is a natural process that all metals go through. Over a long period, metals undergo chemical reactions with the oxygen of air and form that brown coating. But that process of forming rust gets significantly accelerated in the presence of heat and that’s exactly what happens in case of a soldering iron. If you don’t clean it after regular usage, the iron tip will get oxidized and rust will be formed.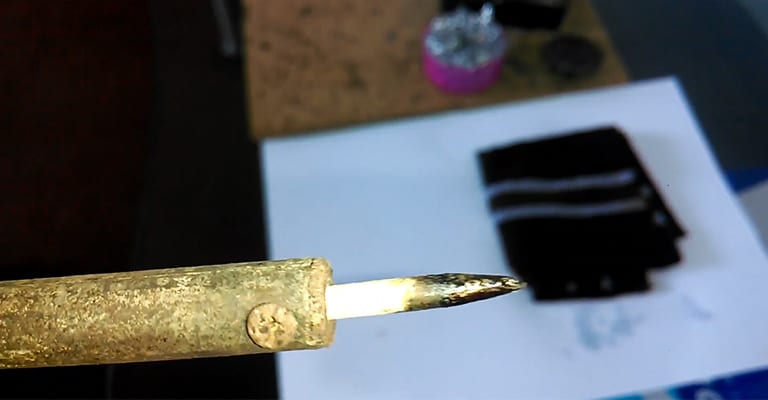
How to Clean Soldering Iron with Flux?
To remove mild oxidation, you have to apply flux on the soldering iron tip while heating the iron at around 250degree Celsius. Flux is a chemical substance that stays as a gel at room temperature. When it comes in contact with the hot iron tip containing rust, it melts the rust. Typically, you will find these soldering flux gels in small boxes. Heat the soldering iron and insert the tip inside the gel. It will create fumes so make sure to keep better ventilation. After a while, take the iron tip out from the gel, and using dry cleaning systems, clean off the rust. You can use brass wool as the dry cleaner. Currently, some of the solder wires come with a flux core. When you melt the solder wire, the flux comes out and gets in contact with the iron tip. Just like any other soldering wire, melt those wires and the flux inside will help you ease the oxidation. Then, clean it off using brass wool or automatic tip cleaners.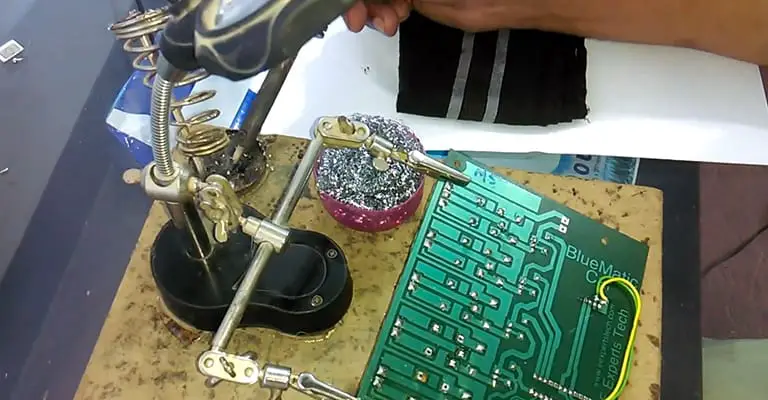
Removing Severe Oxidation
When your soldering iron has severe oxidation on its tip, the mild techniques are not going to be efficient enough in removing it. You need a special substance called Tip Tinner. Tip Tinner is also a complex chemical gel. The cleaning technique is somewhat similar to the mild one. Turn the soldering iron on and heat it around 250 degrees Celsius. Then, dip the tip of the soldering iron inside the gel. Hold it here for a few seconds and you will see the chemical from the tip tinner melting around the tip. After a while, take it our from the gel and clean the tip using brass wools.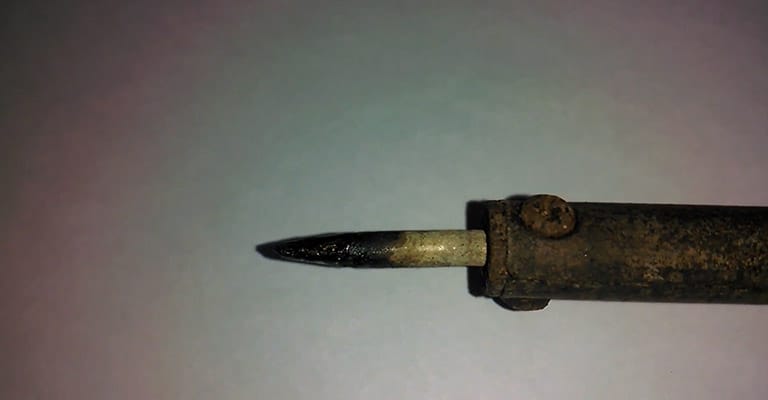
Flux Residue
Since removing mild oxidation from soldering iron requires flux, it is natural that there will be flux residue. Sometimes, this residue will settle at the neck of the soldering iron tip. It seems like a black coating around. As it doesn’t affect the soldering or heating capability of the iron tip so that’s nothing to worry about.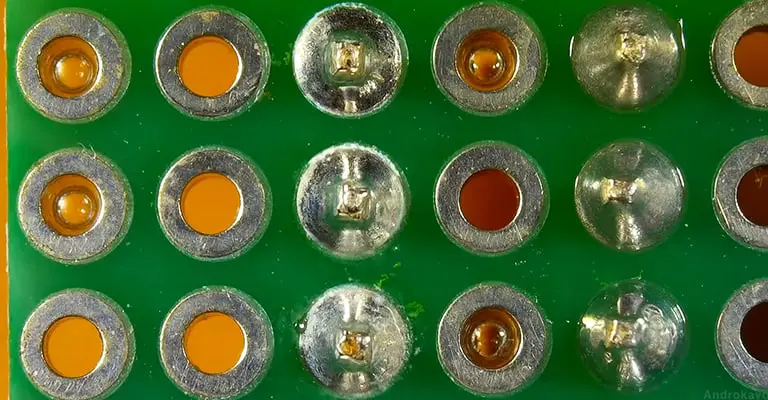
Things to Avoid During Cleaning
A common mistake that many inexperienced users make is using sandpaper for cleaning the tip of the soldering iron. We strictly advise against it because sandpaper removes dirt by decaying the iron tip. Also, don’t clean off the flux using any ordinary piece of cloth. Use sponges or brass wool.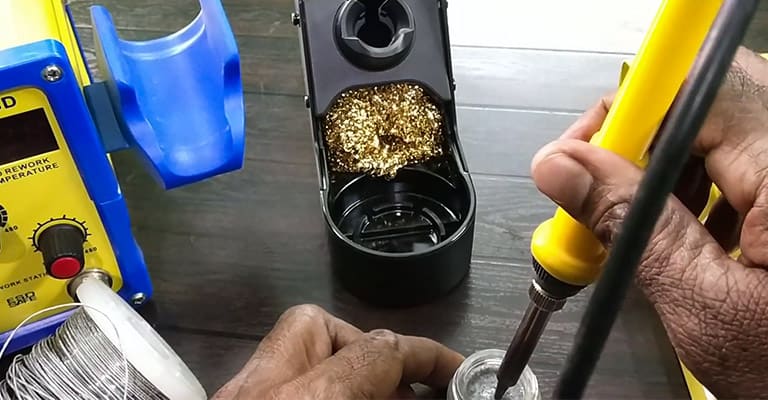
Tips for Keeping a Soldering Iron Clean
The best way of keeping something clean is to clean it regularly, and not just after it has accumulated lots of dirt on it. This applies to everything. In the case of soldering iron, if you clean the iron tip immediately after using, dirt will not get accumulated. To slow down the oxidizing process, you can try tinning the iron tip after every use.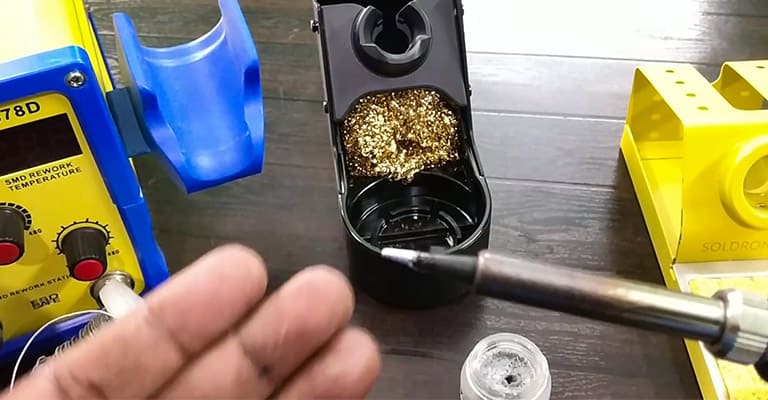
Frequently Asked Questions
Q: Is it a good way to clean oxidized soldering iron tips by scrubbing? Ans: Not really. Scrubbing with any other metals might remove some of the oxidation from the tips, but you can’t clean it as precisely as flux or tip tinners. Besides, there’s that slight but undoubted chance of your accidentally breaking damaging the tip. Q: I forget to clean my soldering iron after use. How can I clean it more effectively? Ans: There’s simply no alternative to cleaning the soldering iron after regular usage. We recommend writing down a reminder of cleaning the iron on a sticky note and put it near your workstation. Other than that, following our guide will help you get rid of the toughest of dirt or rust. Q: Is it safe to clean my soldering iron’s tip while it’s heating? Ans: For cleaning rusts from your iron tip, you have had to use flux or tip tinner. To do so, you need to keep heating the iron and follow the process that we suggested. For non-oxidant specks of dirt, cool the iron tip first to scrub and wipe dirt and debris from the tip.Conclusion
Tip decides the solder quality- pro guys know it. Without a clean one, the solder will simply fall off the iron tip. It will make it harder for you to do your soldering work if that happens. As we suggested earlier, the best way to clean your soldering iron is to clean it after every use. Additionally, you can follow the tinning method to slow the rate of oxidation. But if you happen to be in a situation where you couldn’t clean the iron regularly and now you have a pretty dirty iron to clean, our guideline should still be the paragon.I'm Joost Nusselder, the founder of Tools Doctor, content marketer, and dad. I love trying out new equipment, and together with my team I've been creating in-depth blog articles since 2016 to help loyal readers with tools & crafting tips.
