Whether you are a DIY enthusiast or take a more professional approach to carpentry, a miter saw is a very handy tool to have in your workshop. It allows you to take on a wide variety of projects such as flooring, remodeling, to even cutting baseboard corners.
However, if you require cutting baseboard but do not have a miter saw, there is no reason to worry. In this handy article, we will give you a few simple and easy ways to cut baseboard corners without a miter saw so that you do not get stuck in the middle of your project.
In this post we'll cover:
Cutting Baseboard Corners with A Circular Saw
The first method will require you to use a circular saw. Compared to the miter saw, a circular saw is a lot versatile. The best part about using a circular saw is that you can use it for both wide profile baseboard corners and low ones. In addition, you can also make a square or straight bevel cut with this tool without any trouble.
Here are the steps to cutting baseboard corners with a circular saw.
- The first step is to drill four holes in each of the corner-block piece using a pivot bit for nails. You also need to drill two more holes at the top and bottom of each side. Make sure there is plenty of space between each nail hole.
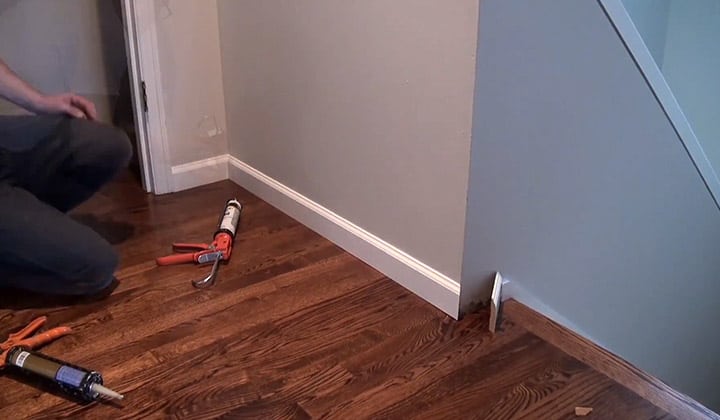
- Take a straight block and put it in the corner of the room. You can use a simple level tool to check if it is crooked on any side. Then put the trim nails through the holes you made all the way through to the wall. This would ensure that the block is installed with stability.
- Use a nail set to sink in the nails strongly. You need to install a corner block in each of the corners in the room in a similar method.
- Once it is done, you can use a tape measure to note down the distance between each block. Make sure you are starting your measurement from the inside edge, not the outside.
- Now you need to make marks on the trim piece where you attach it to the corner block. For this, you can use a simple pencil. Place one mark at the end of the trim and another one a few inches away.
- Make a straight line from the two marks. Use a try square to make sure that the lines are completely square.
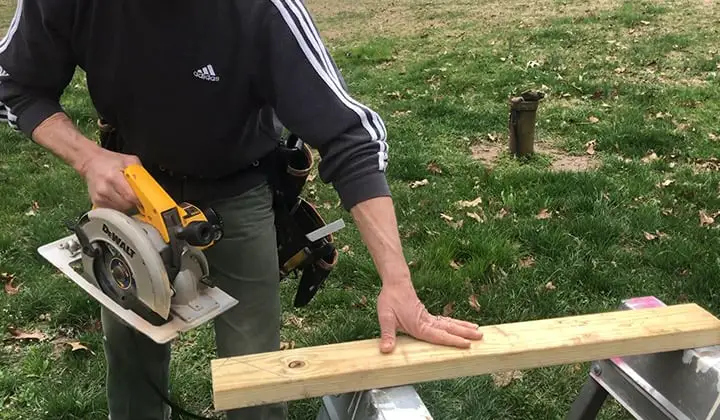
- Now it is time to take out the circular saw. Be gentle while you cut the trim as too much force can snap it.
- With the cutting done, place the trim inside the corner blocks. Make sure the square trim face is in alignment with that of the block sides.
- You now need to drill pilot holes on the trim pieces. Keep 15 inches between each hole and drill it on both the lower and upper edges of the trim.
- Then you can use a hammer to place the finish nails. Repeat the same steps for each corner of your room.
How to Cut Baseboard Corners with a Hand Saw
Although a circular saw gives you a good alternative to cutting baseboards without a miter saw, not everyone has access to this tool. A hand saw, on the other hand, is much more common equipment to have in any household. And thankfully, you can use it too, although the steps might be a bit trickier.
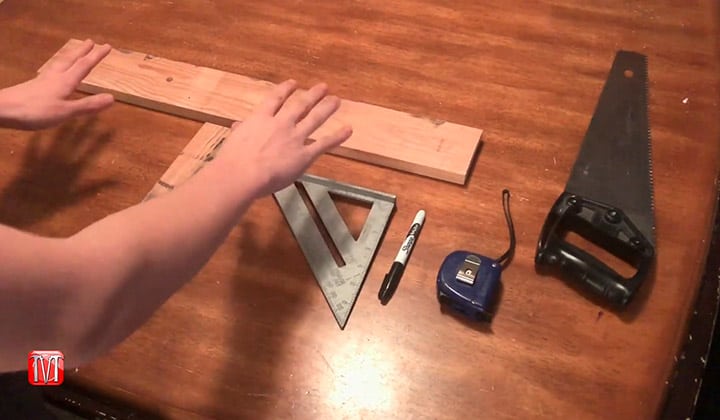
To cut baseboard corners using a hand saw, you will need an adjustable bevel, some wood glue and wood screws, a carpenter’s square, and two pieces of lumber (1X6 and 1X4). You also need a screwdriver to drive the screws through the wood. The best thing about this method, however, is that you can use any type of handsaw you have available in your house at the moment.
The steps to cutting baseboard corner with a hand saw are:
- The first step is to cut the two lumbers down to size. Take 12 inches of both lumbers. Make sure the wood you are using is completely straight and has no warping of any sort.
- We will make a four-inch open box with the two lumbers. First, apply some wood glue on the long edges of the 1X4 lumber. Then on edge, attach the 1X6 lumber upright against it, and fix it using the wood screws and the screwdriver.
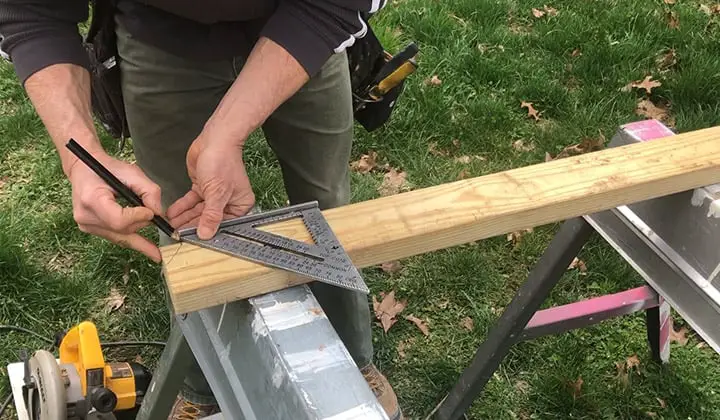
- Take out your bevel and set it at a 45-degree angle. After that, use a carpenter’s square and make a straight line outside the box. Make sure it is perpendicular to the top edge angles of the lumber.
- Now you can take the handsaw and make your cuts along the marked lines. Keep your hands straight and hold the saw firmly while making your cuts. Make sure the hand saw is aligned properly to the wood before you start cutting.
Alternatively, you can buy a miter box from the shot that can make it a lot easier to cut the wood in the right shape. A miter box comes with different slots on each side to offer you a hassle-free cutting experience.
Additional Tips
As you already know, every corner of the house is not exactly square. And if you do the typical 45-degree cut on each side of the board, they don’t typically match up.
The technique I’m going to show you works whether it’s a shorter profile, a taller profile, or a split profile. Now, one of the ways you can install an inside corner baseboard is to cut both the boards straight 45-degree.
It will work most of the time but not always. It’s not the preferred way to do it. However, if you join these two together and you put it together, and if it’s truly a 90-degree corner, you’re going to get a tight joint.
The problem is that most walls are not 90 degrees. They are either wider or smaller, so if it is less than 90 degrees, it is going to create a gap at the backside of the joint.
The solution is called “Coping.” Now, I’m not going to go through the details here. You will find tons of videos out on the internet.
Final Thoughts
A miter saw is one of the best tools to use when you are cutting baseboard corners for your room. But with our handy guide, you can still move on with your projects if you do not have a miter saw at your home. We hope you found our article to be informative and helpful for your purpose.

I'm Joost Nusselder, the founder of Tools Doctor, content marketer, and dad. I love trying out new equipment, and together with my team I've been creating in-depth blog articles since 2016 to help loyal readers with tools & crafting tips.