French cleats are awesome to hang working tools easily. The ability to mix, match, and move whenever needed is great. But, the most overlooked feature of a French cleat system is in the hanging process.
If you have struggled a lot to hang something pretty big on the wall then French cleats are the best option. With a french cleat, you can simply attach the easy to hold cleat to the wall, attach a cleat to whatever it is you want to hang and hook them together.
Handy working tools are needed to accomplish this task. Hand saw meter gauge, drill bits, planer, etc are mainly used to make one which is easy to use and also cheap in price. 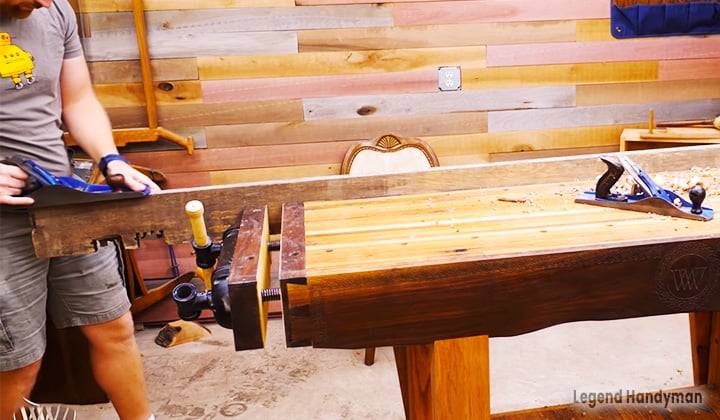
And these French cleats also keep the working place mess free and arranged and it’s also easy to make one.
In order to make one try the following process.Hope this will be helpful for you all.
In this post we'll cover:
How to Make a French Cleats – The Processes
Step 1: Selecting perfect wood
For the French cleat, first job is to choose the perfect wood and shape the wood piece.
For this task, randomly use 8 feet long white oak wood strips. Plane down one side and joint it nice and flat in order to get a reference surface to rip off.
Rip these down to 5 inches wide to start by jointing them good and flat all along one side.
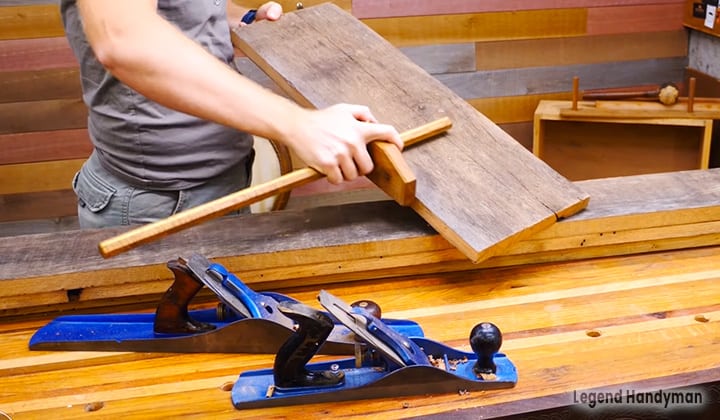
Once it’s done, use the panel gauge or marking gauge to draw a line specific distance in from the edge about 4 and ½ or the measurement that seems right and draw it.
Step 2: Sawing and Smoothening the Wood
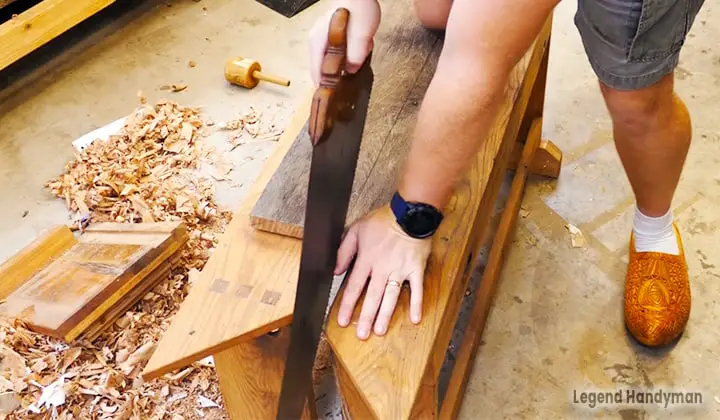
After that comes the sawing part. Take the wood piece to the saw bench and rip down through the marked line. Saw bench is used for cutting woods using a hand saw.
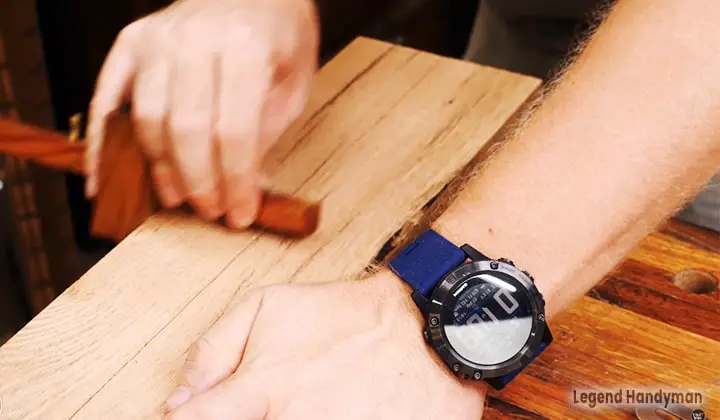
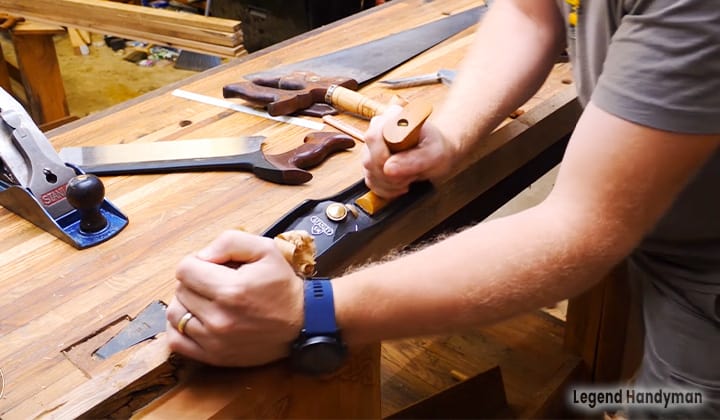
After ripping all of the boards to the right length, plane the surface of the wood pieces. Plane them down to the preferable thickness.
I used here as a hand tool the handheld thickness planer, we also talked a lot on the best block planes for woodworking.
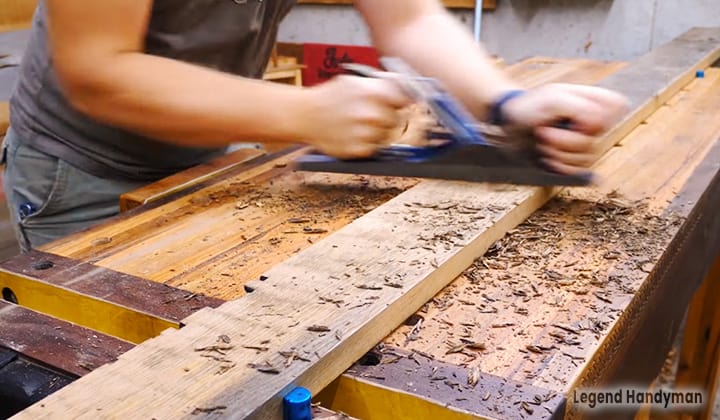
You can use a scrub plane. The way it cleans up the surface of the roughly sawn white oak is just a fantastic job.
Step 3: Making Cleat for Cutting beveled Wood Piece
After making the surface plane you need to make some cleats that will hold the wood pieces so that they can help to rip a 22-degree angle or so on the board.
Set an angle at something that looks close to 22 degrees. Layout all the marks on the pieces so that cutting out a notch that is the board will then sit in it.
What hand tools we could use to make some cleats? Yes, the speed square and a T bevel gauge is a nice combination.
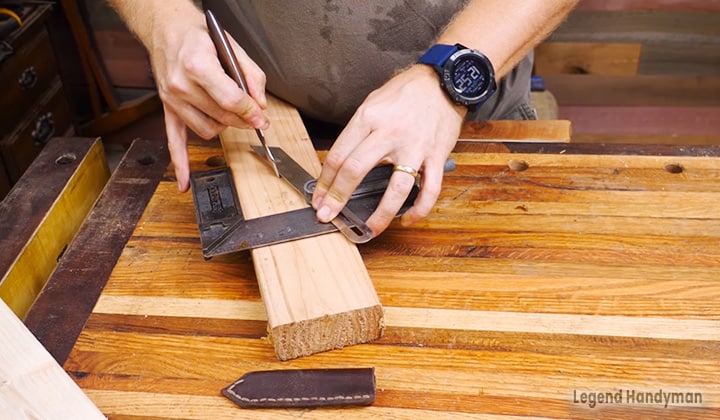
Cut the marked lines and make one first so that this one can be used to line out making the other one and much more needed.
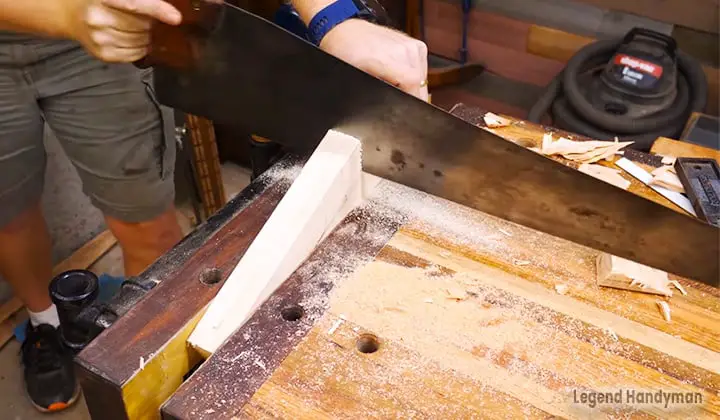
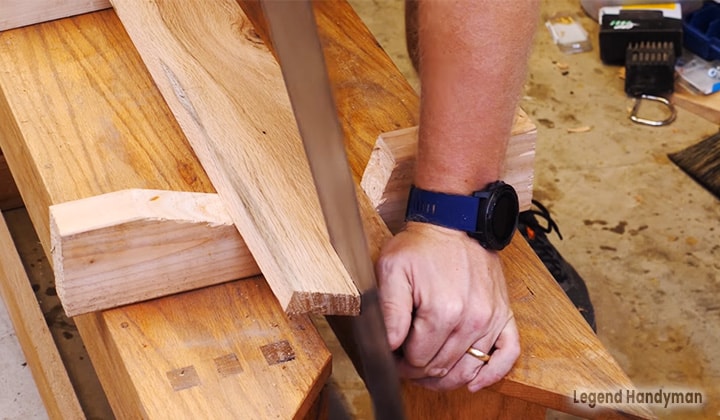
Once it’s been drawn out cut them down using a hand saw as the Japanese saw or crosscut saw for woodworking (like these) and a cross-cut in the vise. Then stand it up and rip down the long angle of the triangle.
Clap the board to the vise in such an angle so that the hand saw runs vertically and thus it makes far easier to cut an angle if you are actually cutting straight even though the board is twisted to make the angle.
Step 4: Cutting the Wood
Go back to the main cleats and start by drawing a line straight across the middle of the board and then use the same bevel gauge and make a line across that center line so that the center of the bevel gauge is at the same point as the center of the straight mark.
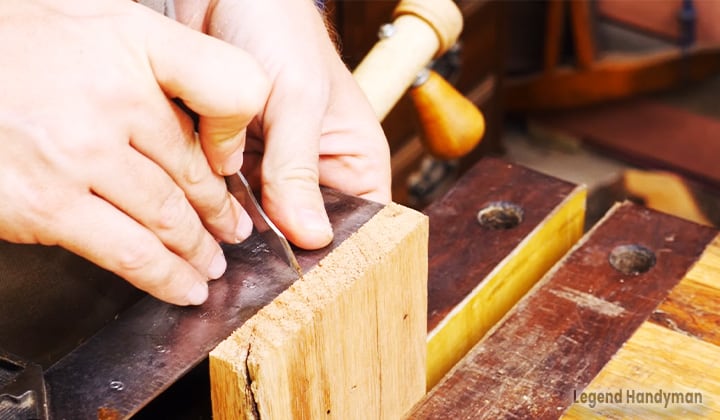
This way you can cut in a line across the specific angle whatever the angle is.
As long as the marks line up, use the marking gauge to draw the line all the lengthwise down the board and this becomes the line that the saw will follow while cutting.
While cutting, the cleats will hold the wood at that specific angle and this makes it very easy to cut vertically.
This method is applied to some purposes. We can easily cut wood pieces clamping them to the bench vice at the specific angle. This is a normal sawing.
But we have made cleats to cut the pieces. This is because we can not cut an 8 feet long wood strip just clamping them to the vise.
We can but we have to divide the wood into two pieces then have to cut them. This will not be appropriate for this job.
In the above process, we can cut long wood strips easily accordingly needed angle. So this process is taken.
After that smooth out the surface and the saw mops with a hand plane. This will give the cleats a nice finishing and a perfect look.
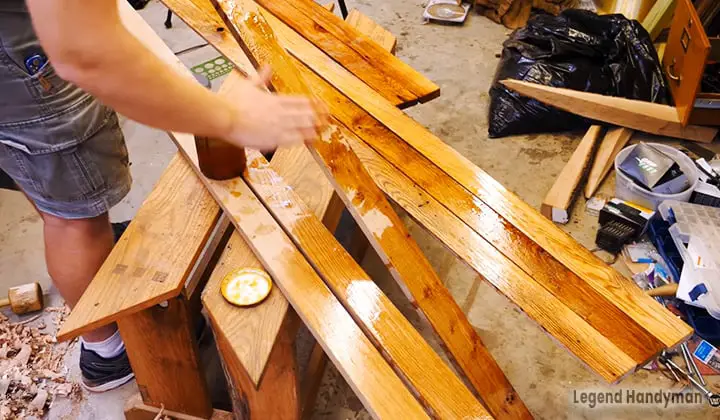
Step 5: Polishing the Cleats
After finishing all these things, polish the wood. Use boiled linseed oil. Boiled linseed oil is used here because it gives a perfect
Boiled linseed oil is perfect for shop projects and the color it brings out in the white oak is just awesome. It’s an easy finish that’s hard to mess up.
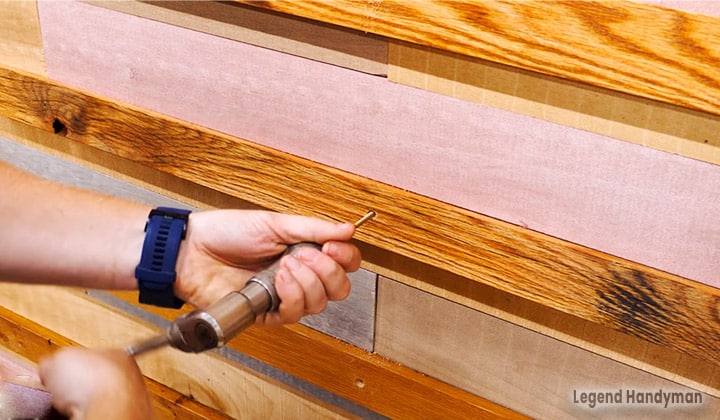
Step 6: Attaching the Cleats to the Wall
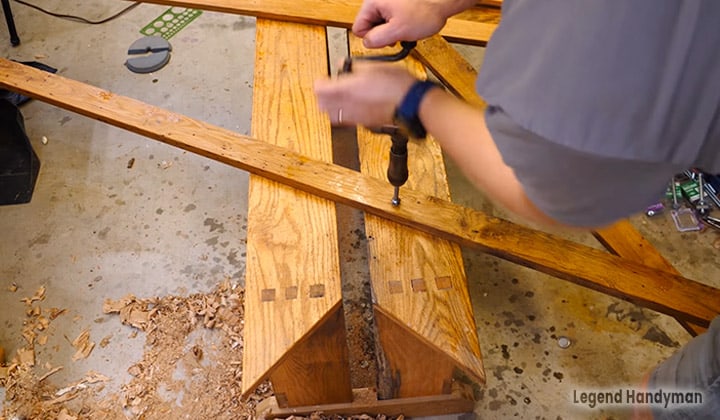
For attaching to the wall use countersink and pre-drill through at the center. Use a countersink bit in the brace so that the screws sit flush with the wood.
Finding a good countersink bit as easy as it seems but once you find one you like the world is so much better.
Just put a screw in through the board and into the pine. These bits will hold on the screws really well and have a serious amount of torque with the braces. It allows to drive it in just the amount you want and.
The project is done. You can hang your preferable tools over these French cleats. This will give your workplace a better look.
The making process is too easy. You can easily make one by using simple hand tools near your hand. Try to make one.
Credit goes to Wood by Wright Youtube channel
Conclusion
French cleats are handy tools made from cheap hand tools. These cleats can hold all types of tools, bigger ones also.
These are easy to make. Only a few hand tools are used here and the technique is also easy.
Try to make a personal one and hope you will like it.

I'm Joost Nusselder, the founder of Tools Doctor, content marketer, and dad. I love trying out new equipment, and together with my team I've been creating in-depth blog articles since 2016 to help loyal readers with tools & crafting tips.