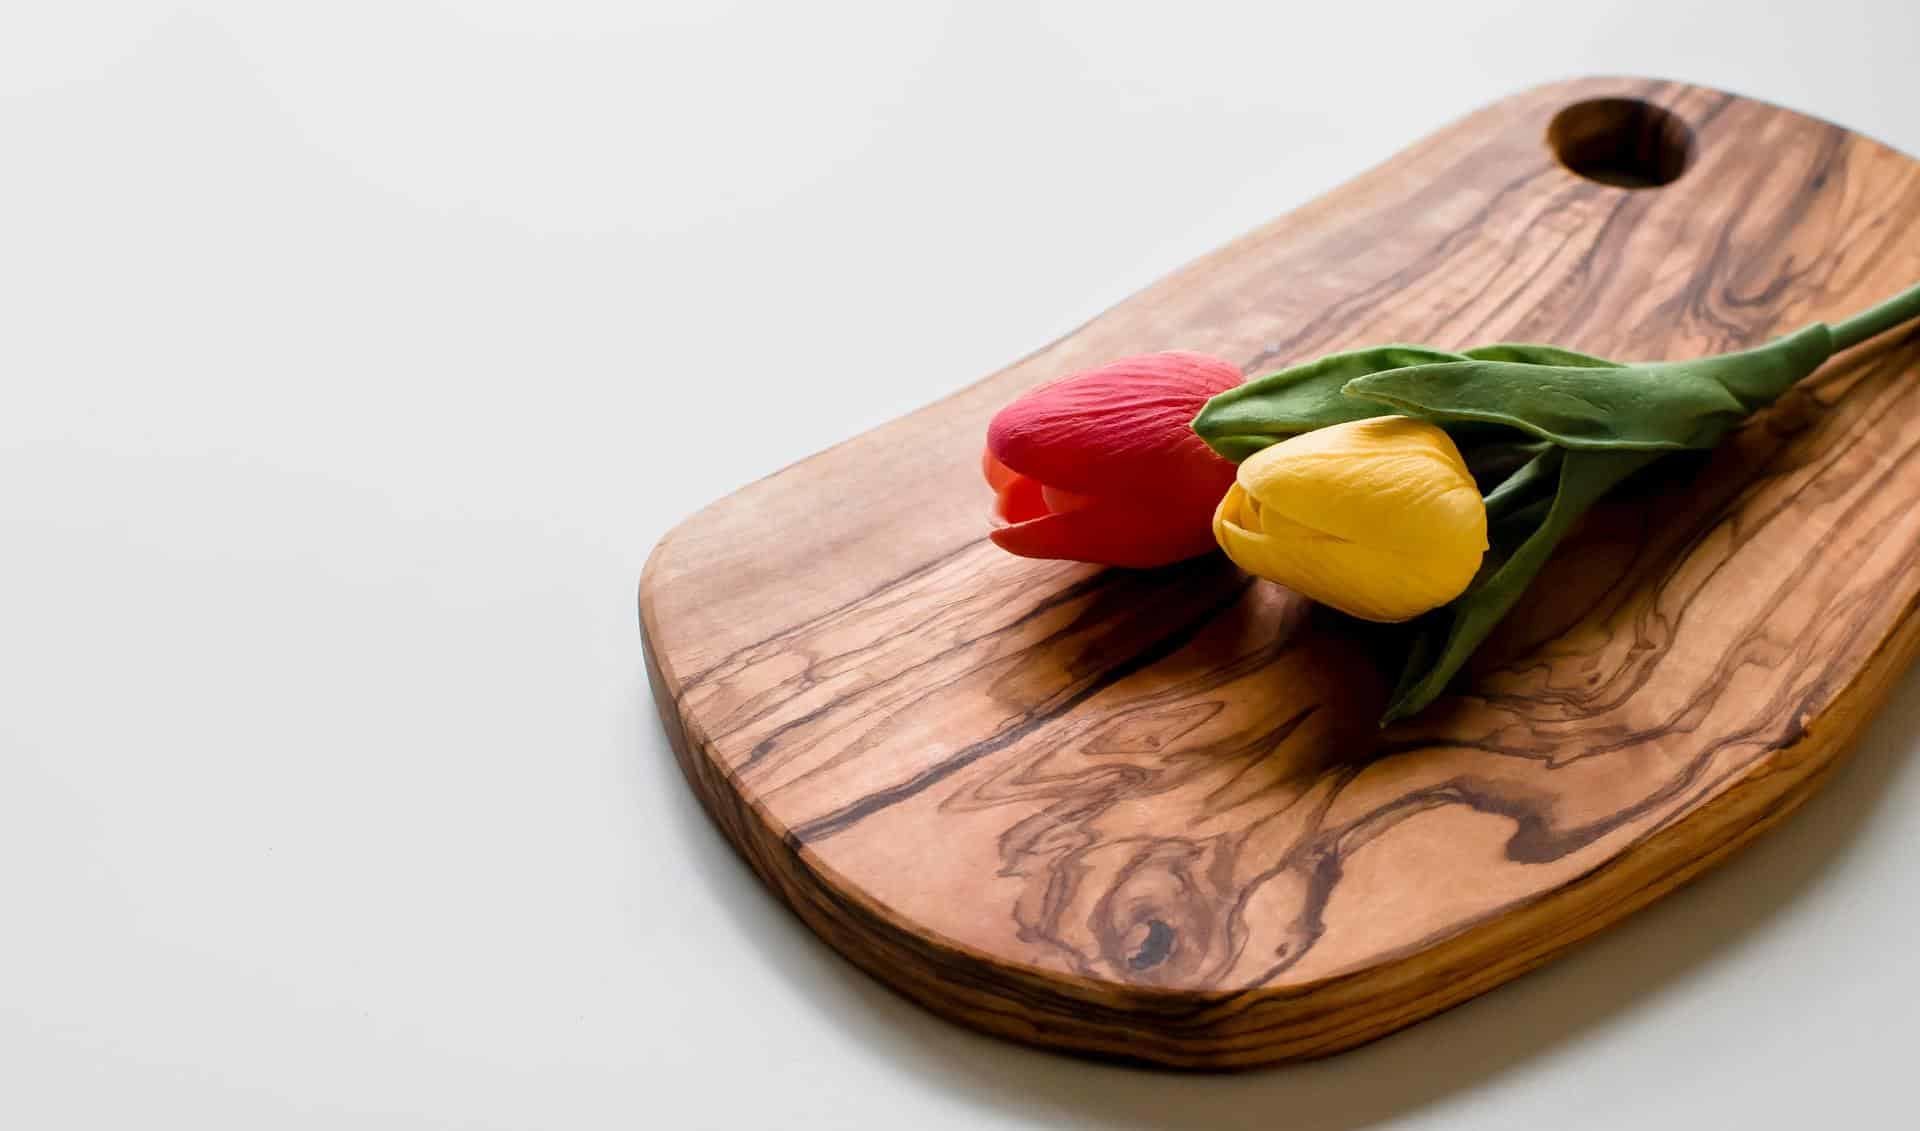
It’s hard to imagine a kitchen without a cutting board. Not only are they essential for food prep, but cutting boards can be works of art. They display the beautiful wood grain, especially when you use exotic hardwoods.
You can customize a cutting board almost endlessly, from the wood you use to the way you shape it. By creating live edge craft & charcuterie boards, you can amaze the guests at your next dinner party.
If you’re interested in making your own exotic wood cutting board, you’re in the right place. We’ve put together this guide to help you get started.
In this post we'll cover:
Assembling your toolkit
Before we begin, let’s review all the tools and products you’ll need for this project. To create your cutting board, you’ll use the following materials:
- Wood of your choice
- Measuring tape & pencil
- Table saw
- Wood glue & brush
- Clamps
- Silicone or rubber feet
- Sandpaper
- Router
- Mineral oil
We’re going to explain how to use each of these tools later; first, you need to decide on what type of wood you’ll be using.
Choosing the right wood for your cutting board
There are many types of beautiful woods to consider. But not every wood is suited for a cutting board. First, consider what you plan to use the board for. Primarily, it will be used to chop ingredients and/or serve food.
Therefore, look for wood with these 3 qualities:
- Denseness
- Close grained
- Non-toxic
Since you’ll be using sharp knives on the board, you need wood that’s dense and durable. Softwoods like pines, redwoods, or firs will show knife marks.
Another quality to look for is close-grained woods. These materials have smaller pores, making them less susceptible to bacteria.
It’s for all the above reasons that exotic hardwoods are such a good choice.
Good choices include:
- Rubberwood
- Mangowood
- Guanacaste
- Jatoba
- Koa
- Olive
- Acacia
- Coconut wood
- Eucalyptus
Try to find your wood from reclaimed lumber to source it as sustainably as possible.
What exotic hardwoods should you avoid?
Keep in mind though, that with a cutting board, there are certain types of wood you should steer clear of.
For your safety, it’s important to avoid toxic woods. Some exotic woods contain chemicals that may cause allergic reactions for those with sensitivities. You can refer to this list of wood allergies and toxicity levels.
To reduce your exposure to potential allergens, be sure to wear a dust mask if you choose to work with exotic wood.
Also, make sure you choose your wood sustainably and avoid woods that are linked to violations of social and environmental regulations.
For these reasons, steer clear of:
- Purpleheart
- Rosewood
- Teak
- Ramin
- Mahogany
Designing your board
What’s more exciting: a delicious snack platter, or the stunning charcuterie board that it’s served on? When you’re designing your cutting board, you might consider these popular styles:
Edge grain
This design showcases the intricate wood grain of your material. It features parallel pieces of wood that are glued together.
Edge grain boards are relatively affordable and simple to make, which is perfect for beginners. However, they’re a bit tougher on knives.
End grain
These boards consist of several wood pieces, all with the end grain facing up. Pieces are glued together to create one smooth board.
If you choose different types of wood, you can create an eye-catching checkerboard pattern.
This style tends to be more resilient; instead of cutting with the grain, you’ll be cutting against it, which makes end grain cutting boards gentler on knives.
That being said, they’re also more expensive and time-consuming to make.
Cutting the wood
How thick and wide should your cutting board be?
For stability, we recommend making your cutting board at least 1-1/2” thick. The standard dimensions for a cutting board are 12” wide and 24” long.
First, put on protection for your eyes and ears. If you don’t have a ventilation system in your workshop, make sure to open a window.
Using a table saw is a popular way to cut wood. Alternatively, you can use a circular saw, a miter saw, or a jigsaw. Depending on which cutting board design you chose, you can measure each piece of wood and then trim it accordingly.
At this point, you can also add a drip or juice groove to your board. This gives space for fluids to run off as you’re preparing food, which minimizes any mess.
Start by sketching the placement of your drip groove with a pencil. Using a router, you can add a ½” groove into the wood (the depth will vary based on how thick your cutting board is).
Be sure to leave a bit of space around the edges of the board, which will help contain any juices. Follow the pencil line with your router, and go over the area repeatedly until it’s smooth.
Learn more about types of Power Tools and Their Uses
Gluing the wood
Once all the wood is cut to size, it’s time to glue everything together. You’ll be using wood glue and clamps to attach the pieces and assemble your cutting board. Make sure to choose waterproof glue.
Before you glue the wood, it’s important to make sure each piece is the same thickness. If you have a planer, you can use it to make each piece of wood even (it’s a lot faster than using sandpaper).
Next, use a brush to apply the glue between each piece of wood. Attach the pieces together using wood clamps, which will help the pieces adhere securely.
They’ll also squeeze out any excess glue; to remove it, you can wipe the glue off with a damp cloth.
At this stage, you can also glue rubber or silicone feet to the bottom of the board. This will prevent the wood from slipping around your countertop while you use it.
Sanding & finishing
Once the glue has dried, it’s time to put the finishing touches on your cutting board. Sand the surface so it’s smooth and level. You can also sand the edges and corners of the board to create a rounded look.
Now that the board is shaped and sanded, it’s time to add the finishing touches. We’re going to seal the wood using mineral oil.
A coating of mineral oil will protect your board against knife marks and make its beautiful exotic wood grain stand out. Be sure to choose a food-safe oil.
Over time, the cutting board will dry out; you can reapply the mineral oil as needed. Depending on the product you choose, it may take up to a day to dry completely.
Finally, make sure to never put your cutting board in the dishwasher, or soak it in water. Doing so will cause the wood to warp and crack.
When you need to clean it, simply rinse it with hot water and scrub it with dish soap.
Final note
The best part about making an exotic wood cutting board is that you’ll use it almost every day. From preparing foods to serving snack trays, these boards are versatile, durable, and handy.
They’re a staple in any kitchen! We hope this guide helps you get started on your next woodworking project.
Here’s another fun DIY project to try at home: a Wooden Puzzle Cube

I'm Joost Nusselder, the founder of Tools Doctor, content marketer, and dad. I love trying out new equipment, and together with my team I've been creating in-depth blog articles since 2016 to help loyal readers with tools & crafting tips.